
Thanksgiving Craft Ideas: Vegetable Turkeys
Here’s something to be grateful for: Thanksgiving craft ideas! Sitting through a long meal can be a challenge for little ones. Instead of cutting the adult conversation short, have them make vegetable turkeys after they finish their dinners.
Before Thanksgiving Day, gather your craft supplies and put them in a box under the table. Once the kids start asking to be excused from the table, hand over the box of supplies and a printout of the directions that follow, have them pick out a veggie, and let them get to work. Printable instructions can be downloaded here.
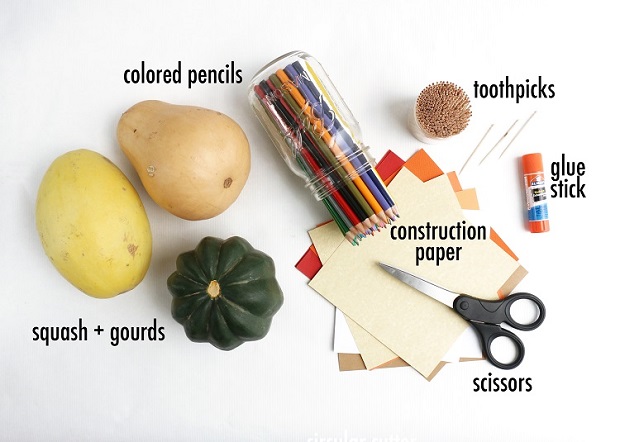 What you will need:
- Assortment of fall vegetables (at least 1 per kid)
- Construction paper
- Scissors
- Colored pencils
- Glue stick
- Toothpicks
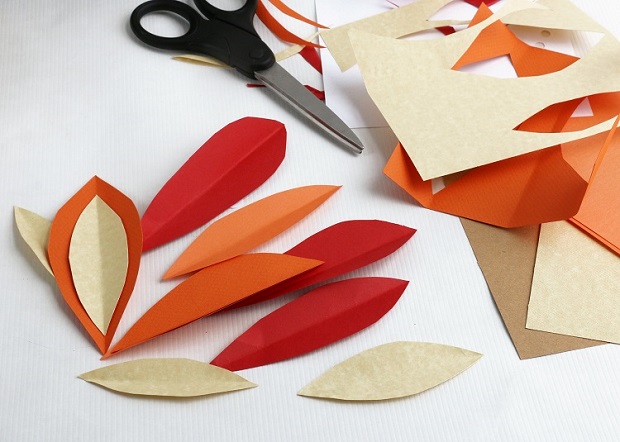
- First, cut out five or more feathers for the turkey using scissors and colored construction paper.
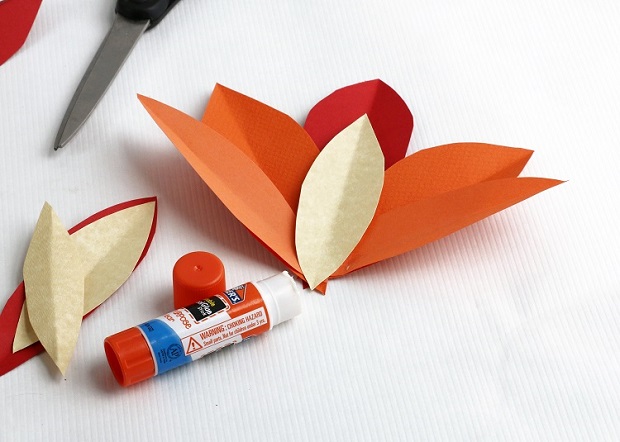
- Glue the bottom tips of the paper feathers together with a glue stick. Make sure to point each tip in a different direction, so you can see all of the feathers. Let dry for a few minutes before moving on.
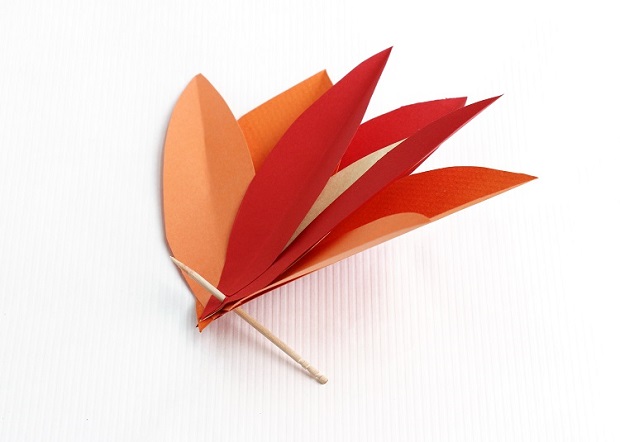
- Stick the pointy end of a toothpick through the bottom of the feather cluster. Add a dab of glue to the top feather, gluing around the toothpick.
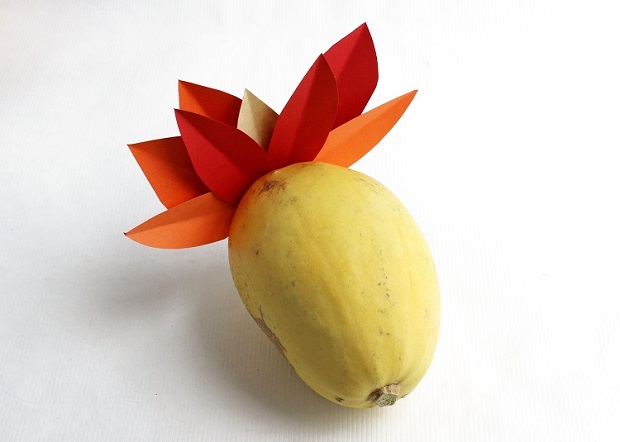
- Stick the end of the toothpick into the back of a vegetable. Push the toothpick in almost all the way, but not completely. Use your finger to apply pressure to the back of the feathers, pushing them up against the vegetable. Hold your finger there for 20 seconds to help the glue stick to the vegetable.
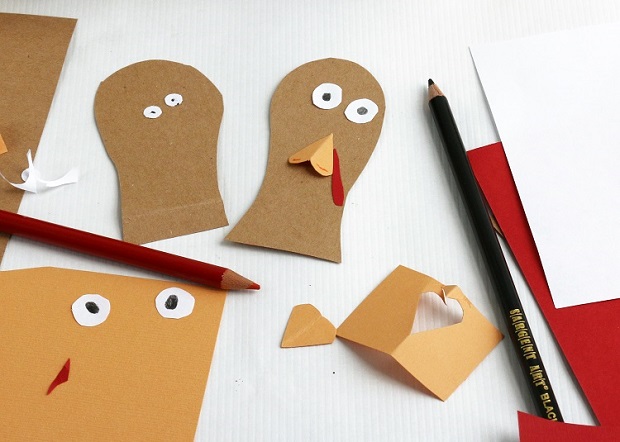
- Now that you’re done with the feathers, it’s time to give the turkey a face. From construction paper, cut out a head, eyes, nose, and anything else you may want to add to your turkey’s face with paper. Use colored pencils or markers to add details to the face. Glue each feature into place on the head using the glue stick.
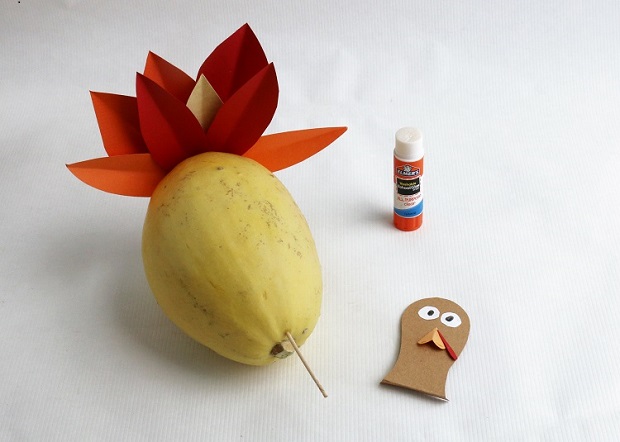
- Prick a hole in the front of your vegetable using a second toothpick. Remove the toothpick once you’ve made the hole.
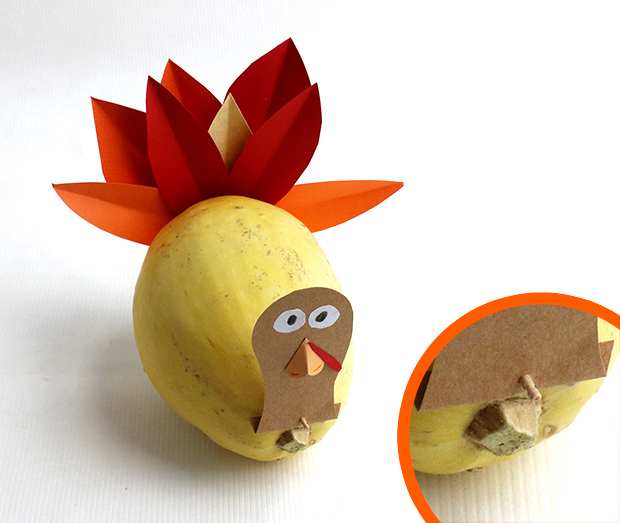
- Fold over ¼-inch of the bottom of the paper head (this will help the head stand up straight). Do not unfold. Poke a hole through the bottom center of the head, making sure to go through both the front and the folded piece. Stick the toothpick (with the head attached) back through the hole you made in the front of the vegetable. Push the toothpick in almost all the way, but not completely.
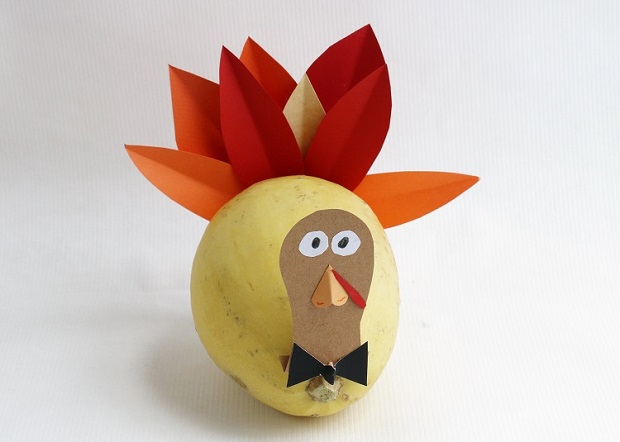
- If you’d like to cover up the front of the toothpick, cut a bowtie out of paper and glue it on top. And enjoy your turkey!
*Note: Because this craft involves toothpicks, do not leave children unsupervised.