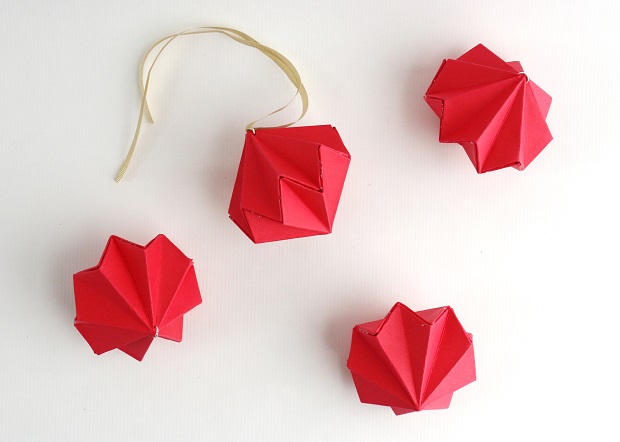
Homemade Christmas Ornaments: Paper Diamonds
These homemade Christmas ornaments will add a modern, geometric touch to your holiday tree. The origami paper diamonds require a bit of patience, but hang in there. The results are worth it!
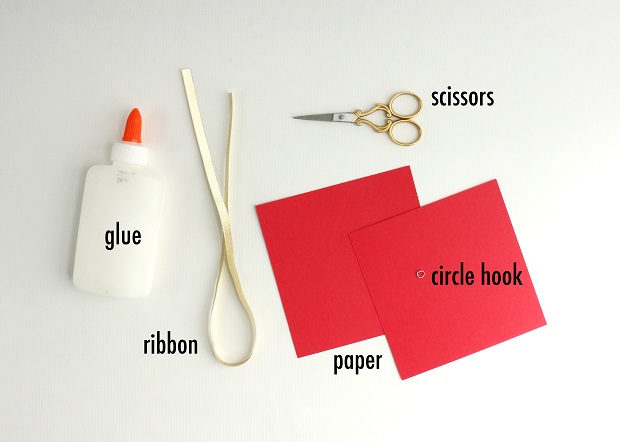
What you will need:
- Paper (we cut ours to 5-inch-by-5-inch squares)
- Scissors
- Glue
- Circular hooks
- Ribbon
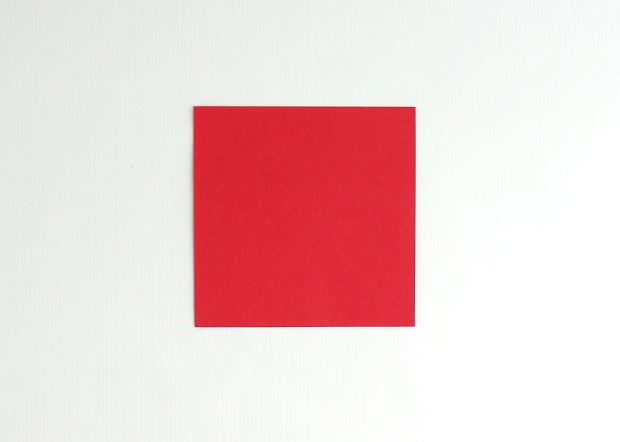
Step 1: Cut two identical 5-inch-by-5-inch paper squares. Set one aside.

Step 2: With the first piece of paper, fold from one corner to the other, unfold, and then fold to the opposite corner. When you unfold it, you should have four triangles.
Step 3: Next, fold the paper in half, bringing the bottom part to the top, to make a rectangle. Unfold and then fold in half the opposite way.
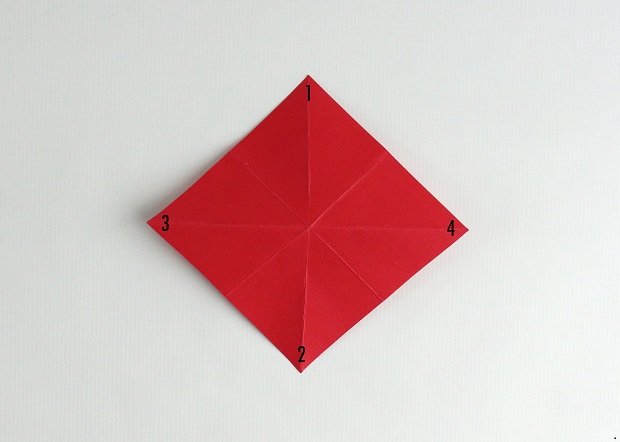
Step 4: When you unfold the paper, you should have eight triangles.
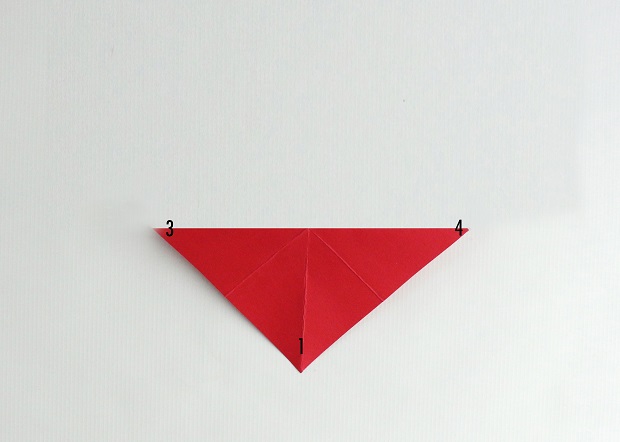
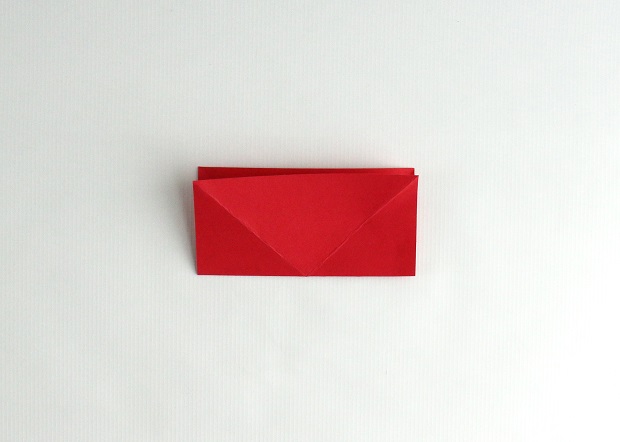
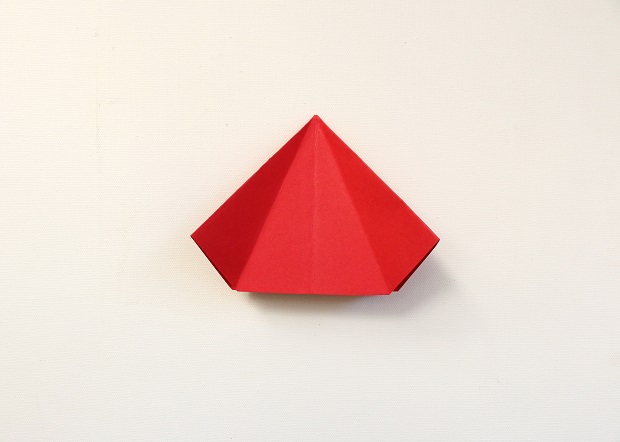
Step 5: Fold the top and bottom corners together (you will have a triangle shape).
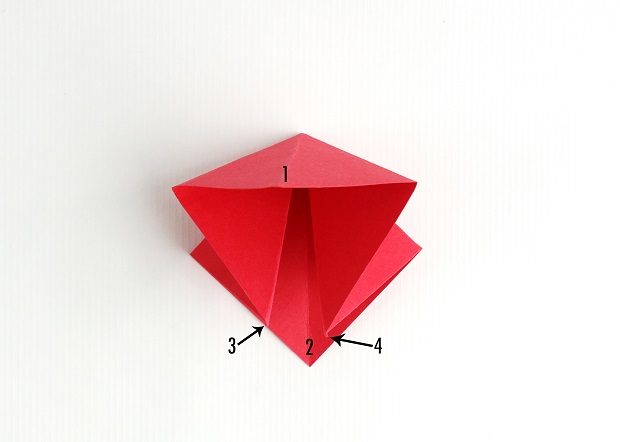
Step 6: Next, fold the left and right corners into the center.
Step 7: Turn the folded paper 180 degrees, so the open ends are at the top.
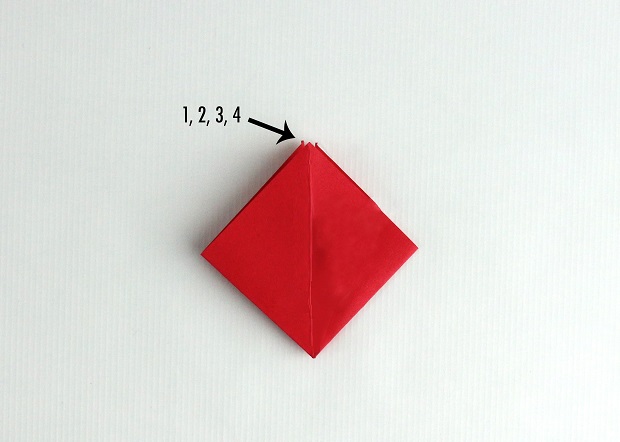
Step 8: Fold the front-facing left and right corners into the center.
Step 9: Flip the paper over and fold the left and right corners into the center.
Step 10: When you’re finished folding, cut the top part off.
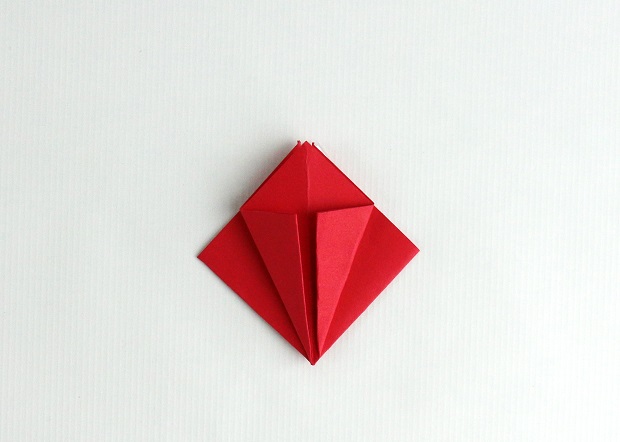
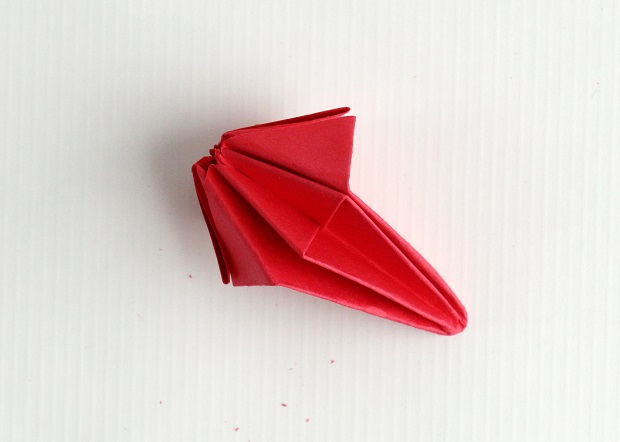
Step 11: Place the paper so you have the tip of the cone-shape toward the top.
Step 12: Unfold the left and right flaps inward to make a diamond shape.
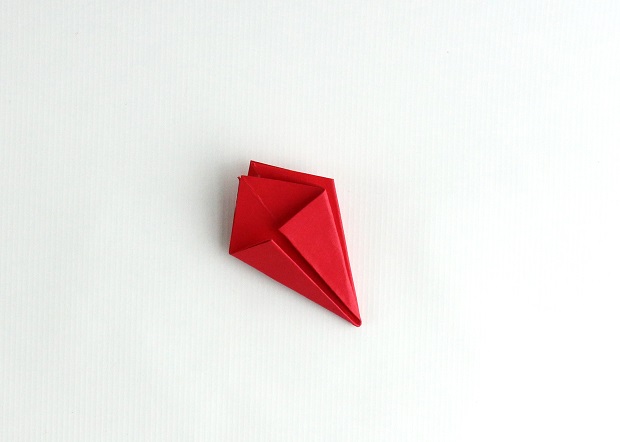
Step 13: Next, fold the left and right edges into the center. In the above example, the crease of the flap gets pushed inward toward the center. Think of the original crease as a “>” and you want it to look like “<” instead.
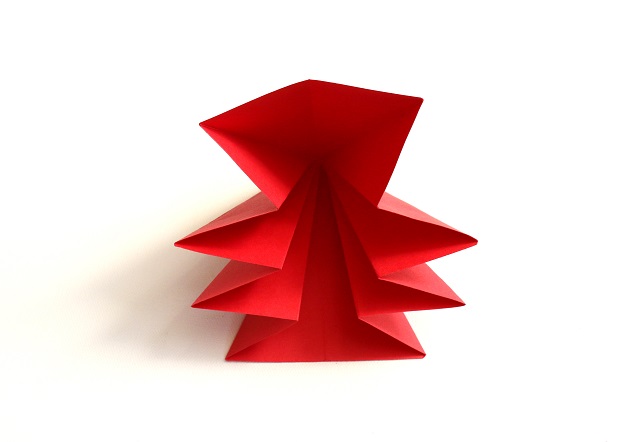
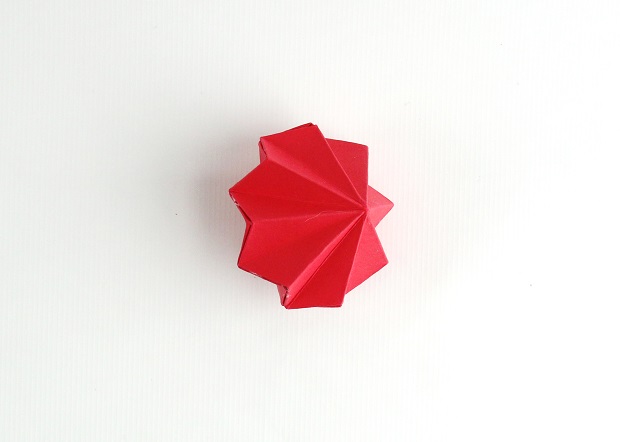
Step 14: Flip over and repeat for the left and right flaps on the back. When finished, the open end of the paper should look like the photo above.
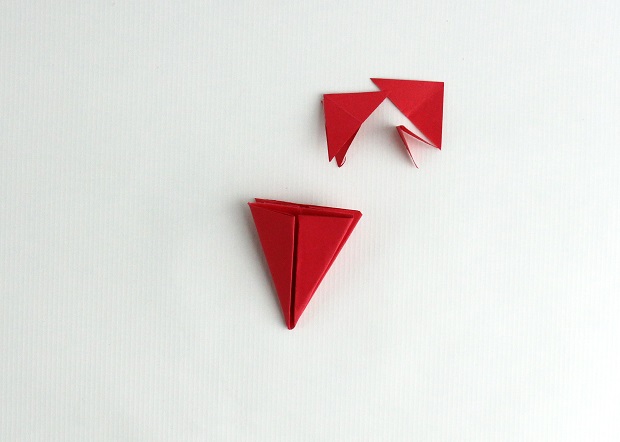
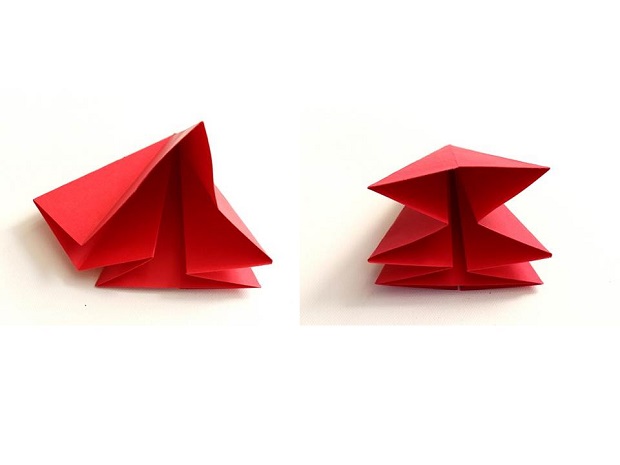
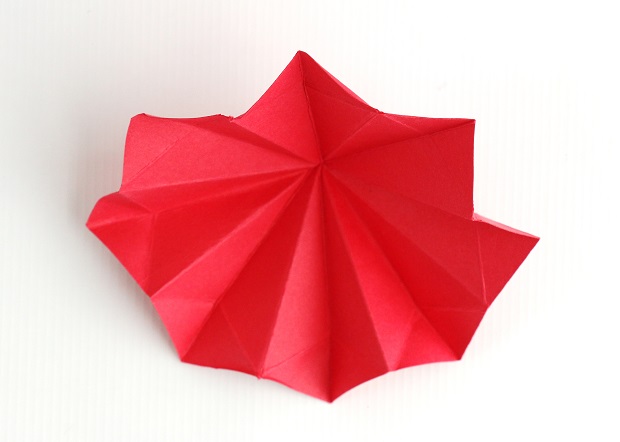
Step 15: With the open end positioned at the top, fold each set of corners inward from top to bottom (you should have four sets of corners to fold in), so it resembles the second photo for this step.
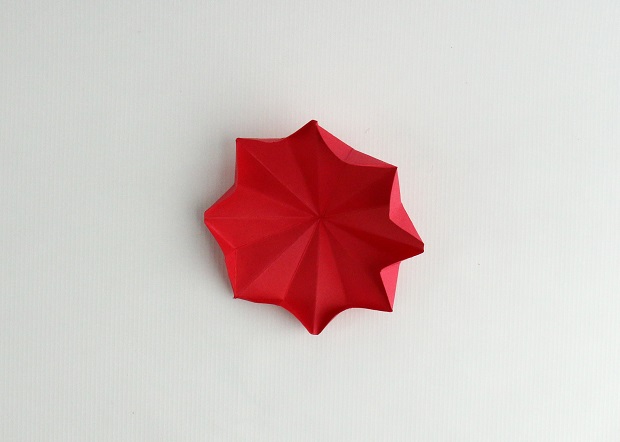
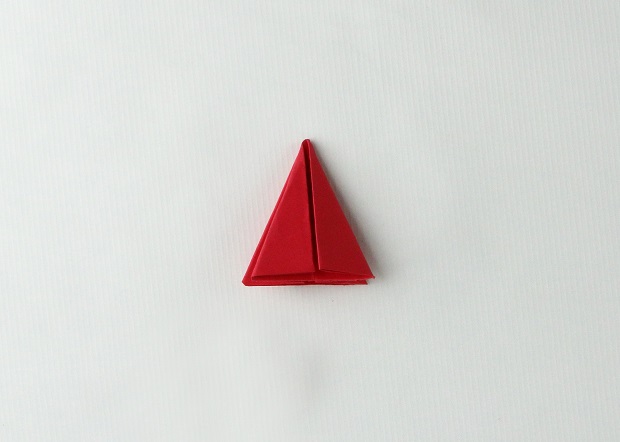
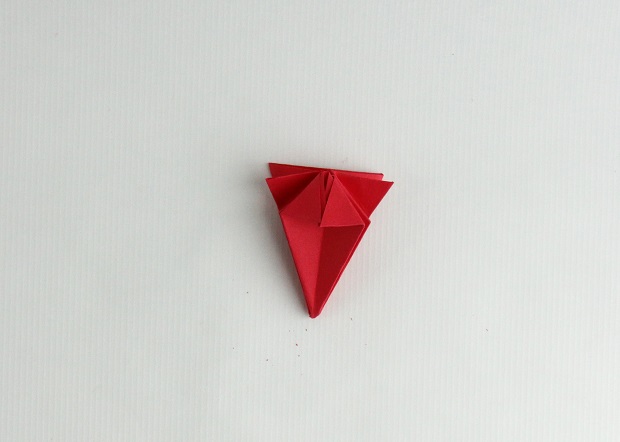
Step 16: Unfold and then fold the top corners inward, to make half a diamond shape. Repeat these steps with the second piece of paper, so that you end up with two halves of a diamond.
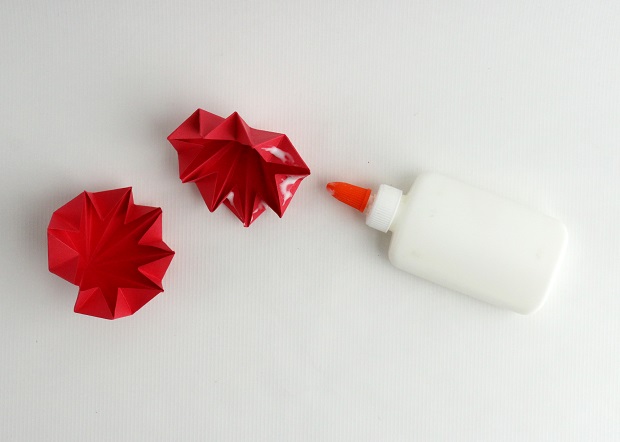
Step 17: Squeeze glue onto the folded corners of one half of the diamond and gently position it with the second half to make a full diamond. Set aside to dry.
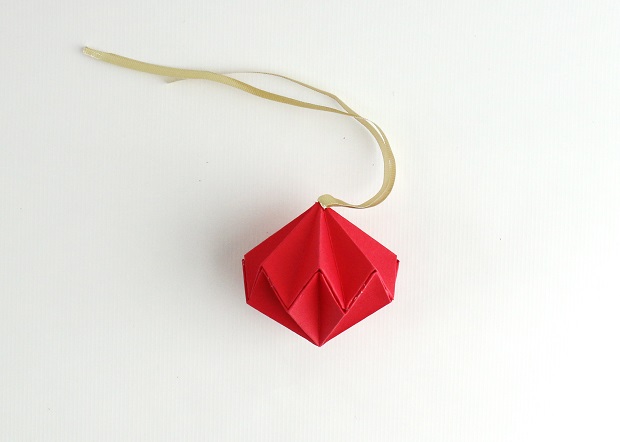
Step 18: Once the ornaments are dry, loop a circular hook through the top of the diamond and string a piece of ribbon through the hook so that you can hang the ornament.
More Holiday DIYs
Marble Polish Ornaments
Three Snowy Trees
Marshmallows Too Pretty to Eat