Weekend Project: DIY Lampshade

If your home décor needs a fast and inexpensive refresh, here’s an idea: Take a lamp from boring to beautiful with just a can of spray paint. Our DIY lampshade is a cinch.
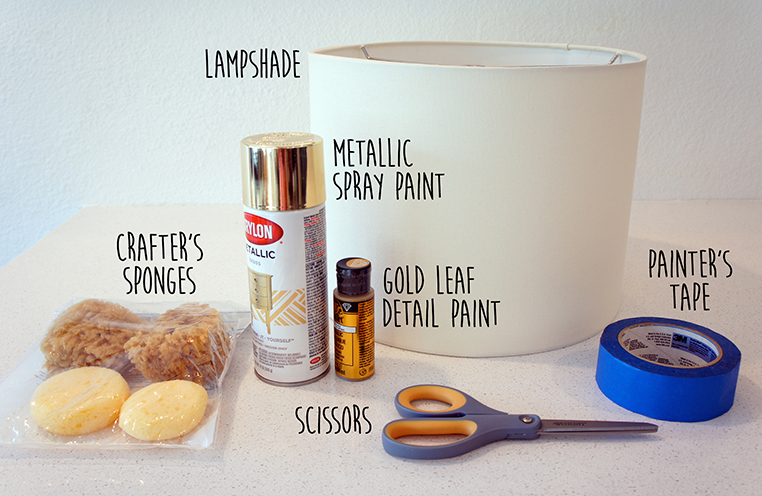
What you will need:
- Working lamp
- White or light-colored lampshade
- Metallic spray paint
- Gold leaf detail paint
- Crafter’s sponges
- Painter’s tape
- Plastic plate
- Scissors
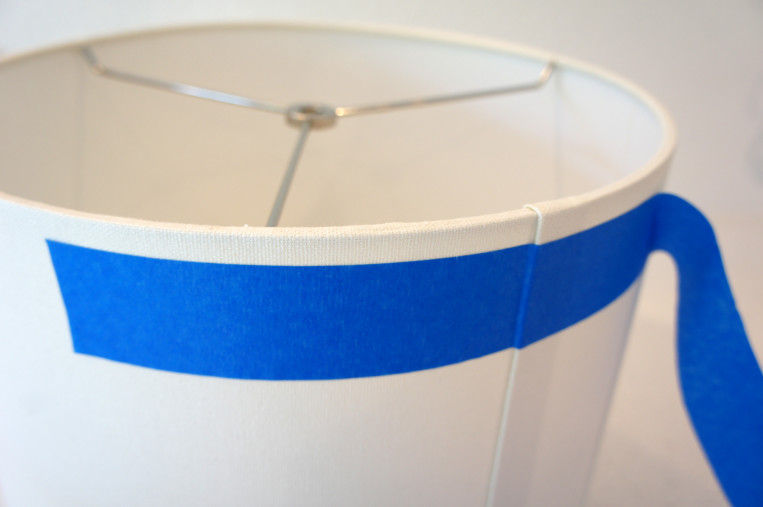
- Remove the old lampshade. If it’s not misshapen or torn, you can repurpose it. Cut painter’s tape into long strips and cover the outside of the lampshade, overlapping the tape as you go. Leave an exposed band of about ¾ inch on either end of the shade.
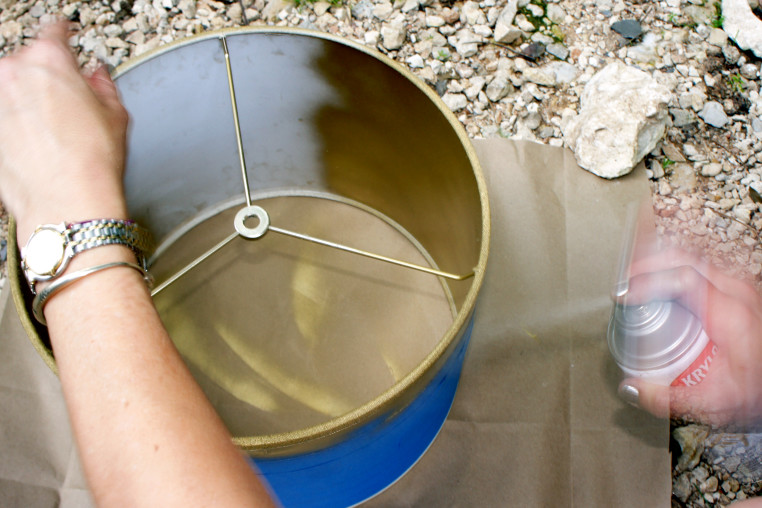
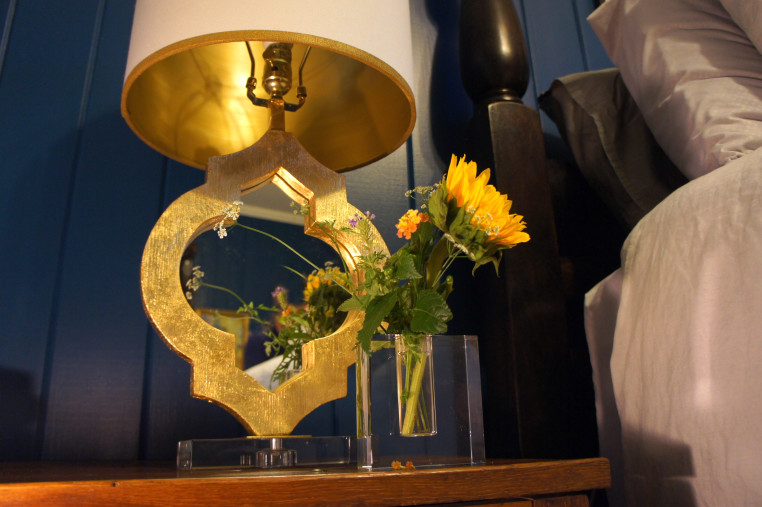
- In a well-ventilated area and with your work surface protected, spray small, quick strokes on the inside of the shade until it’s evenly coated. It is important to move quickly and spray a light, even coat as you work around the inside of your shade. Then use quick sprays around the base and top of the outside of the shade until you have even coverage.
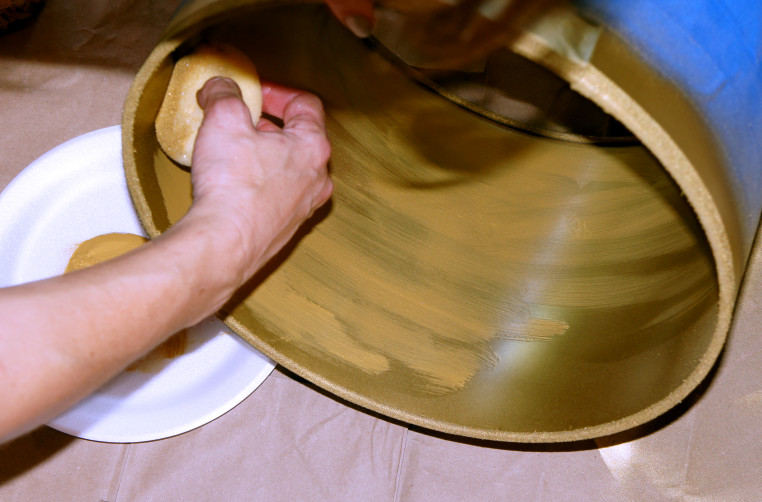
- Once the lampshade is dry, prepare a small plastic plate with gold leaf paint. Next, wet and squeeze-dry using a small sponge. Choose a slightly darker shade of paint than your original gold for optimal drama. Dab a little paint on the slightly damp sponge and wipe horizontally along the inside of the shade. Take care to cover any sponge marks. When you finish the technique, the painted areas should look like wood grain.
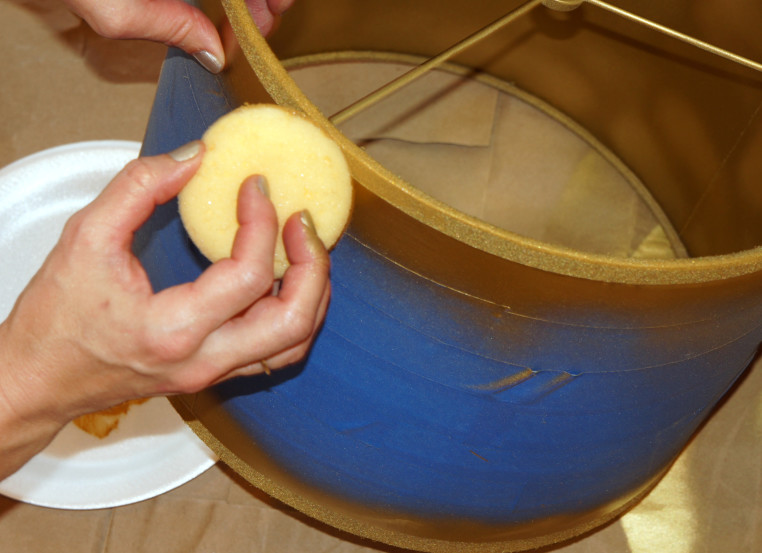
- Work a little more gold leaf paint onto the top and bottom edges of the outside borders. This will give the edges a richer, more professional finish. Let the paint dry.
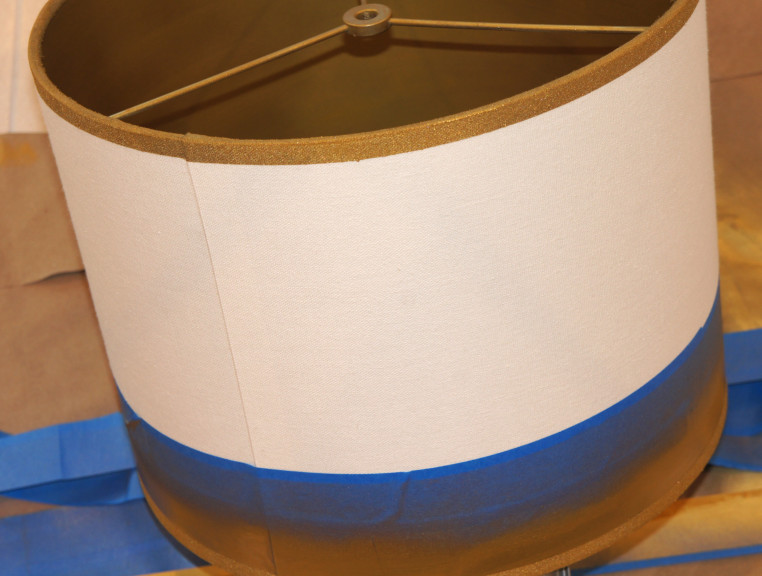
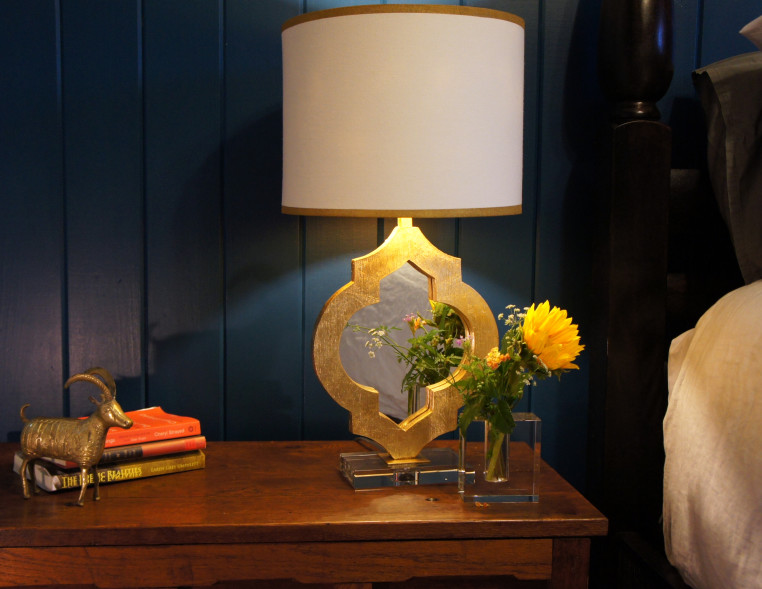
- Carefully peel the painter’s tape from around the shade and put the shade on the lamp base. Play with arranging the decorative items you already own to make a lovely nook within your home. Your new metallic shade will shimmer in the evening light.
