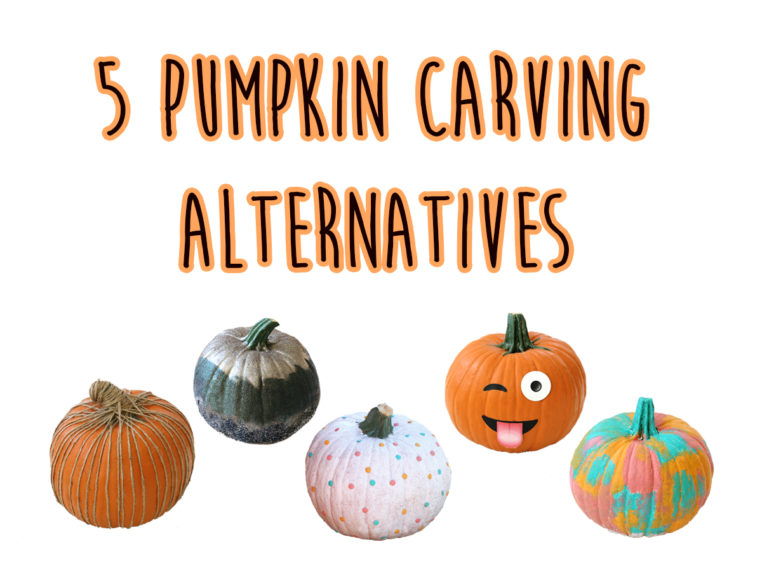
Weekend Project: 5 Ways to Decorate a Pumpkin
 With pumpkin season in full swing, it’s time to start decorating those iconic fall fruits. While the classic carved Jack-o-lantern is always impressive, it can be quite the mess and require some serious artistry. So if you’re looking for an alternative way to decorate this year, consult this list of five creative ways to decorate a pumpkin that look just as impressive as the classic technique, and are easy enough for family members of all ages.
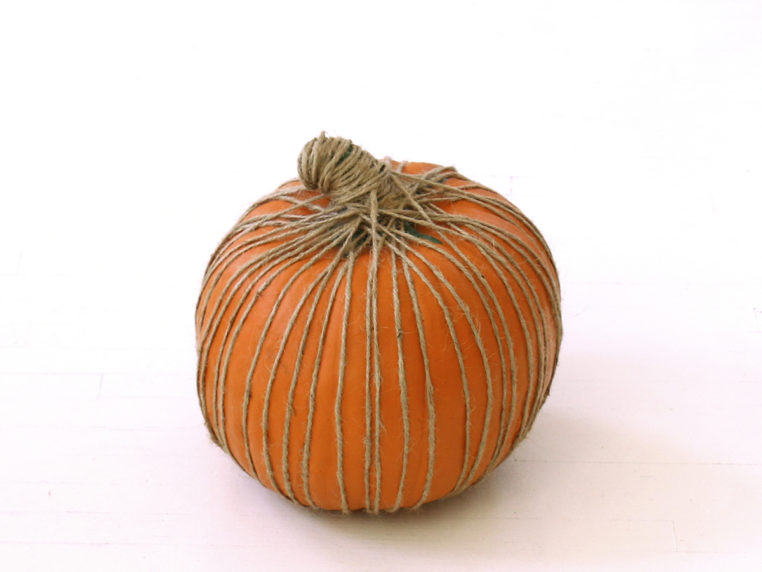
1. Twine Pumpkin
Twine adds a beautiful, rustic look to any pumpkin. And best of all, the only materials you will need for this project are some twine and a pair of scissors.
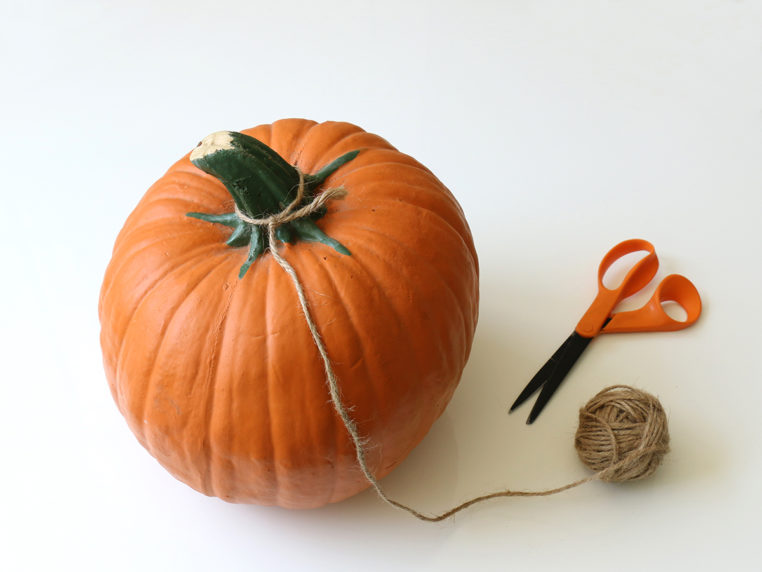
Begin at the top of the pumpkin, and knot one end of twine around the pumpkin’s stem.
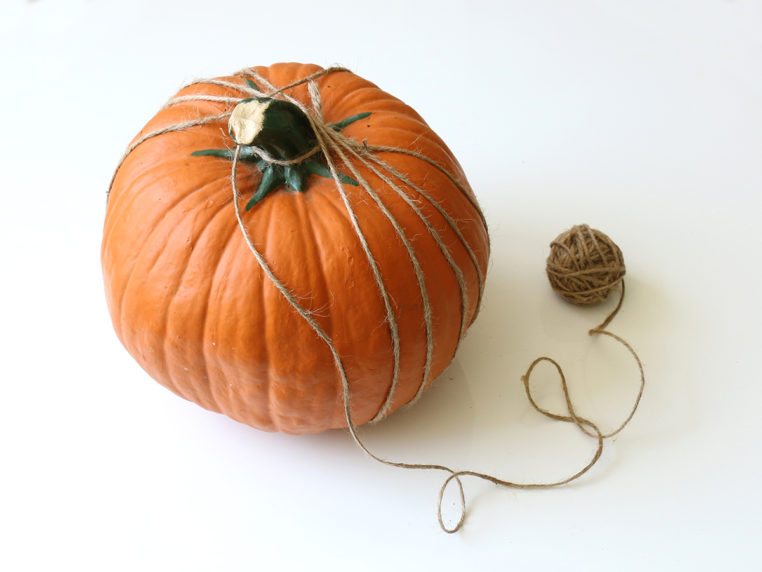
Wrap the twine around the pumpkin, working your way around the entire pumpkin.
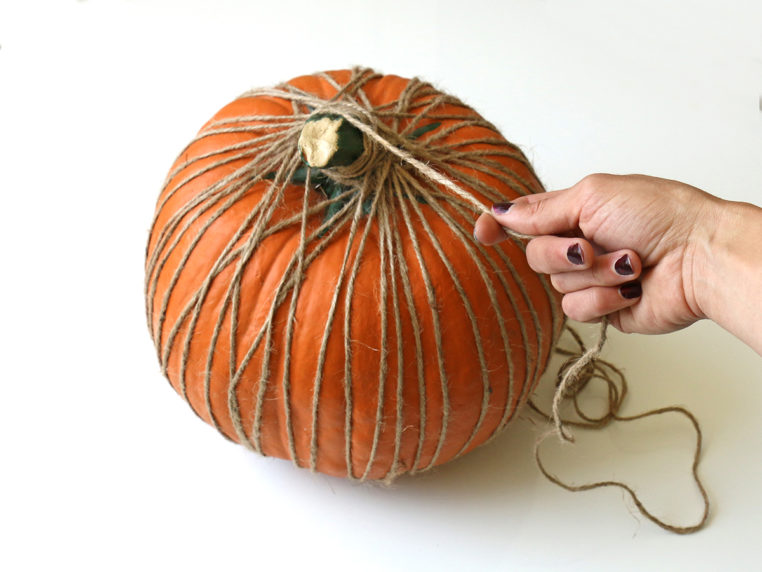
Finish it off by wrapping the stem. Make sure to knot the end of the twine at the base of the stem so that it doesn’t unravel.
Tip: If you’re looking for a more colorful approach, use yarn or ribbon.
2. Sticker Pumpkin
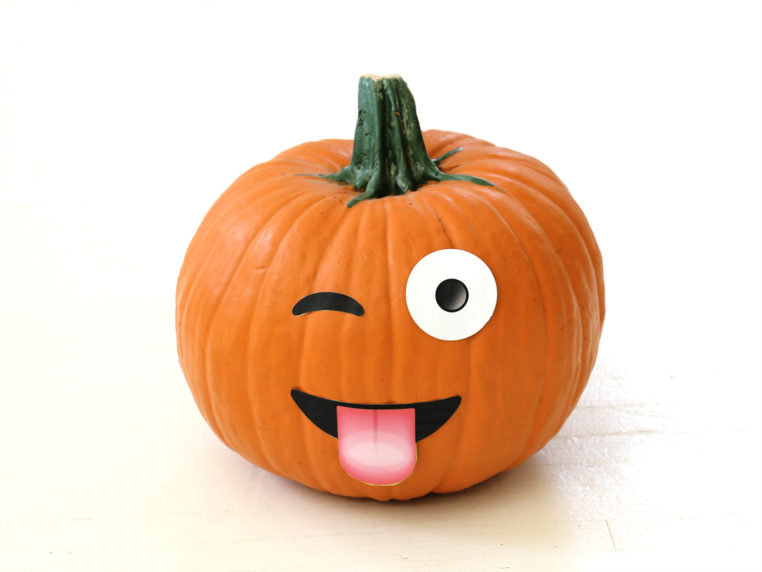
Stickers are an easy way to quickly customize your pumpkin. Using stickers from a craft store or homemade stickers easily printed on adhesive paper, just peel and stick the designs of your choice onto your pumpkin.
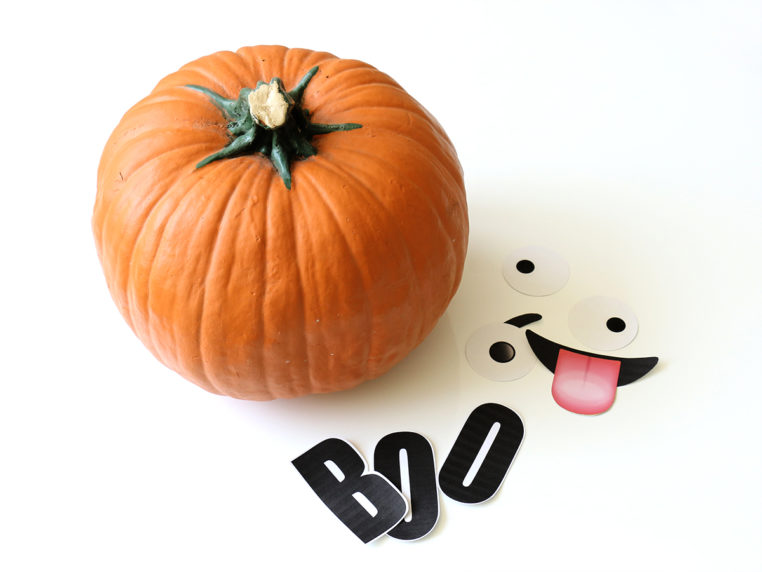
Kids can add eyes and face shaped-stickers to adorn their pumpkins with silly emoji-like expressions. For a more sophisticated look, add festive sticker silhouettes, or write a caption to your pumpkin using letter stickers.
3. Thumb Tack Pumpkin
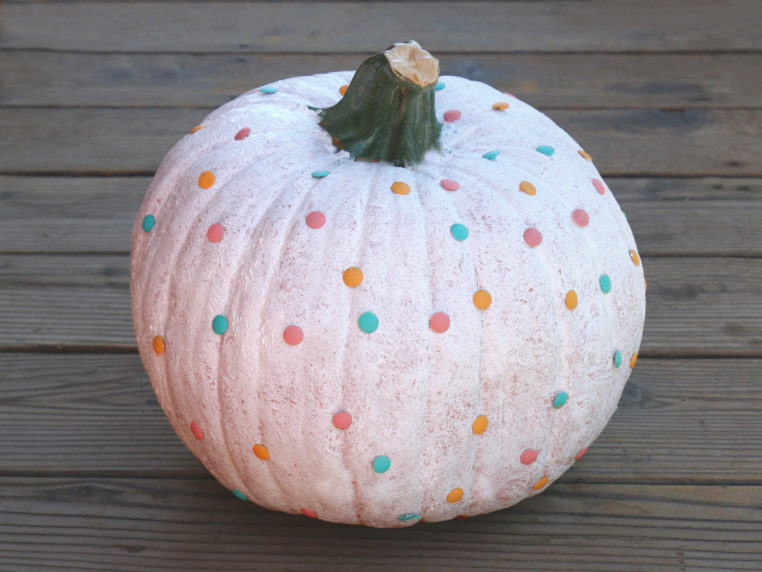
Adding colorful thumb tacks or push pins will turn your pumpkin into a beautiful work of polka dot art.
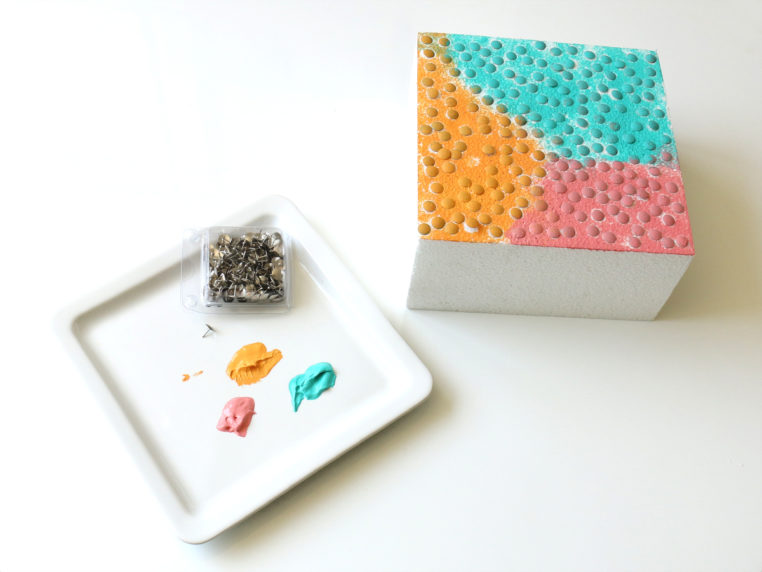
If you can’t find tacks to match your color scheme, paint them yourself using acrylic or spray paint.
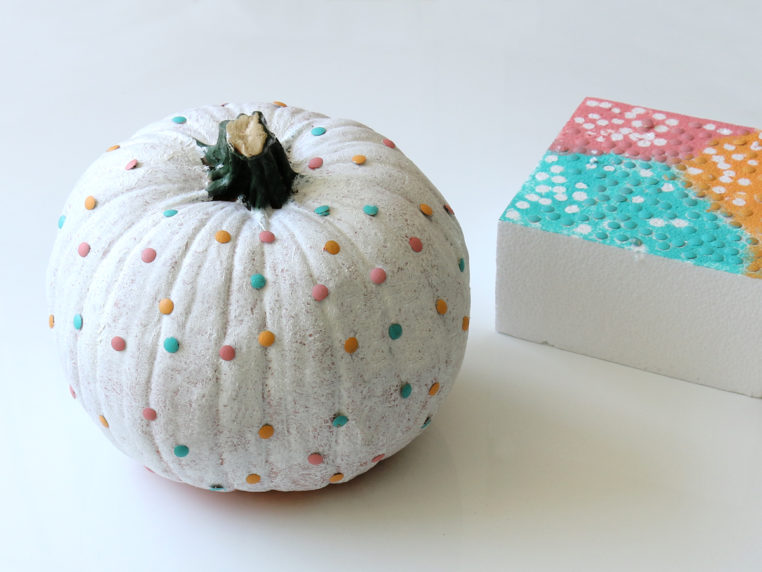
Once dry, push the pins into the pumpkin to create whatever pattern you please. If you’re looking for a more modern look for an orange pumpkin, paint it white (like the example above) prior to adding on any colorful accessories.
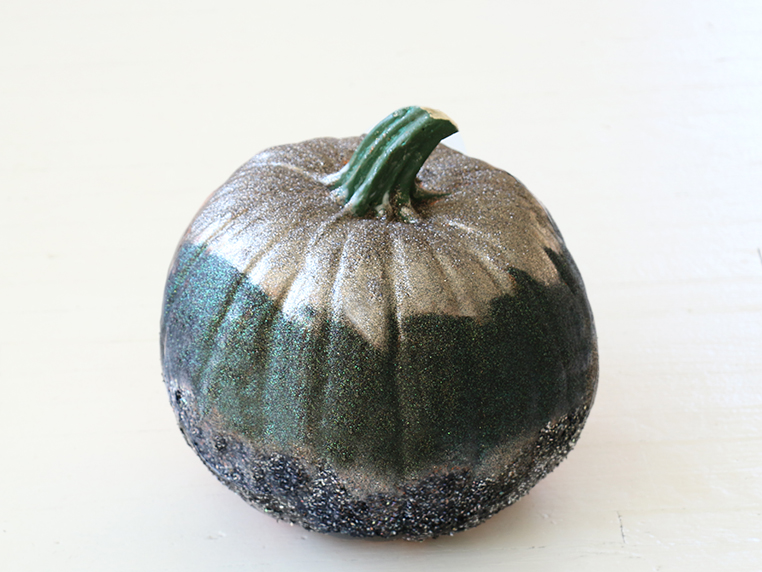
4. Glitter Pumpkin
Glitter and glue are all you need to add some serious glam to any pumpkin. Before you begin, make sure to cover your work surface, as this one can get a little messy!
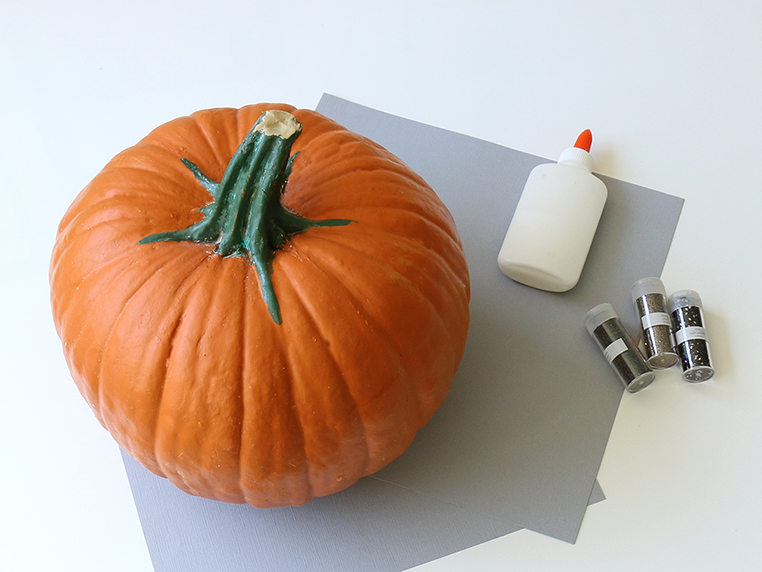
To glitterfy your pumpkin, first brush on a thin layer of clear-drying glue to the surface of the pumpkin. Once covered (and while the glue is still wet), sprinkle on the glitter! If you don’t want to cover the entire pumpkin in glitter, apply the glue in patterns or swirls and then add on the glitter. Let the glue dry before dusting off any excess glitter.
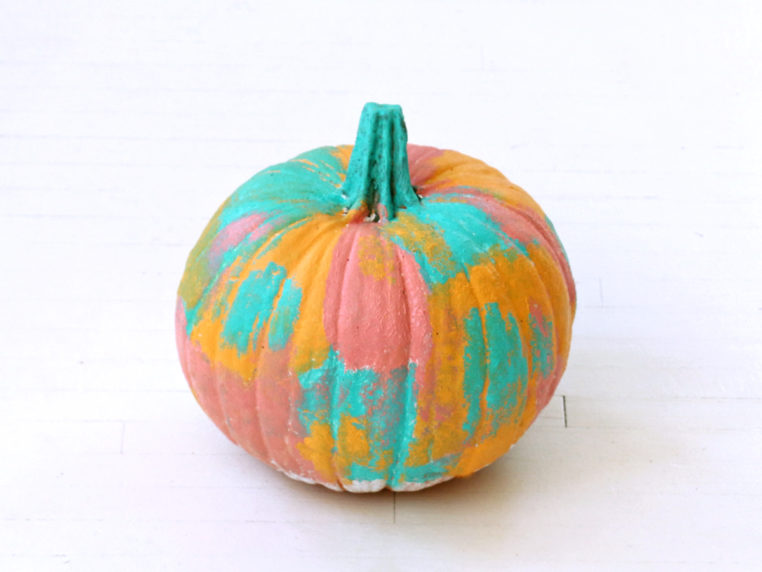
5. Painted Pumpkin
There are endless possibilities when it comes to painting a pumpkin. Whether it’s a clean, one-color look or a multi-color pattern approach, you get to decide how colorful your pumpkin will become.
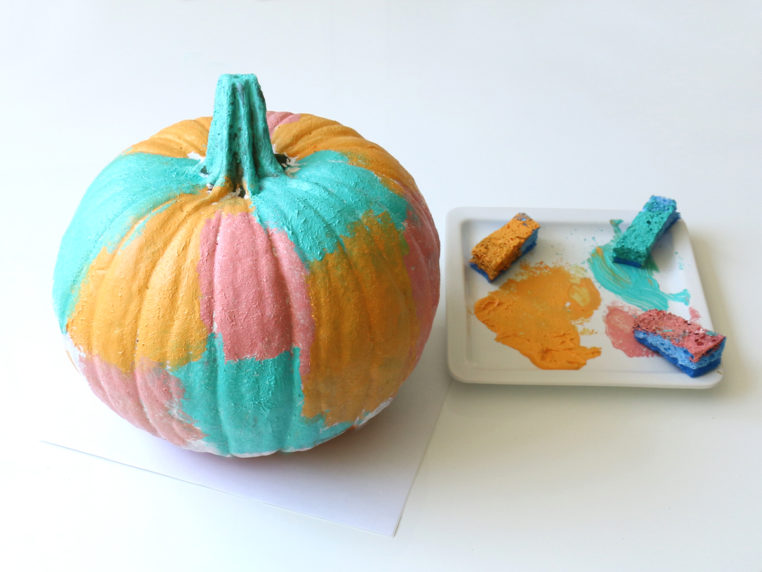
To paint your pumpkin, apply acrylic paint with a foam brush or a sponge. Make sure to let your painted pumpkin completely dry before setting it on display.