Get the Look: Create a Classic Black-and-White Gallery Wall

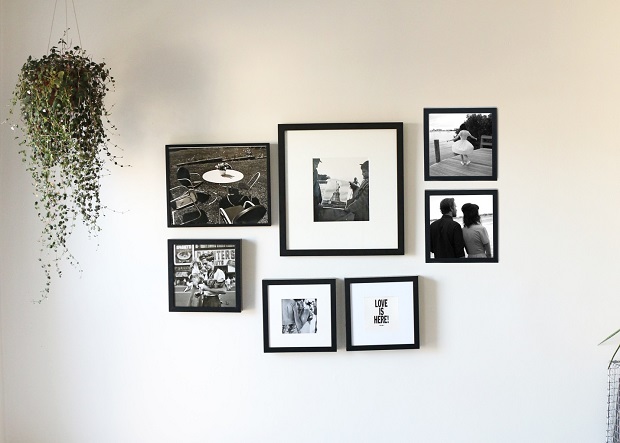
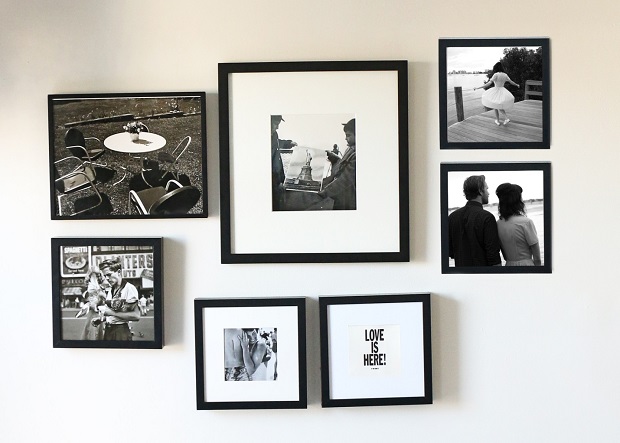
Whether stored in boxes in the back of a closet, stashed in dresser drawers, or stacked in filing cabinets, family photos and treasured mementos deserve to see the light of day. A lovely way to display holiday pics, vacation postcards, and back-to-school snaps is a classic black-and-white gallery wall. This inexpensive project can be tackled in a weekend, and the end result is a stunning focal point for your home.
Choose a Location
You don’t have to invest in a large piece of art to fill a bare wall when you can create a thoughtfully arranged photo gallery. Living rooms, hallways, and stairwells are the most obvious choices for a display — but don’t overlook the dining room, bedroom, or kitchen. Small spaces (like those next to a closet or pantry or on a stairway landing) also make good backdrops.
Select Your Photos
Think of yourself as the curator of an art gallery, where there is more artwork than display space. Start by choosing photos that have meaning for you — those of family members, a first car, or a favorite vacation spot. Opt for candid shots, landscapes, or artistic still-life images. Think beyond photos, as well. Include pages from calendars, postcards, handwritten recipes, invitations, or announcements in your collection. Anything that holds a special memory for you is worthy of consideration.

Unify the Display
One of the easier ways to create harmony with a variety of photos is by converting them into black-and-white images. You can do that by using image editing software on your desktop computer, such Adobe Photoshop, Microsoft Paint, or GIMP, or by simply using an online photo editing service like Picasa. This also makes it easy to combine pictures from different eras, such as baby pictures of your grandparents, your wedding photos from 20 years ago, and those cute ones of your kids from last week.
Pick Your Frames
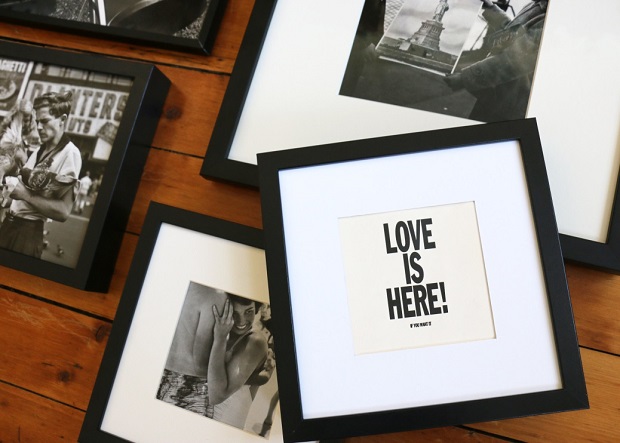
Choose frames that are similar in style and material to make a cohesive collection. You don’t have to buy all new frames in order to do this; spray paint works wonders on frames you already own.
Arrange It All Together
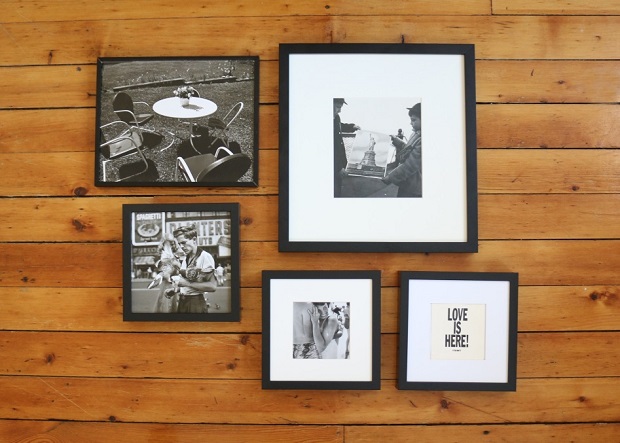
Before committing to a layout with nails and a hammer, experiment with different arrangements. Cut pieces of paper the same size as all your frames, and tape the paper representations to your wall to get a sense of how your gallery will look. You can also use tape to mark the area of the wall on the floor and start by making a focal point with two or four pieces in the center of your arrangement at the same height. From there, fill in and play around until you have something you really like.

