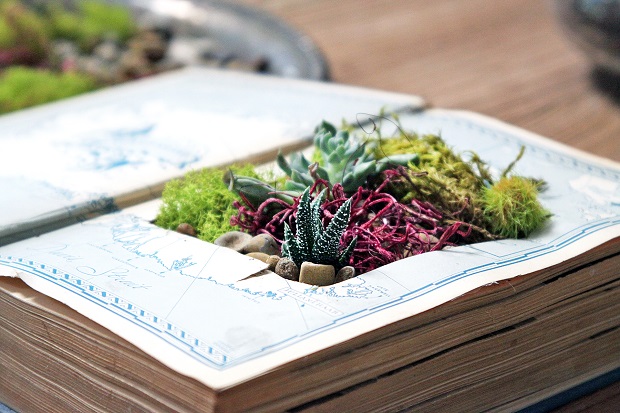
DIY Home Décor: Turn an Old Book Into a Darling Planter
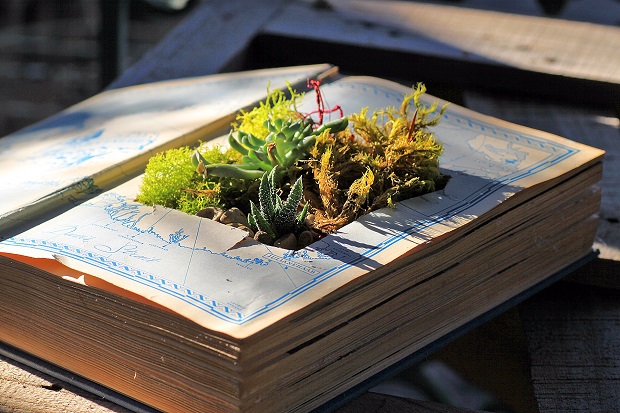
When it comes to DIY home décor, a succulent book planter is both easy and impactful. Follow along to transform an old book into a divine miniature garden planter.
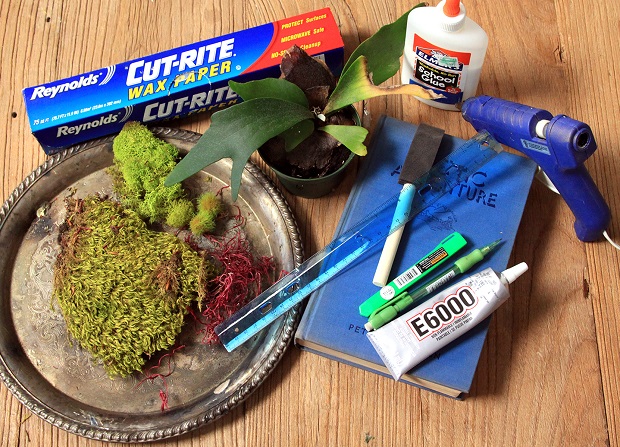
What you will need:
- A book, 3-4 inches thick
- Small foam brush
- White glue
- Ruler
- Pencil
- Utility knife
- Hot glue gun OR E600 glue, as an alternative to the hot glue gun.
- Wax paper
- Scissors
- Cactus or succulent soil
- Mini succulents
- Moss and/or decorative stones
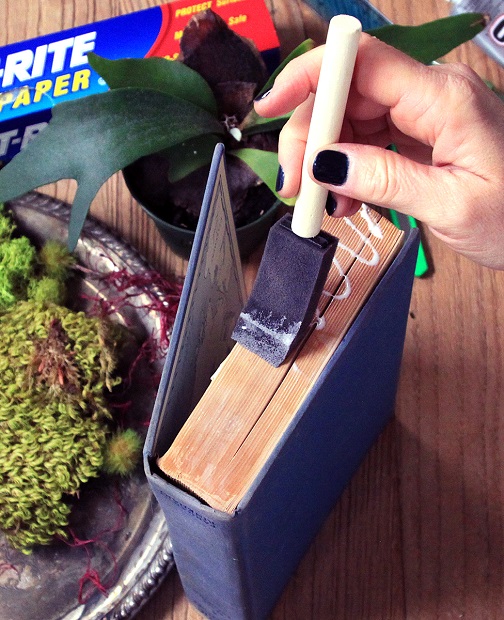
- To start, hold all of the book pages except the first page firmly together and paint a thin layer of white glue along the edges of the pages. Let dry for one hour.
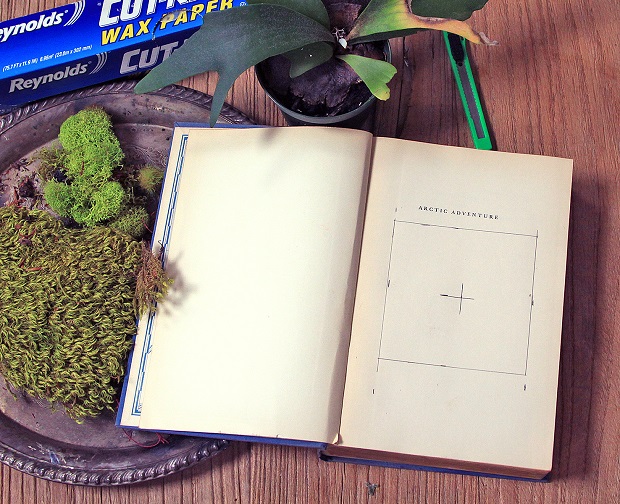
- Once the glue is dry, open the book and turn to the beginning of the glued pages. Use a ruler to find the center of the book and mark it with an X. Then use the ruler to draw a square around the X, leaving at least an inch of book around the sides of the square.
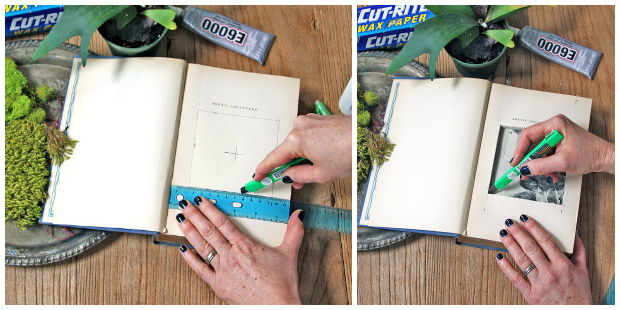
- Cut out the square along the pencil lines with the utility knife, using the ruler as a guide. Remove the cut-out paper as you go. Continue cutting and removing paper until you reach the back cover. Don’t worry about the cut being perfect; it will be covered once you place your plants.
Tip: Use the tip of the utility knife to lift out the cut paper.
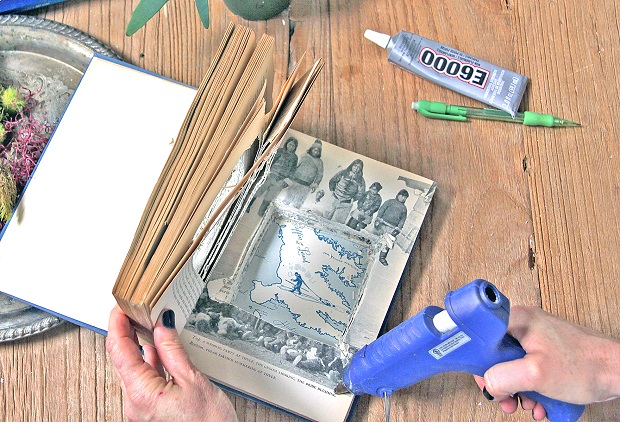
- Use a bit of hot glue or E6000 to rejoin any page sections that separated and to secure the back cover to the glued pages.

- Cut a piece of wax paper about the same size as your book. Tuck the wax paper into the cutout square, making sure there is plenty of overlapping wax paper sticking out. Place dots of hot glue under the wax paper about an inch from the cutout square on all sides to secure and smooth. (Don’t worry about the excess wax paper for now.)
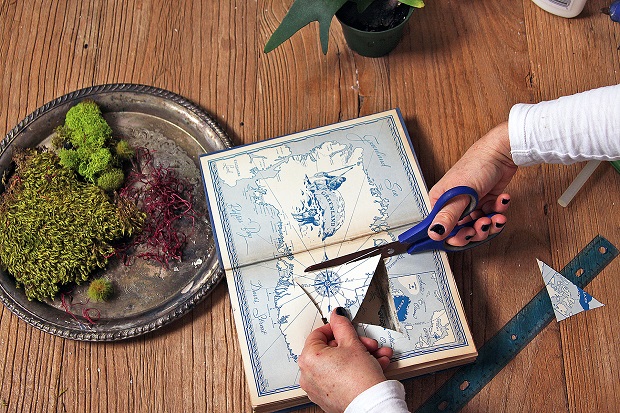
- Turn the first page of your book (the one you left unglued) over onto your cut pages. Feel for the edges of the square underneath. Mark the edges with a pencil. Poke a hole in the center with your scissors and cut along the pencil lines. (You do this page last so that it will be both pretty and aligned with the hole underneath.)
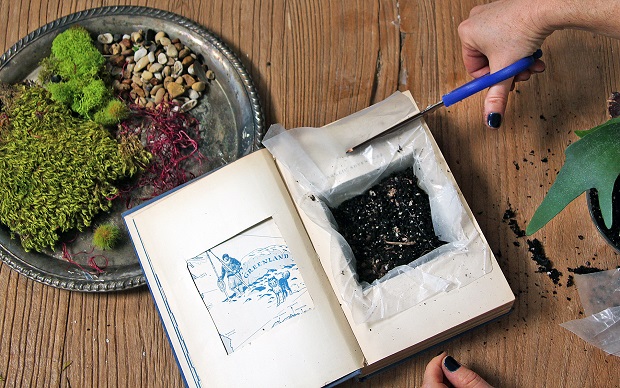
- Flip the first page back out of the way. Place cactus or succulent soil in the hole. Trim the wax paper, leaving the 1 inch of wax paper you glued overlapping all sides of the hole.

- Place more hot glue (or E6000, depending on your supplies) on top of the wax paper and around the perimeter of the book page. Turn the loose first page over the wax paper and press into place.
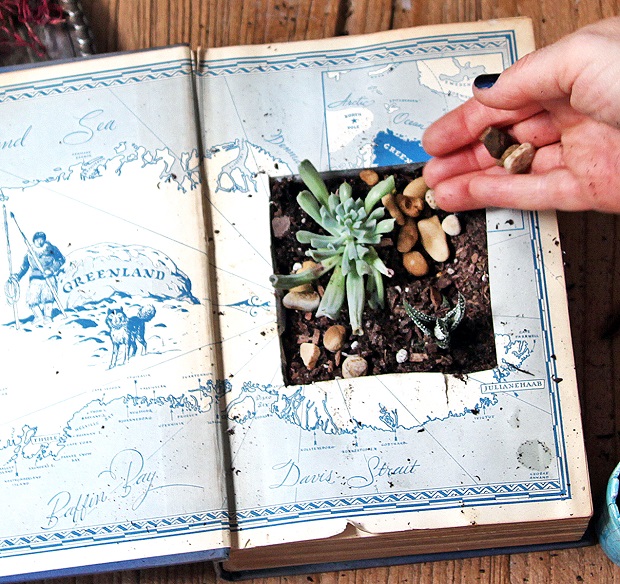
- Place the plants on the soil and fill in around them, lightly pressing it all into place. Arrange decorative moss and stones to get the look you want.
Tip: Succulents don’t need a lot of water; a small amount once a week should keep your book garden happy and healthy.