4 Adorable DIY Holiday Card Ideas

Holiday cards can be expensive, and they usually fall on just one family member to handle. From choosing the design to selecting the photo and adding the greeting, often it adds stress to an already busy time of year. Instead of going with something typical this time around, try making your own with these ideas for fun, hand-painted holiday cards.
Most of the materials can be found around your house. Best of all, every member of the family can help make the cards — turning what’s typically a holiday chore for the adults into a fun activity for everyone.
Materials:
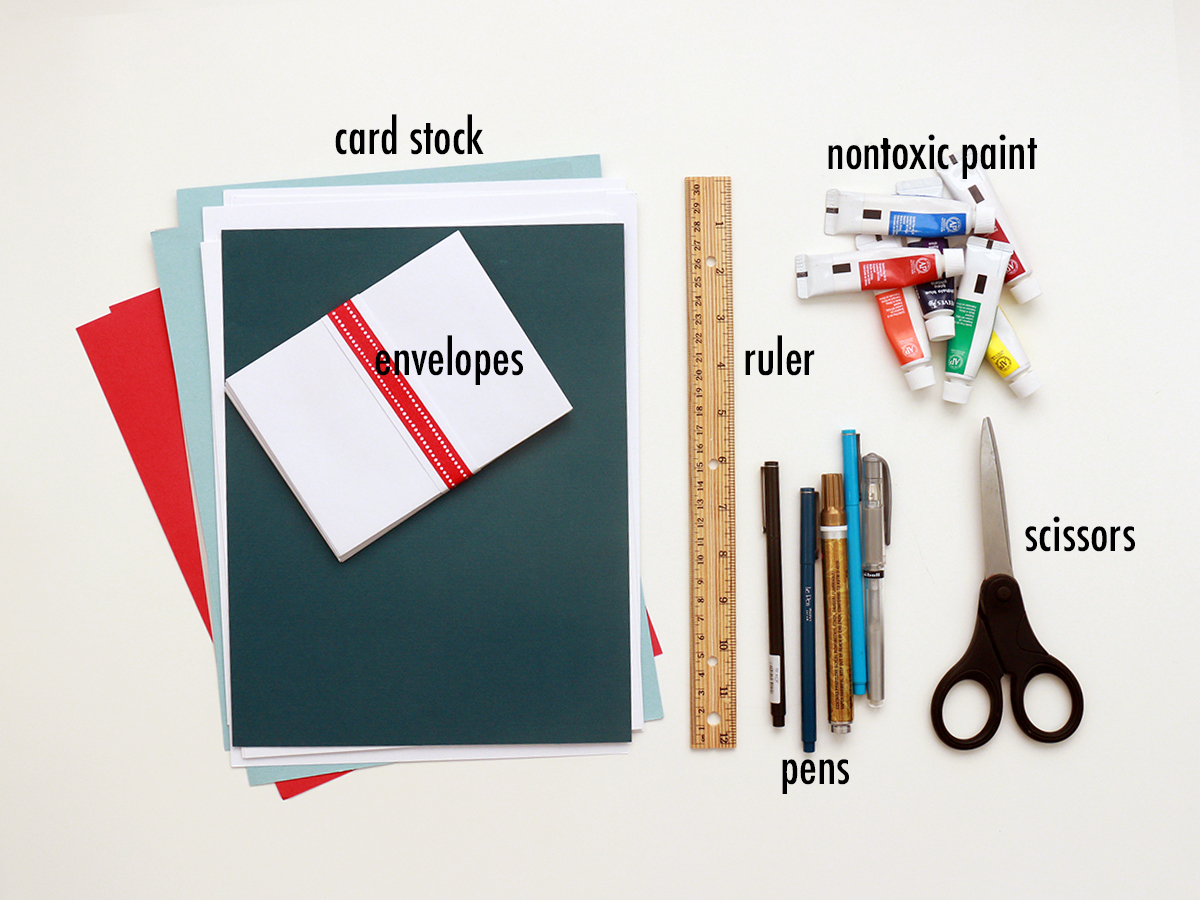
- Card stock (classic holiday colors, white)
- Ruler
- Scissors
- Nontoxic paints
- Pens or markers
- Envelopes
Step 1
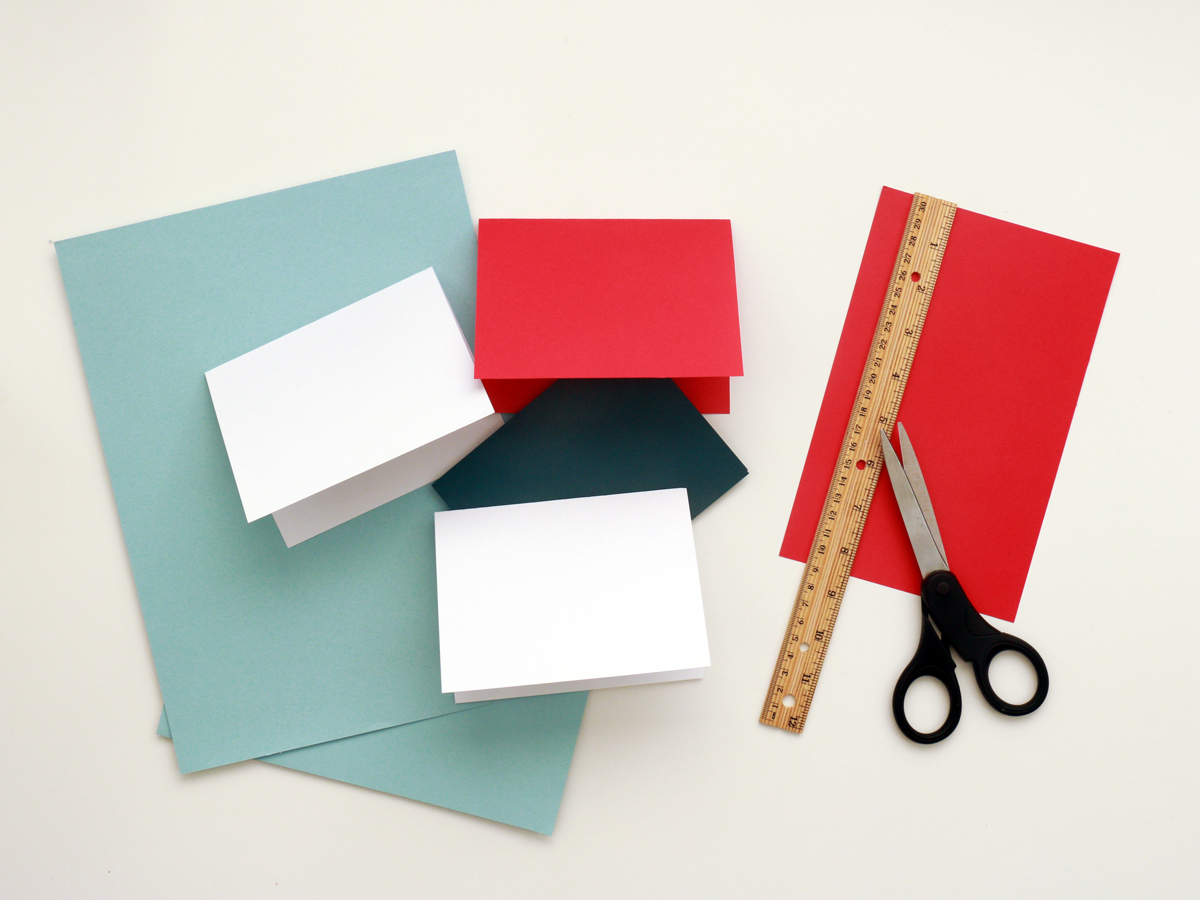
Measure and cut the cards to the size of the envelopes using an assortment of card stock, a ruler, and scissors. For a standard greeting card envelope, cut the paper into 8.5-inch by 5.5-inch strips, then fold them in half. (When folded, the card will measure 4.25 inches by 5.5 inches.) Use the edge of the ruler to help score the crease of the card.
Step 2
Once the cards have been cut and folded, choose a paint-friendly work surface for the crafting to take place. Set out the blank cards, along with some pens or markers, and an assortment of nontoxic paints.
It’s best also to include some paper towels to help with the mess, plus scratch paper for testing out the designs. If you plan to add small details, having some toothpicks or paint-friendly brushes and tools on hand will be helpful.
Here are four hand-painted holiday card styles to get you started:
Reindeer
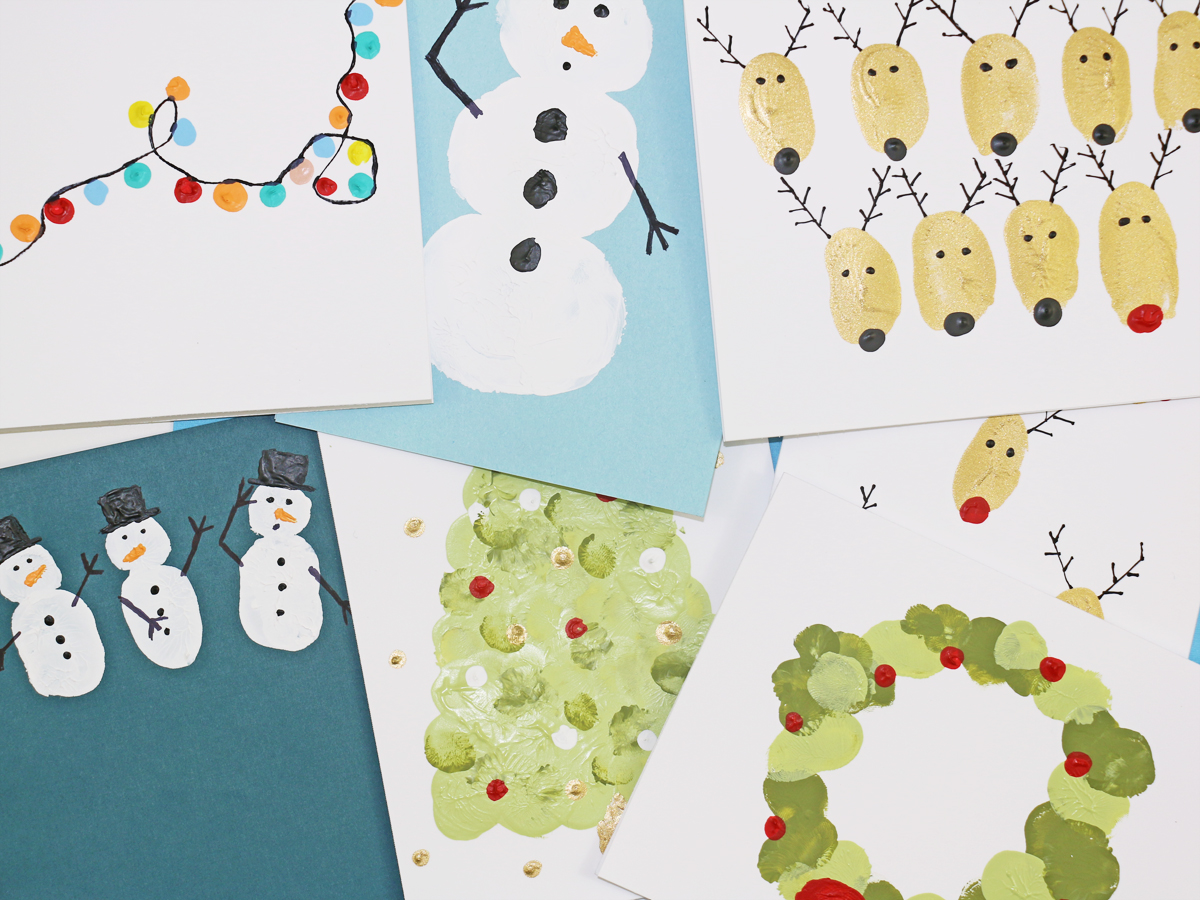
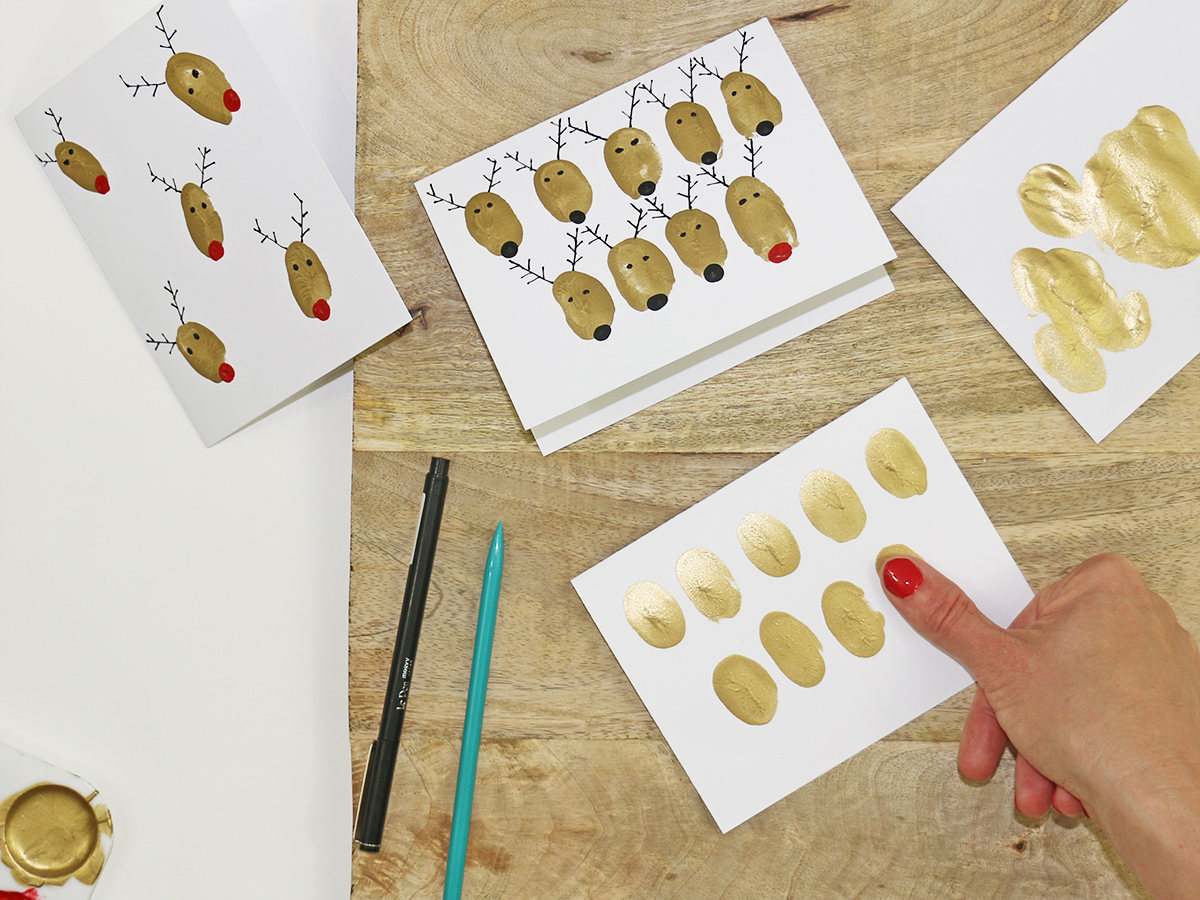
Put your thumbprint to festive use with these cute holiday reindeer. To make them, dip your thumb in gold or brown paint. Use a piece of scratch paper to blot the paint from your thumb, then lightly press your thumb onto the blank card.
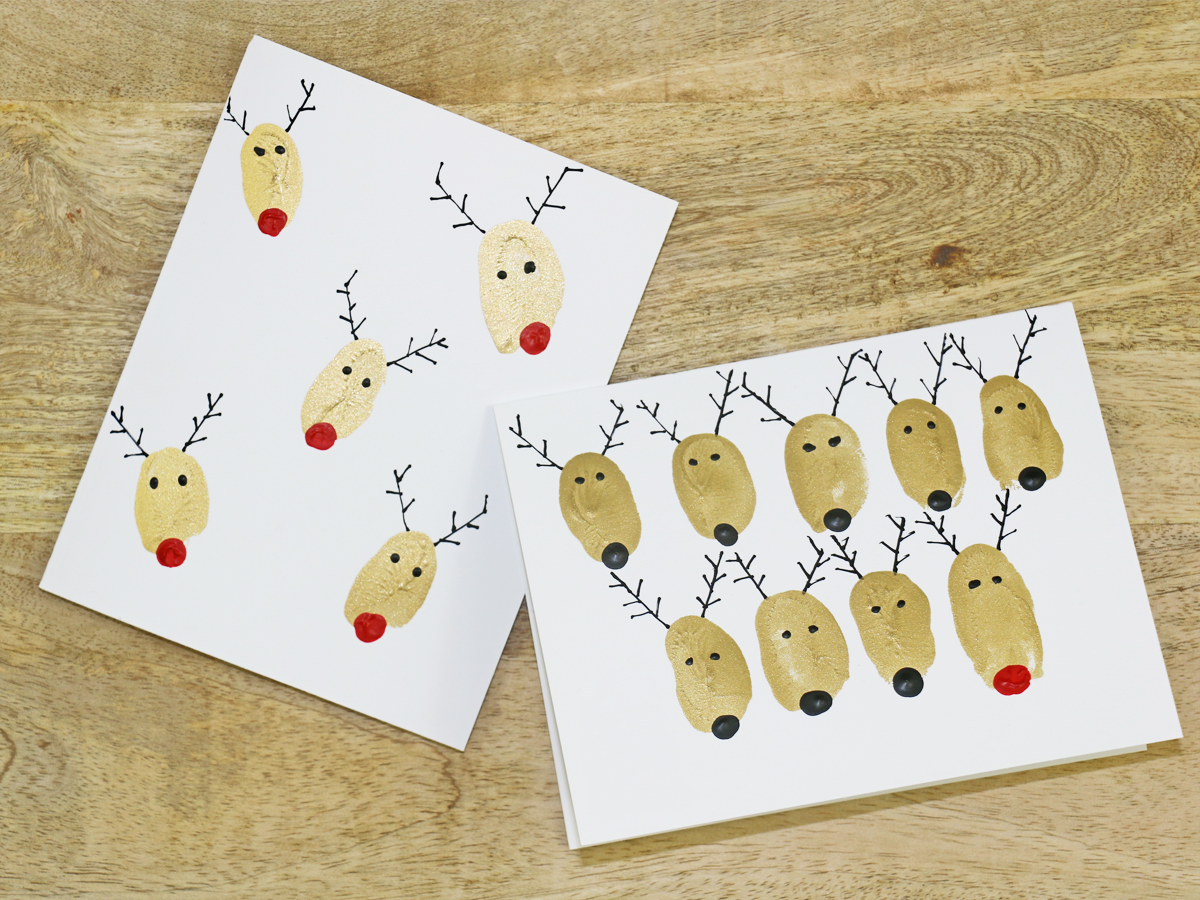
Let the paint sit for a few minutes before adding the nose, which can be made with the tip of your pinky finger and a little black or red paint. Use a toothpick to add on the eyes with black paint. Once the paint is completely dry, use a pen to finish off each reindeer with antlers.
Winter Greenery
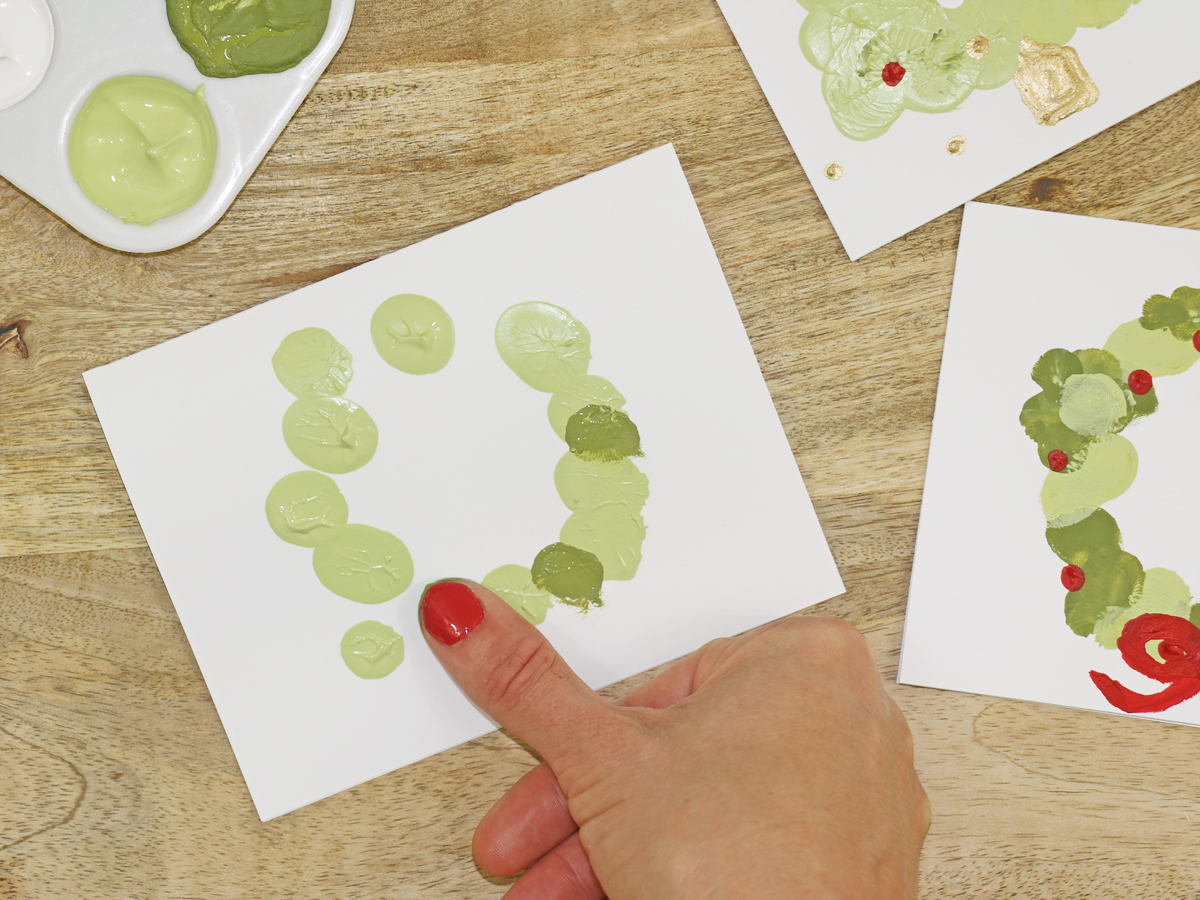
For a classic holiday card, try a holiday tree or a winter wreath. To make the wreath, dip your thumb in green paint and add dots to the card, working in a circle. Give the first color a few minutes to set, then dip your thumb into a different shade of green and repeat until the wreath shape is complete. Use your pinky finger or the end of a brush to add some berries and a ribbon.
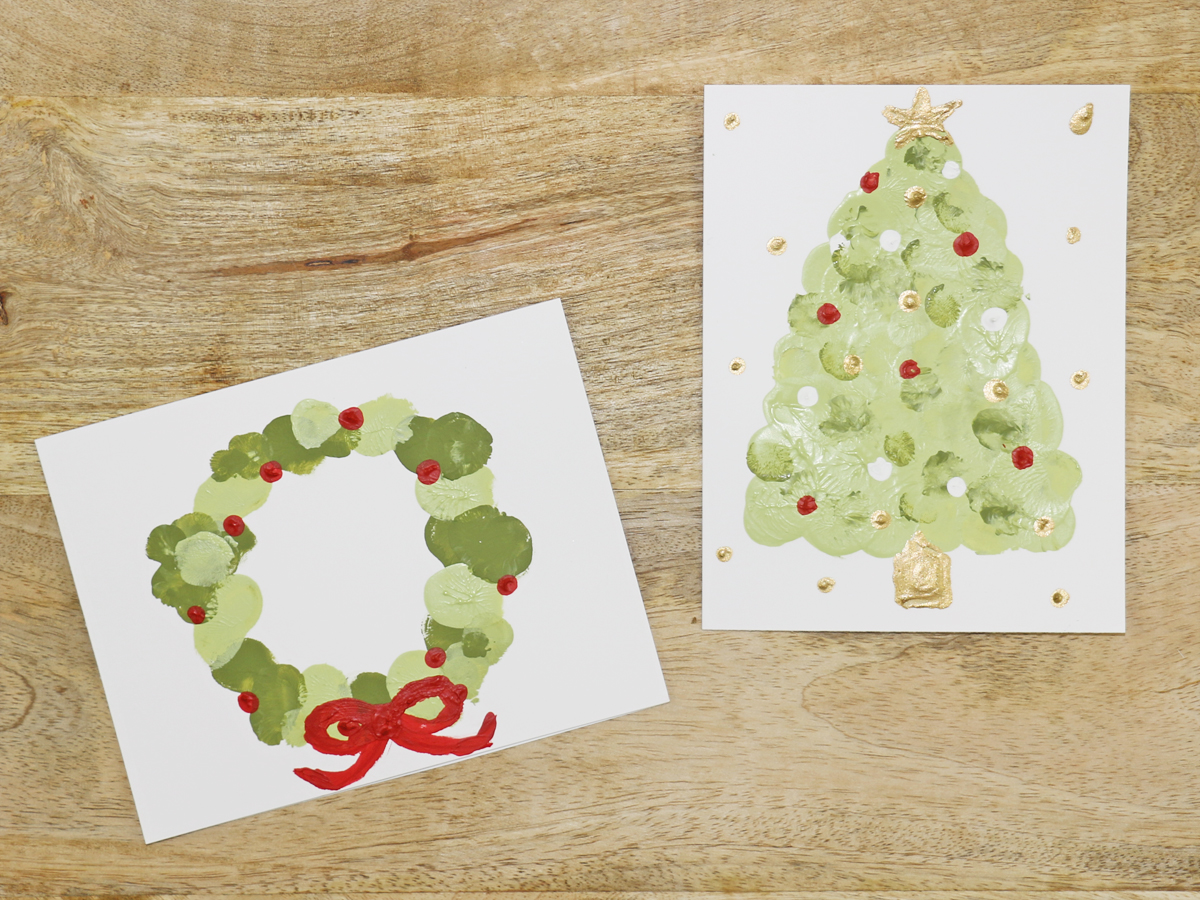
For the holiday tree, follow the same process as the wreath, instead creating a tree shape with your thumbprints. Use brighter colored paints to add the lights and the star.
Snowmen
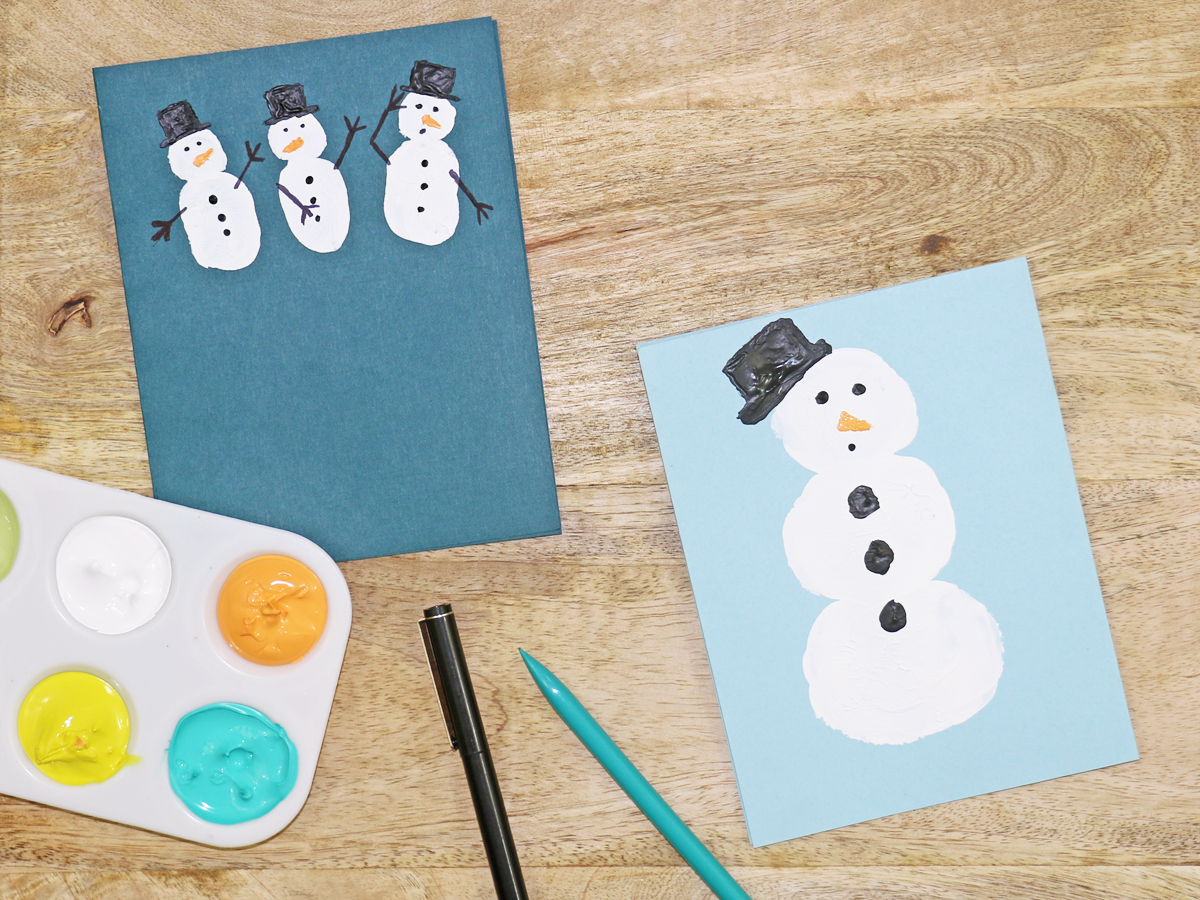
You’ll be pleasantly surprised by how easy it is to turn a blank card into a winter wonderland. For the smaller snowmen, use your thumb and index finger to create the body and head of the snowmen with white paint. Once the paint is dry, use a toothpick (or anything with a small tip) to add on the buttons with black paint, as well as the carrot nose with orange paint. Use your pinky finger to add the classic snowman hat.
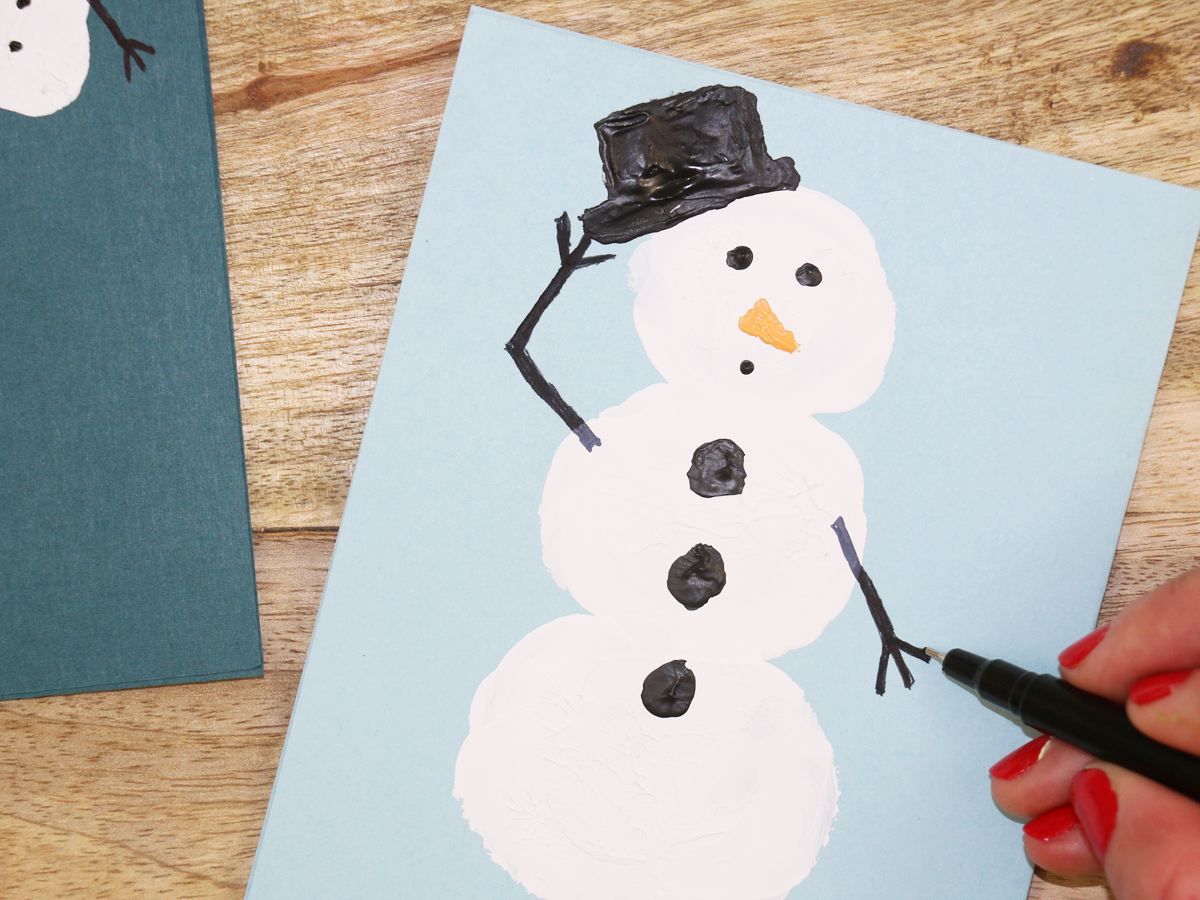
Once the paint is dry, use a black pen to finish off each snowman with stick arms. The best thing about the small snowmen is that you can create a fun group of them, giving each a different facial expression. If you’re feeling adventurous, you can even turn each family member into a snowman on the card!
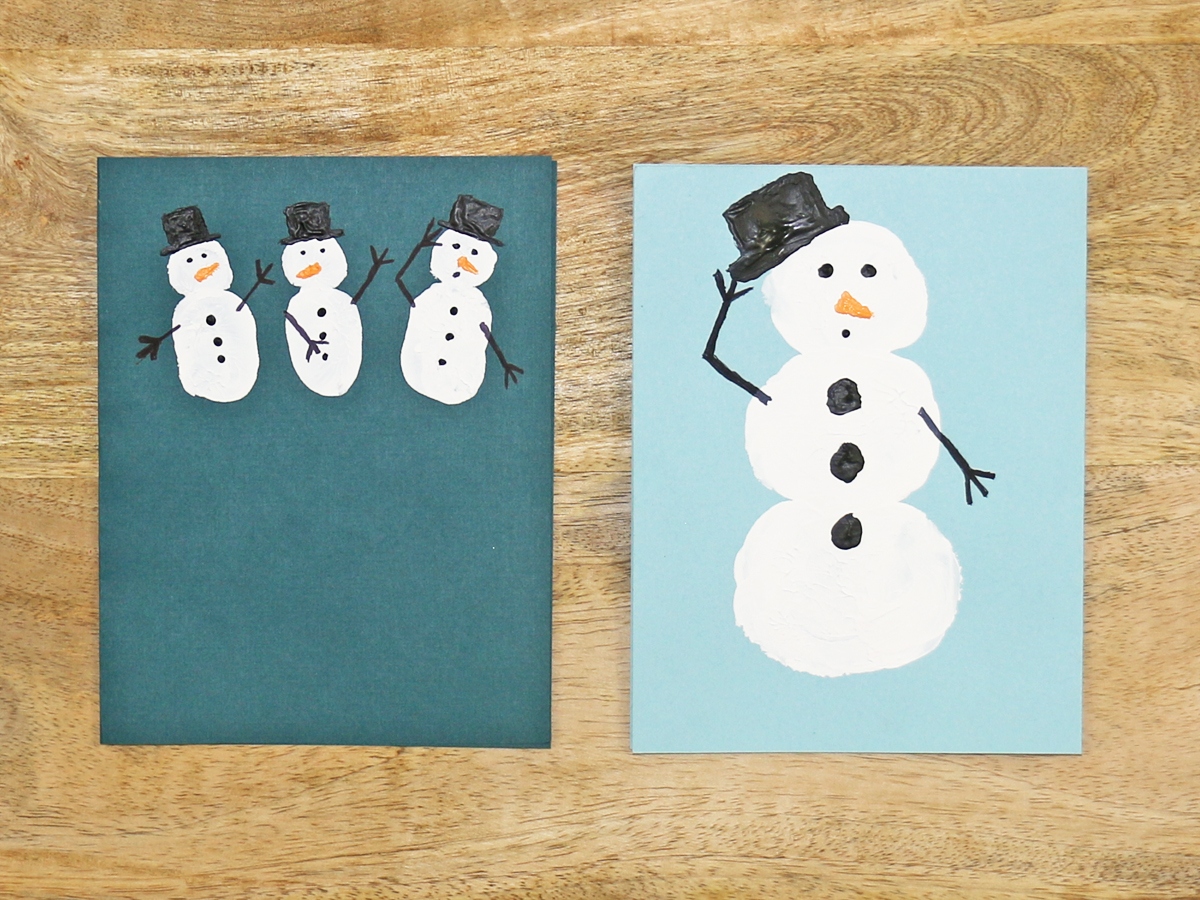
For the larger snowmen, paint larger rounds onto the card with white paint using your finger, then repeat the steps above for the other features once the paint has dried.
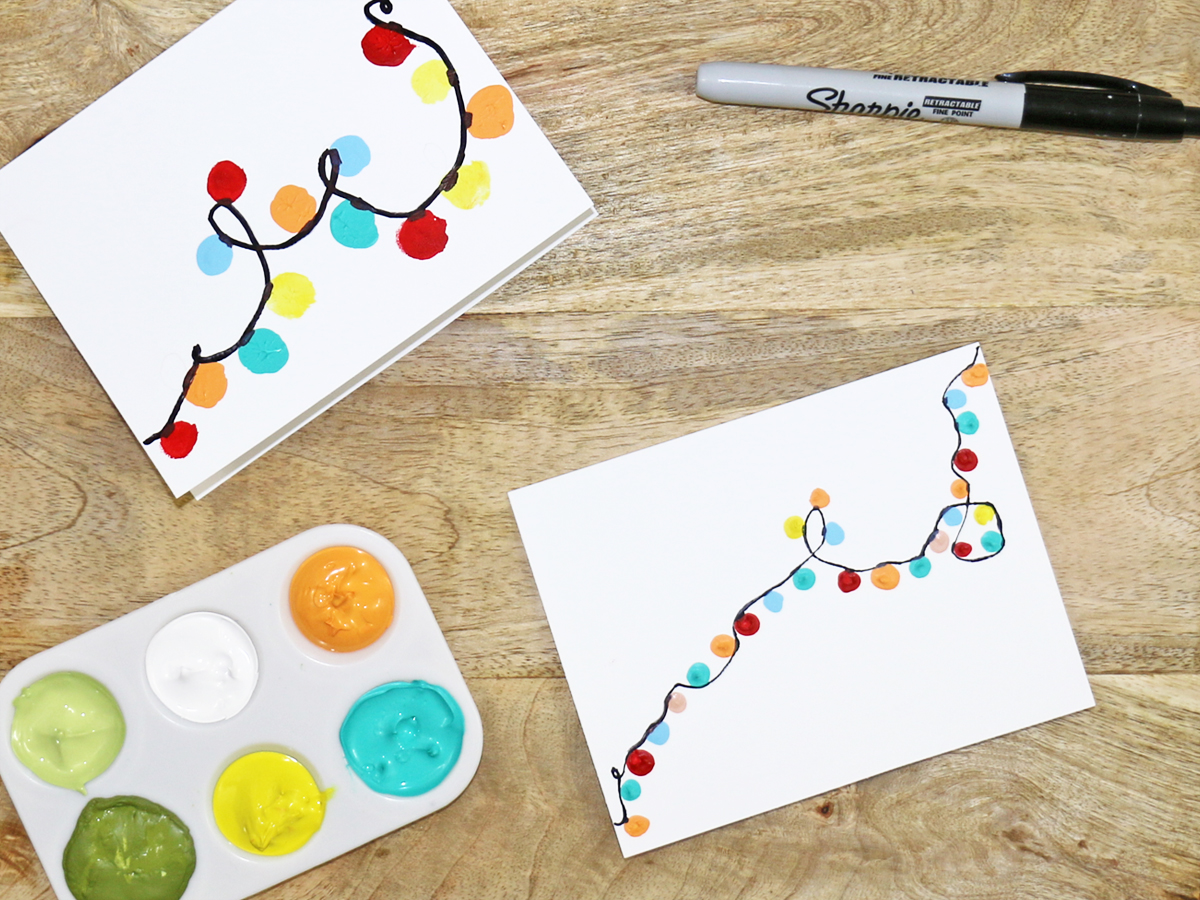
Holiday Lights
For the lights, dip your fingertip into a bright color of paint and gently press your finger onto the card to add a colorful light bulb. Alternate the color of the bulbs on the paper. Once the bulbs have dried, use a black marker or felt-tip pen to add the cord to complete the light strand.