Redecorate Your Bedroom: DIY Yarn Wall Art
Your bedroom is your sanctuary, but it’s often the room that gets decorated last. If you never got around to it, or if you’re ready for a refresh, this is the series for you. We show you how to redecorate your bedroom, one affordable project at a time.
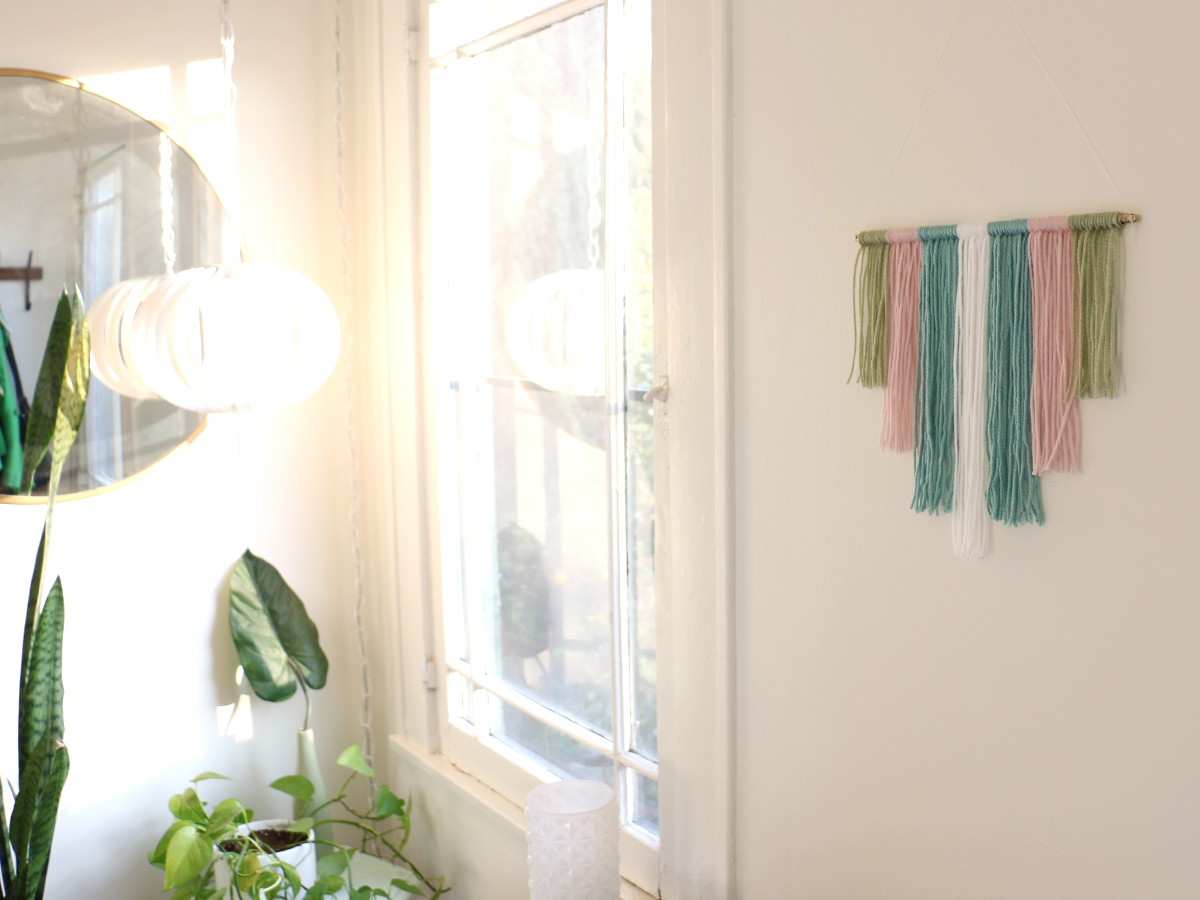
For the first project, tackle those empty walls with some DIY wall art, specifically a colorful yarn hanging. You can customize it any way you want — the colors, pattern, and overall design — allowing your creativity to shine through.
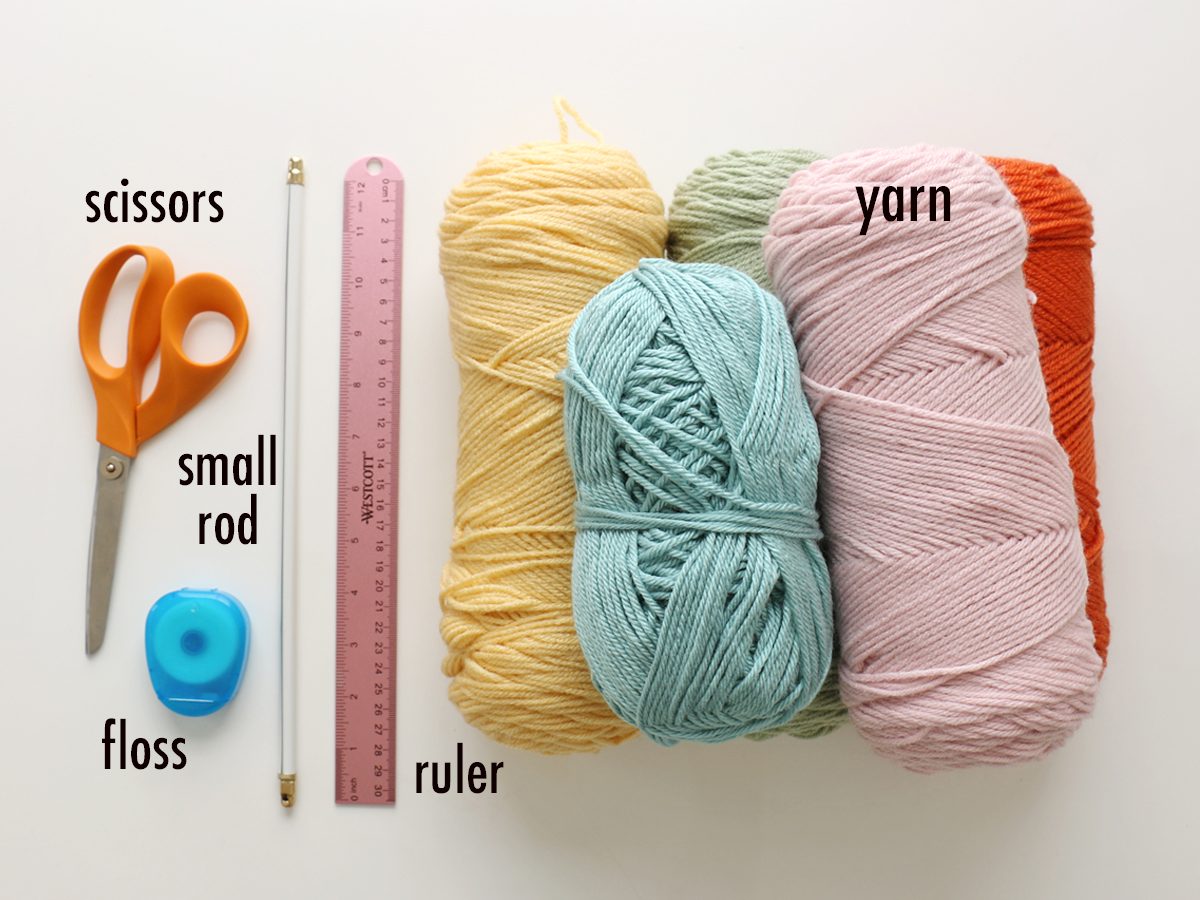
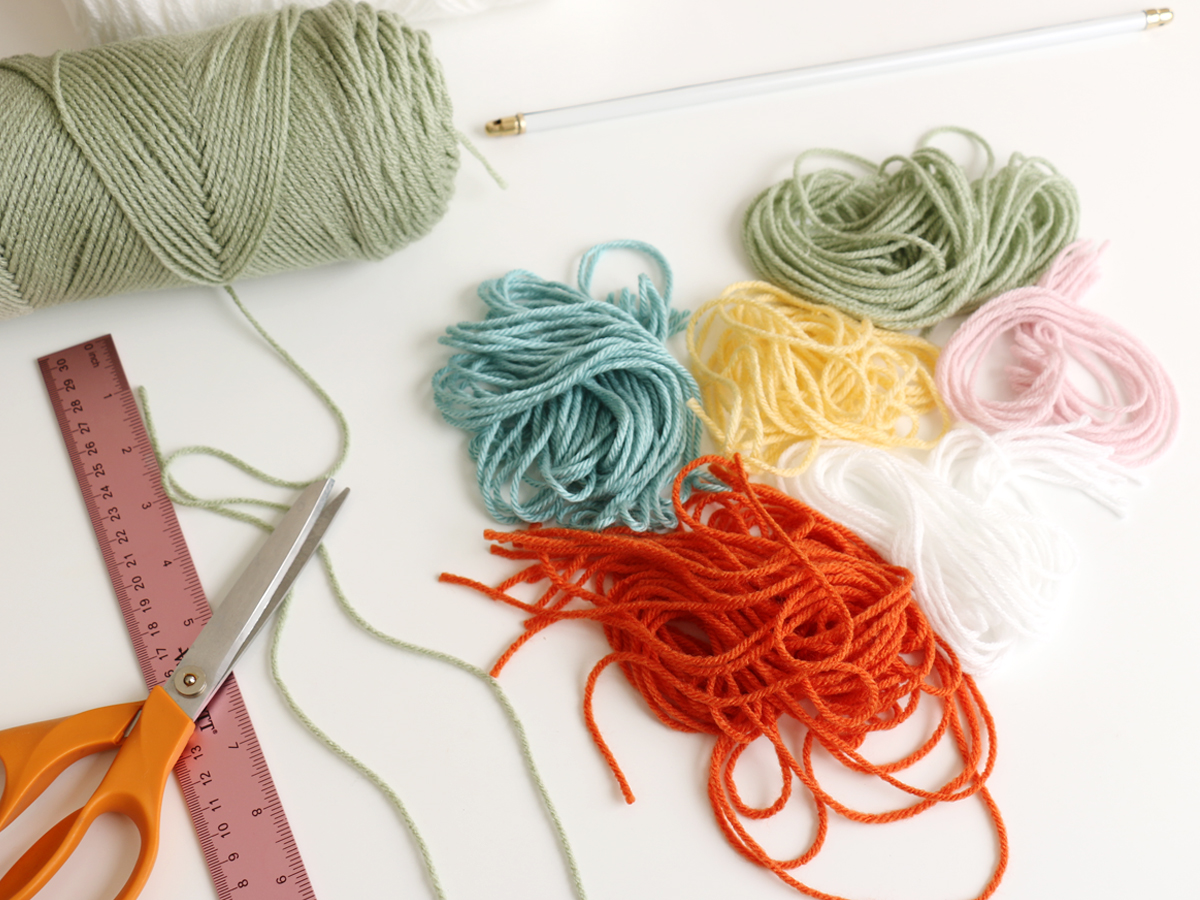
Materials Needed:
- Yarn assortment (three to six colors)
- Small “sash” hanging rod or stick
- Ruler
- Scissors
- Dental floss or string
- Optional: Nail + hammer to hang
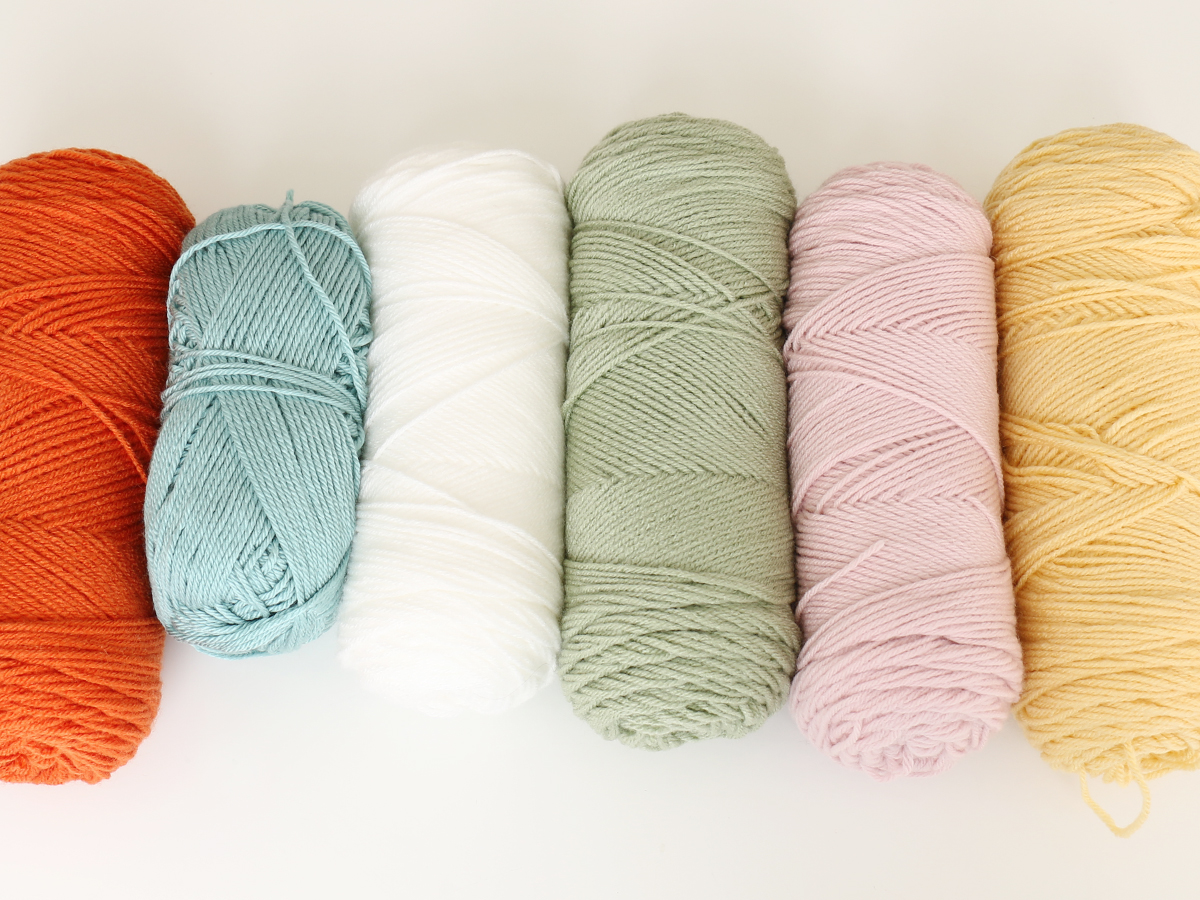
Before you start the project, head to your local craft store to pick out an assortment of yarn. We recommend choosing colors that work well together, and colors that will look good in the room where you will be hanging your finished piece.
You can even color match the piece to your bedroom, by choosing yarn in the same colors as the wall, furniture, or bedding.
Step 1
Once you’ve chosen your color assortment, lay out the yarn together to determine the order you want the colors to be positioned.
Step 2
Cut 10 (or more) pieces from each color of yarn, cutting each piece approximately two feet in length. The pieces don’t need to be exactly the same length, because you’ll trim them later.
Tip: It’s much easier to determine the order beforehand, so you don’t have to unloop and rearrange the yarn once it’s already assembled on the hanging rod.


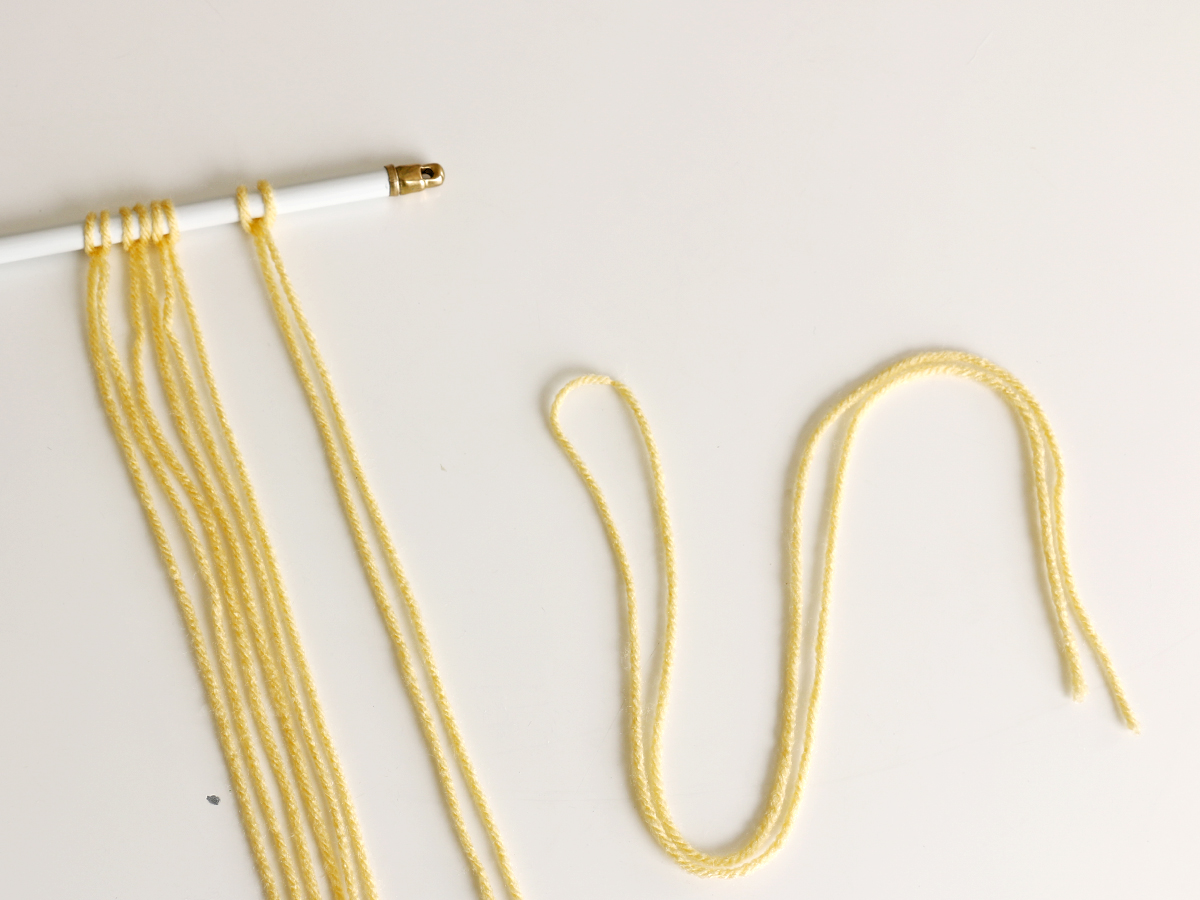
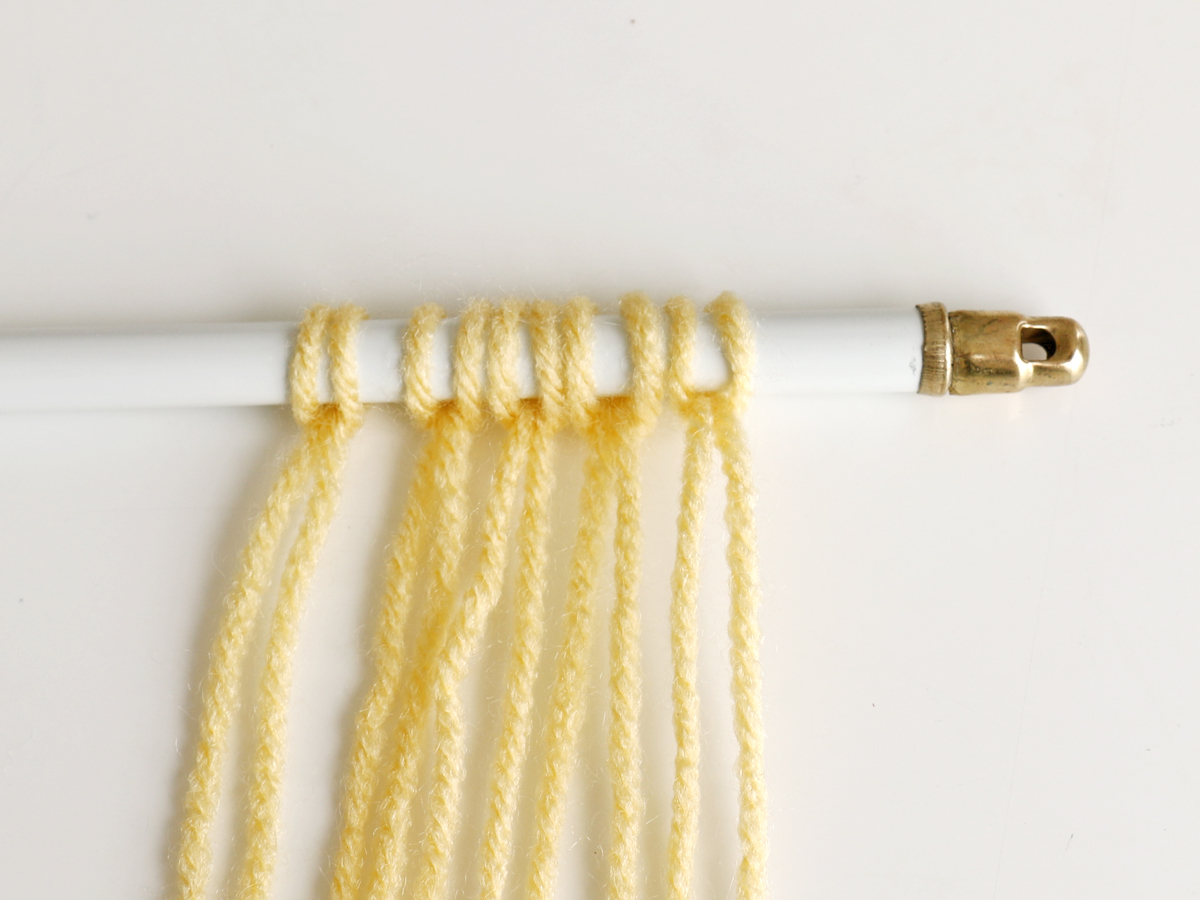
Step 3
Add the yarn to the rod in the same color order you determined in step 1. Working with one piece of string at a time, fold each piece in half.
Bring the two ends through the center loop of the yarn, with the hanging rod positioned inside the loop. Pull the ends tight to secure the yarn in place on the rod.
Tip: You don’t have to add all 10 strings of yarn per color. You can vary the number of pieces. Again, it’s completely up to you!
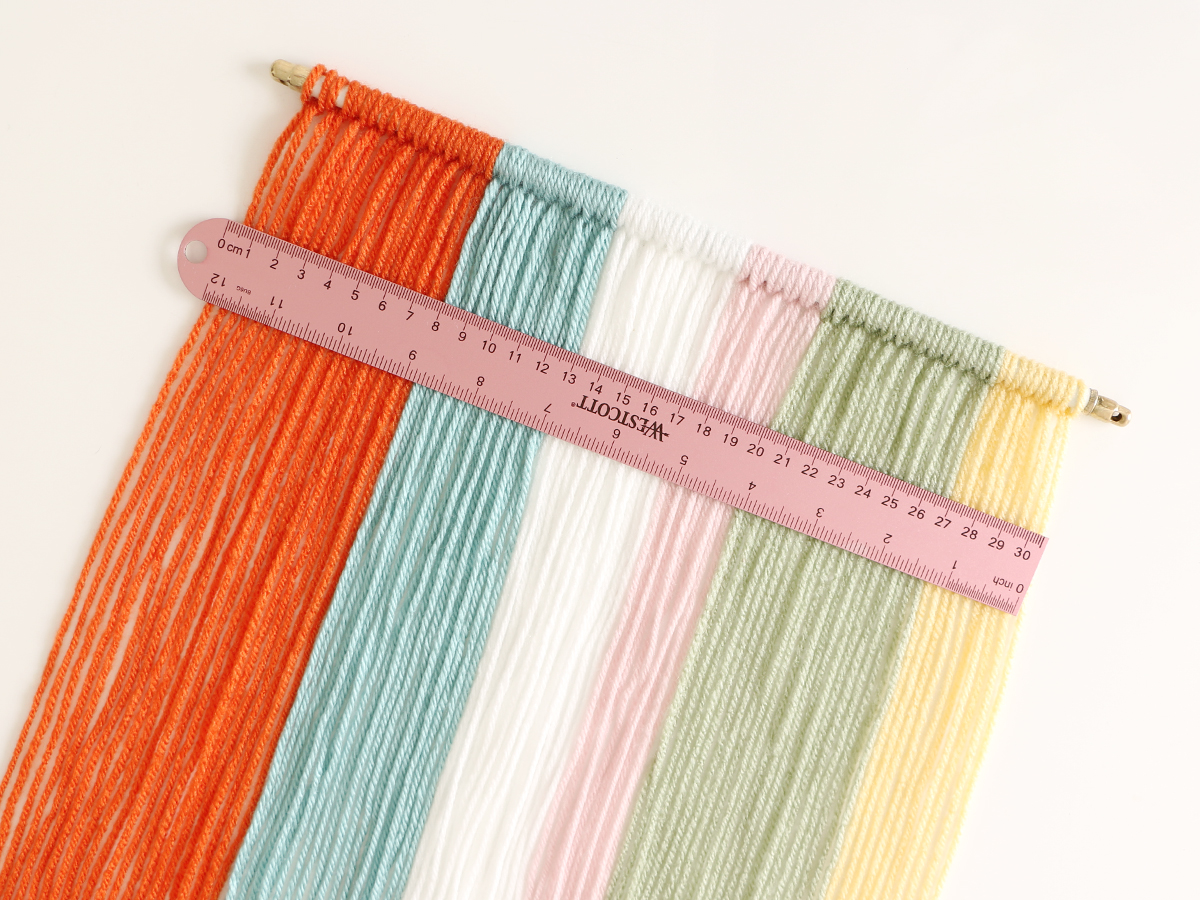
Step 4
Once all of your yarn pieces have been added to the rod, lay the piece down on a flat surface. Use your ruler to help lay the yarn pieces flat.

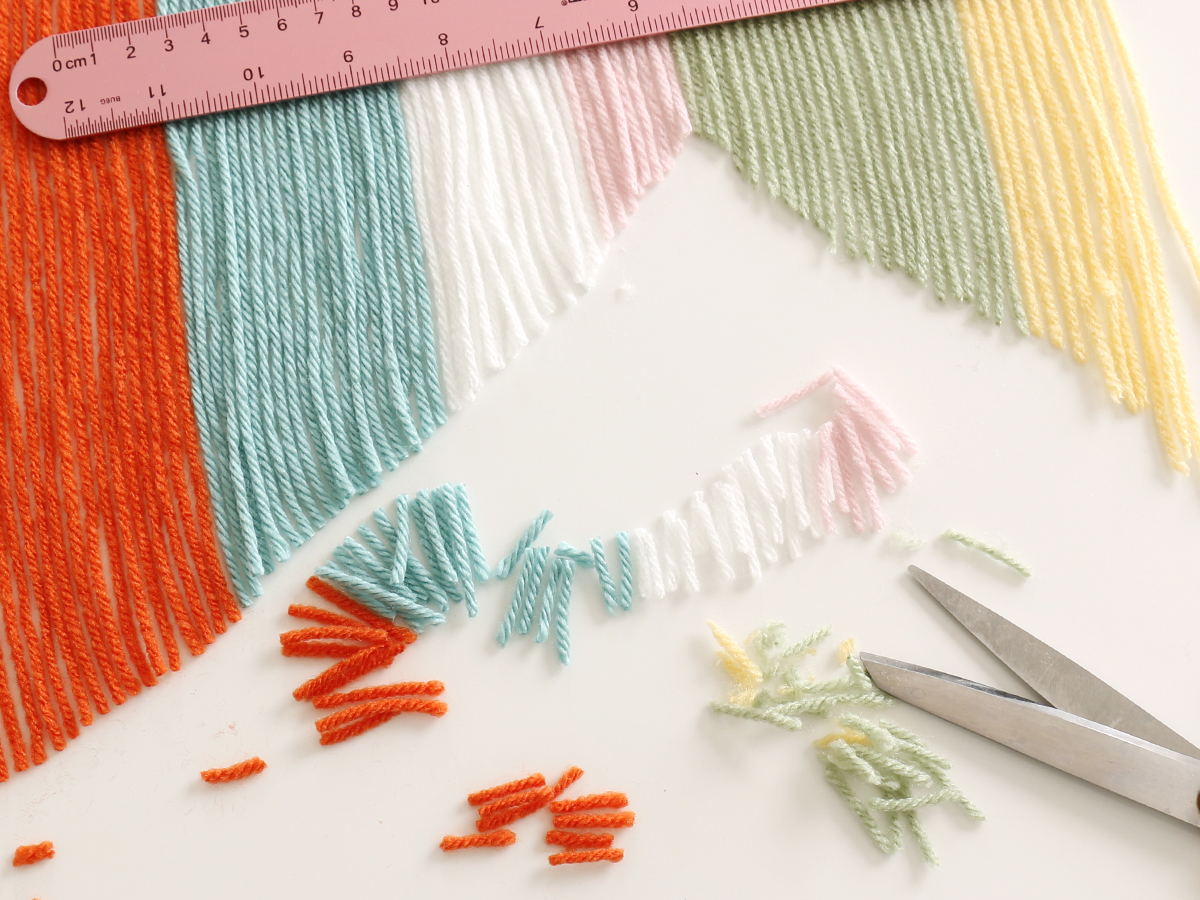
Step 5
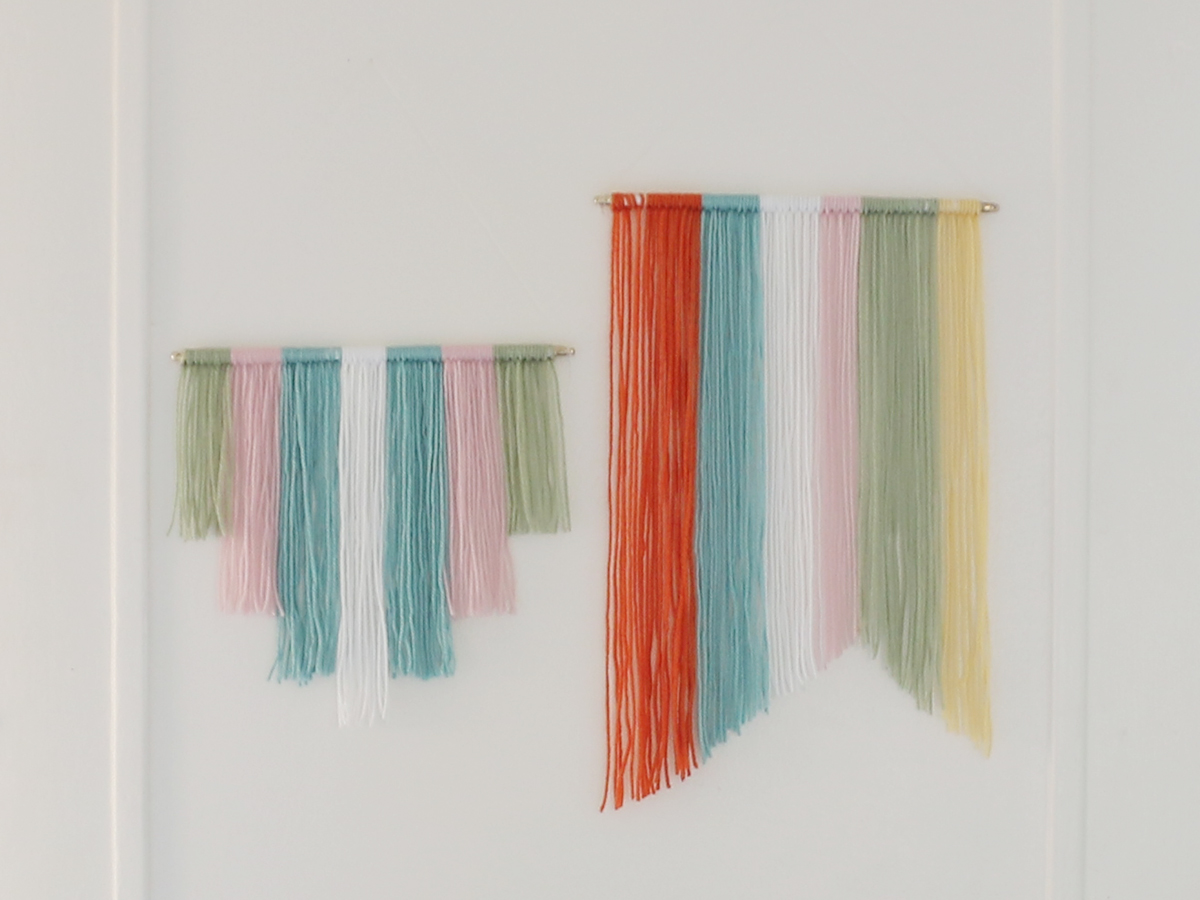
Once all of the yarn pieces are laying flat, trim the ends to your liking to ensure a straight line or edge at the bottom of your piece. In terms of the pattern, this step is again up to you!
As you can see, we went for an angled pattern by cutting the ends in an upward peak for one of our wall pieces. If necessary, you can always trim any uneven ends once it’s on the wall, so don’t worry too much if a couple of the pieces aren’t exact.
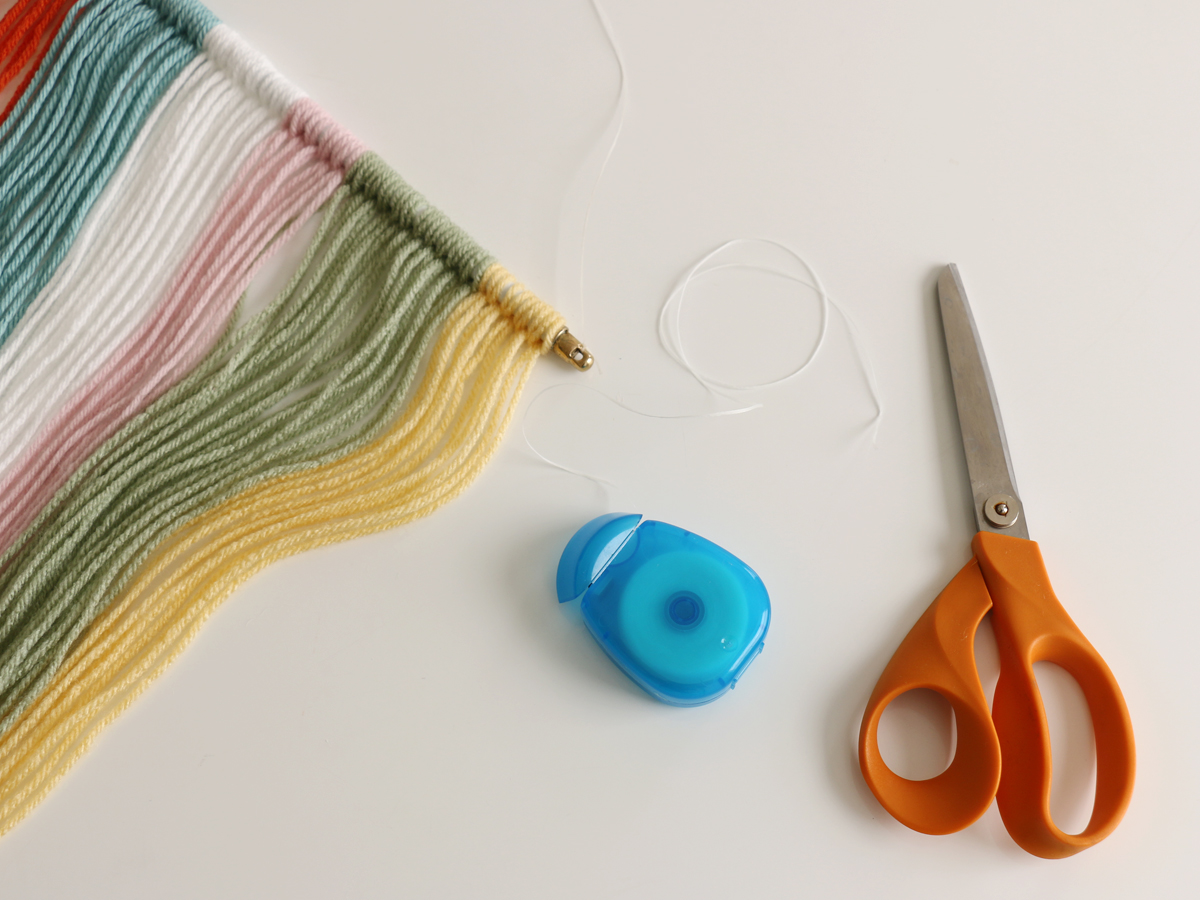
Step 6
String one piece of dental floss through both ends of your rod, and knot each end. Once your floss is secured, hang your finished piece.
If you don’t already have an appropriate hook on your wall, hammer a small nail into the wall in your desired hanging location.