
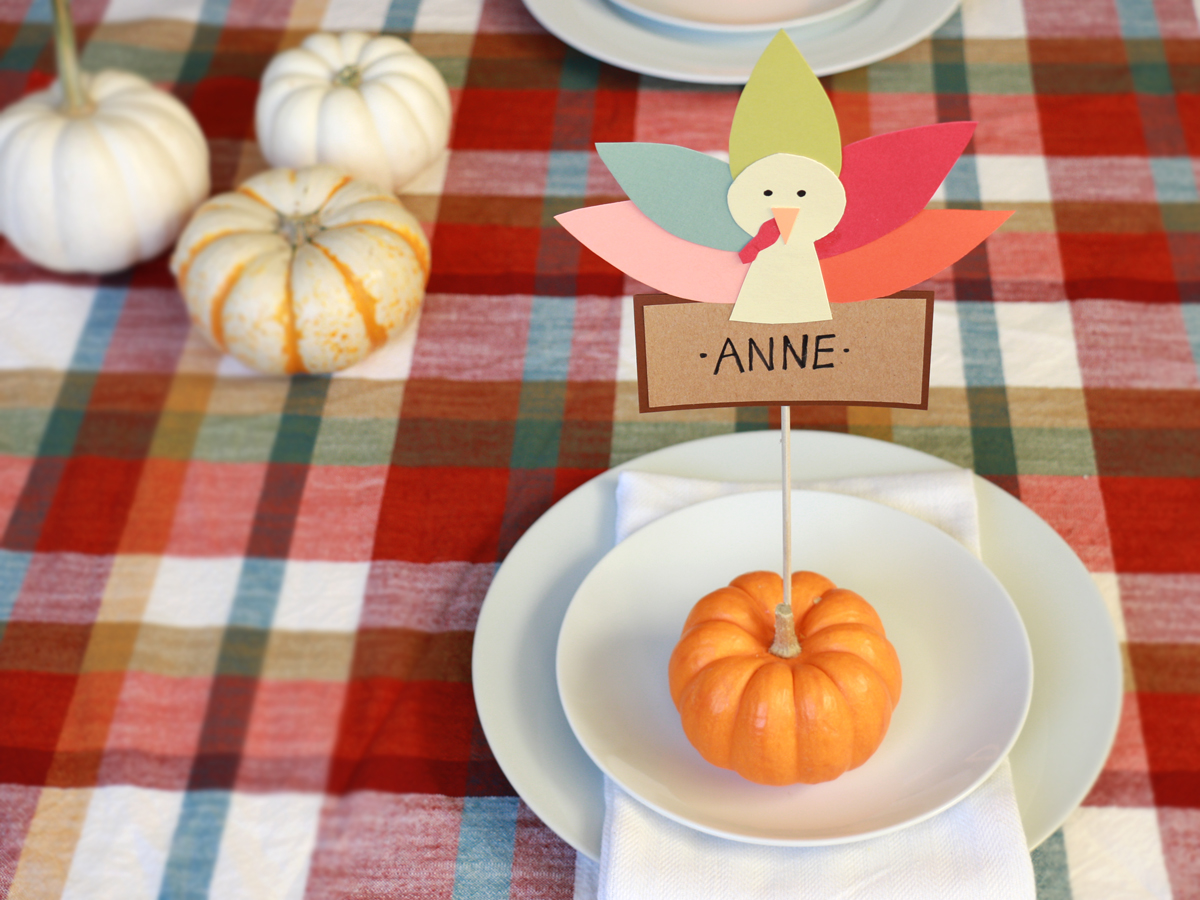

Thinking about a DIY Thanksgiving craft for the holiday celebration? These DIY turkey place cards add a little bit of handmade and a whole lot of fun to your tablescape. Plus, assigned seating can lead to some of the best conversations between guests.
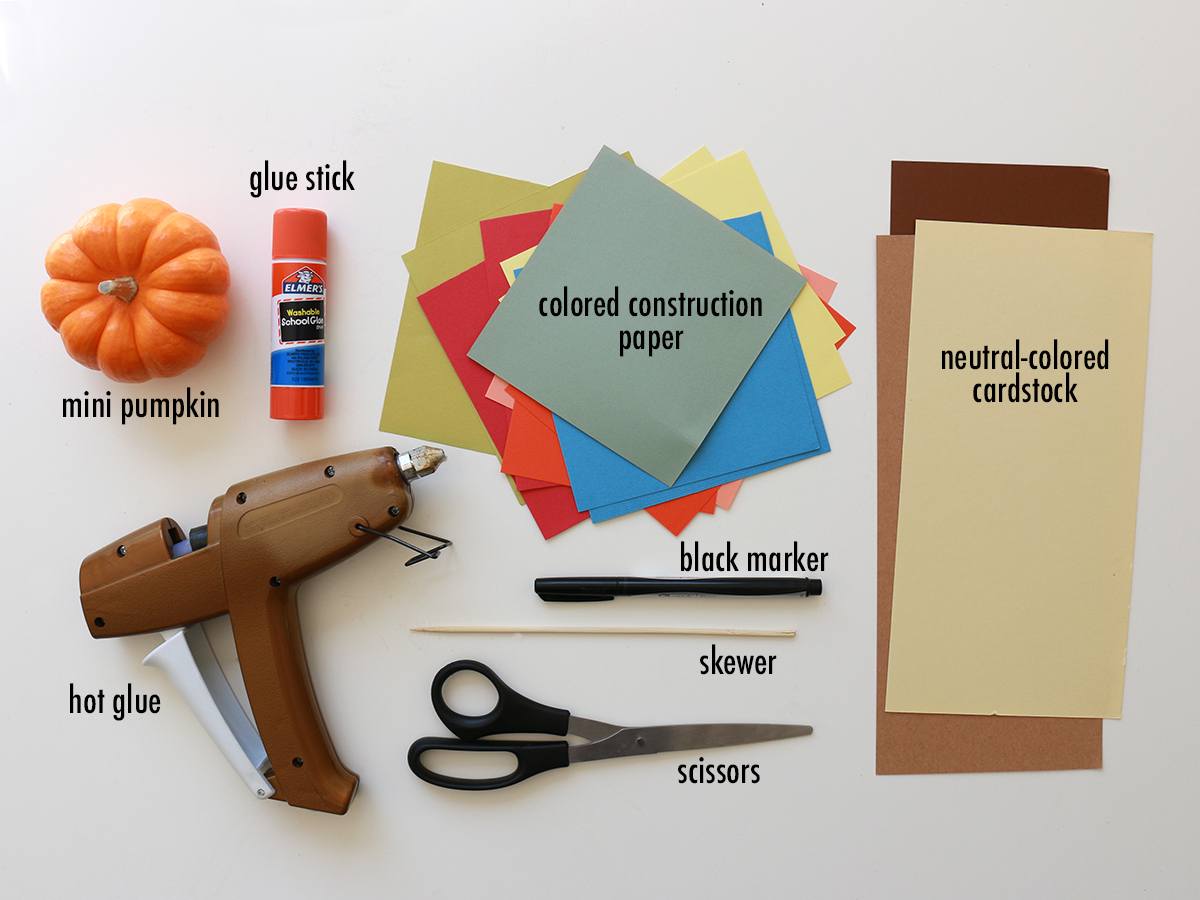
Materials:
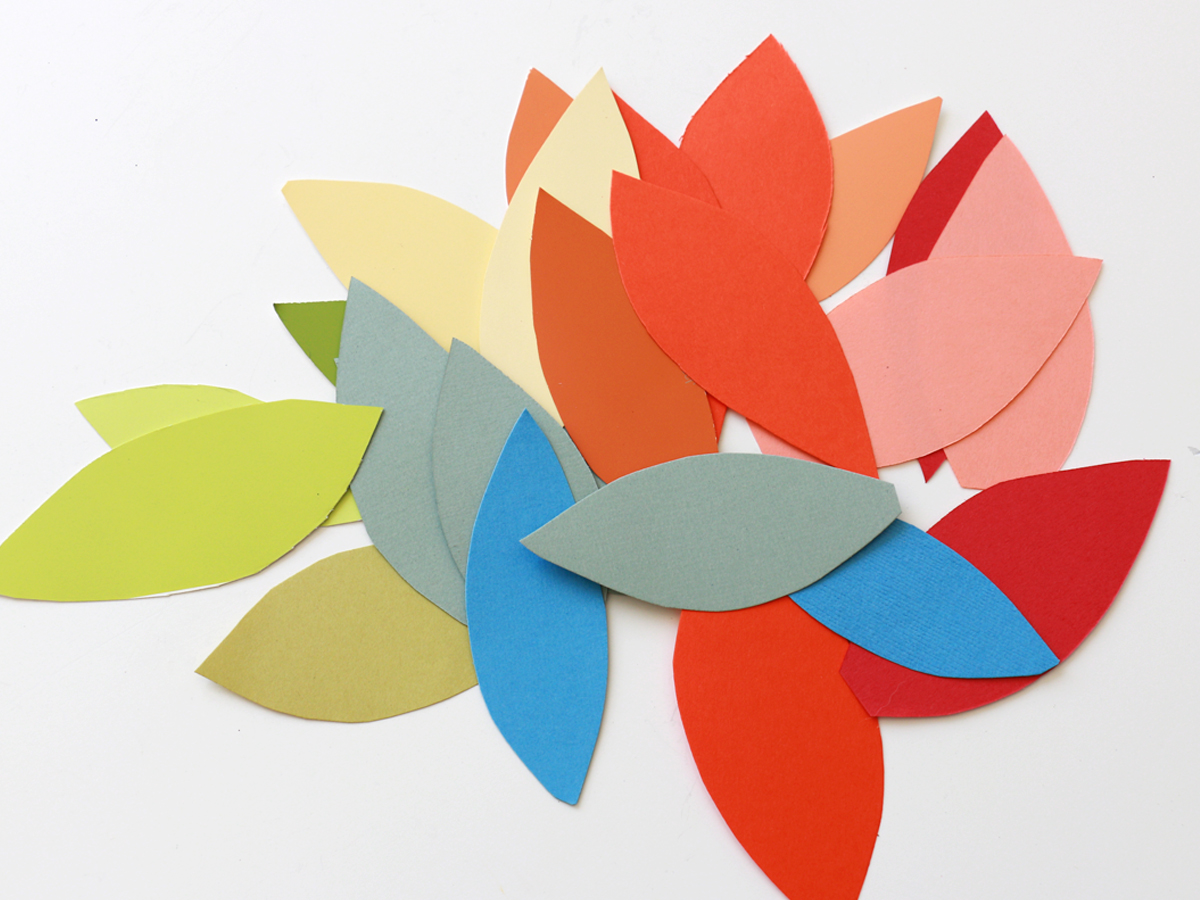
- Colored construction paper (assortment of neutral and colorful fall colors)
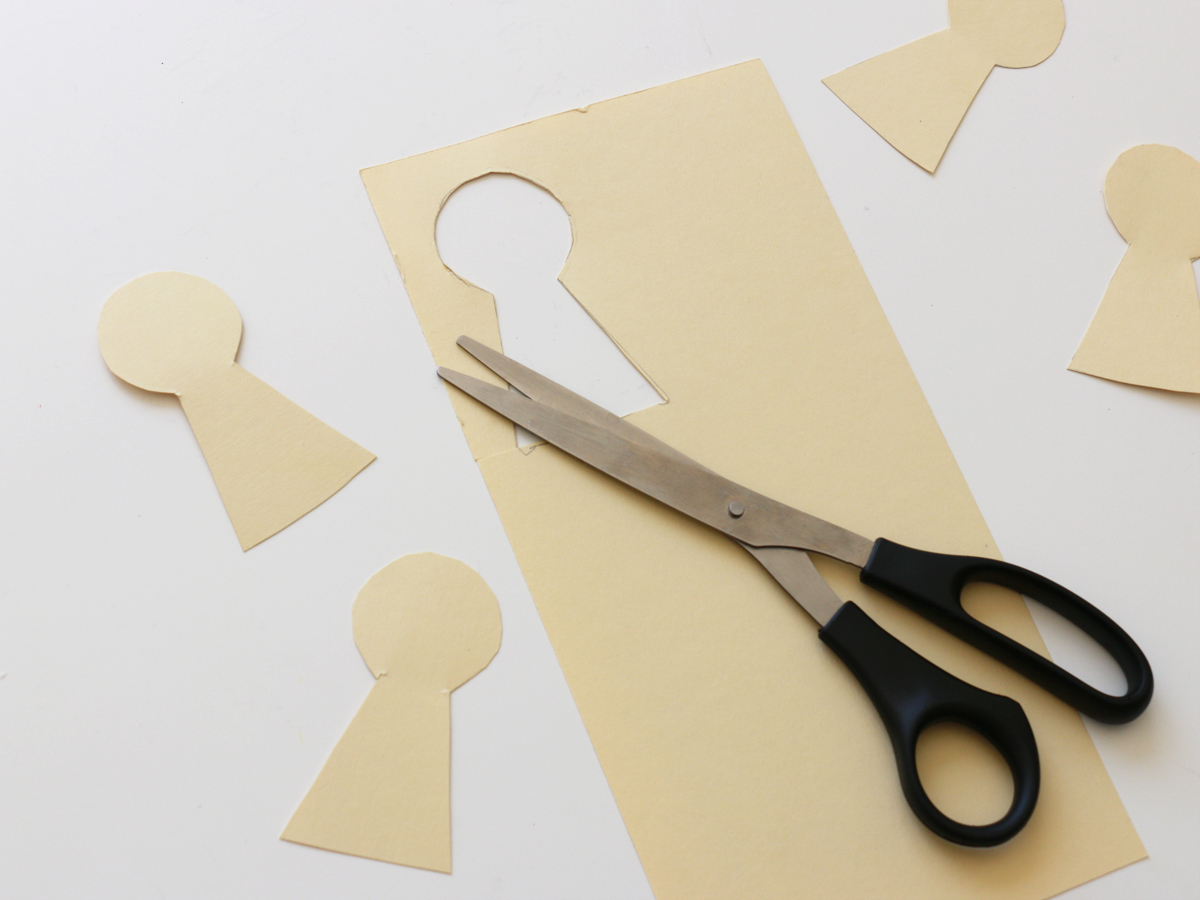
- Scissors
- Neutral-colored cardstock
- Glue stick
- Hot glue gun
- Mini pumpkins
- Skewers
Step 1
For each place setting, you need to cut the following shapes:
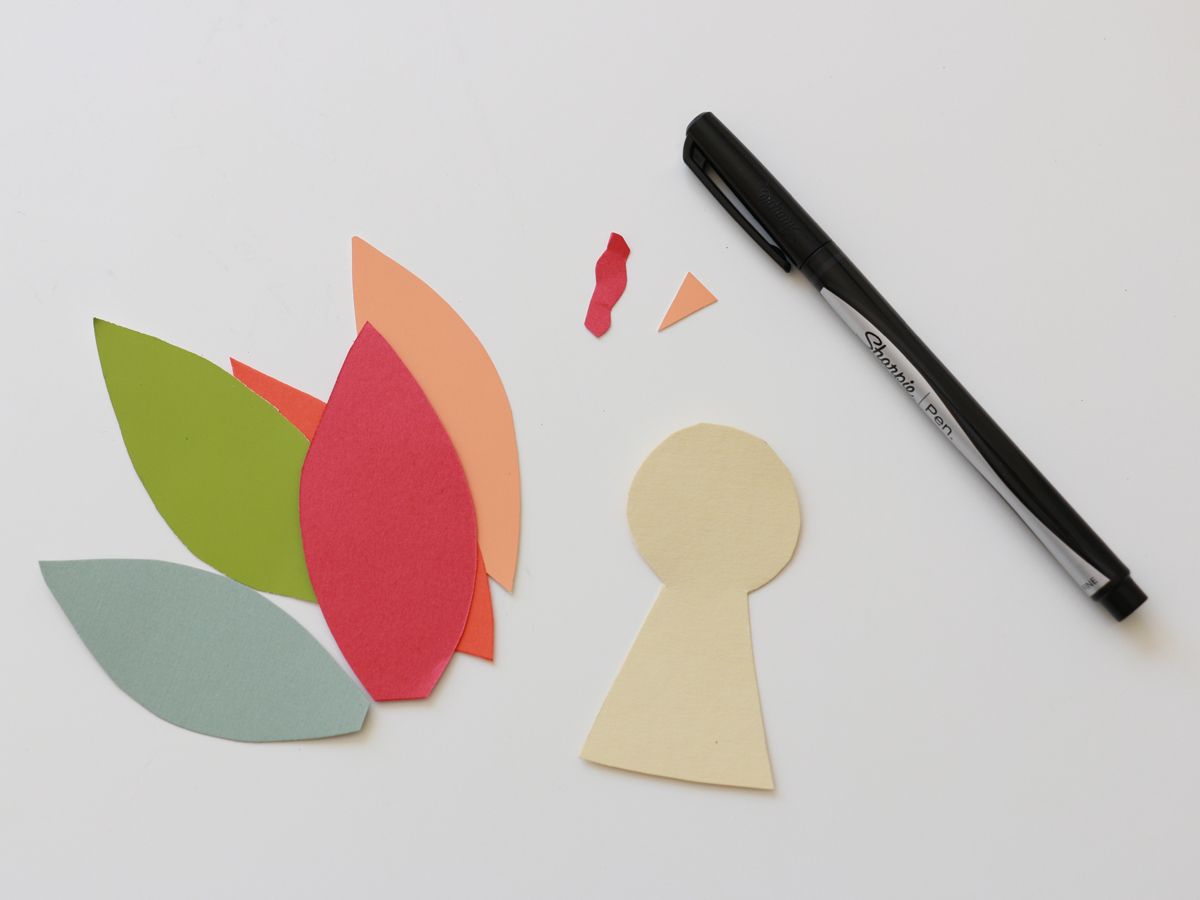
Turkey:
- Head: 1 pawn-shaped piece from light-colored paper
- Feathers: 5 leaf-shaped pieces from colored paper
- Nose: 1 small triangular piece from orange paper
- Wattle: 1 small squiggle-shaped piece from red paper
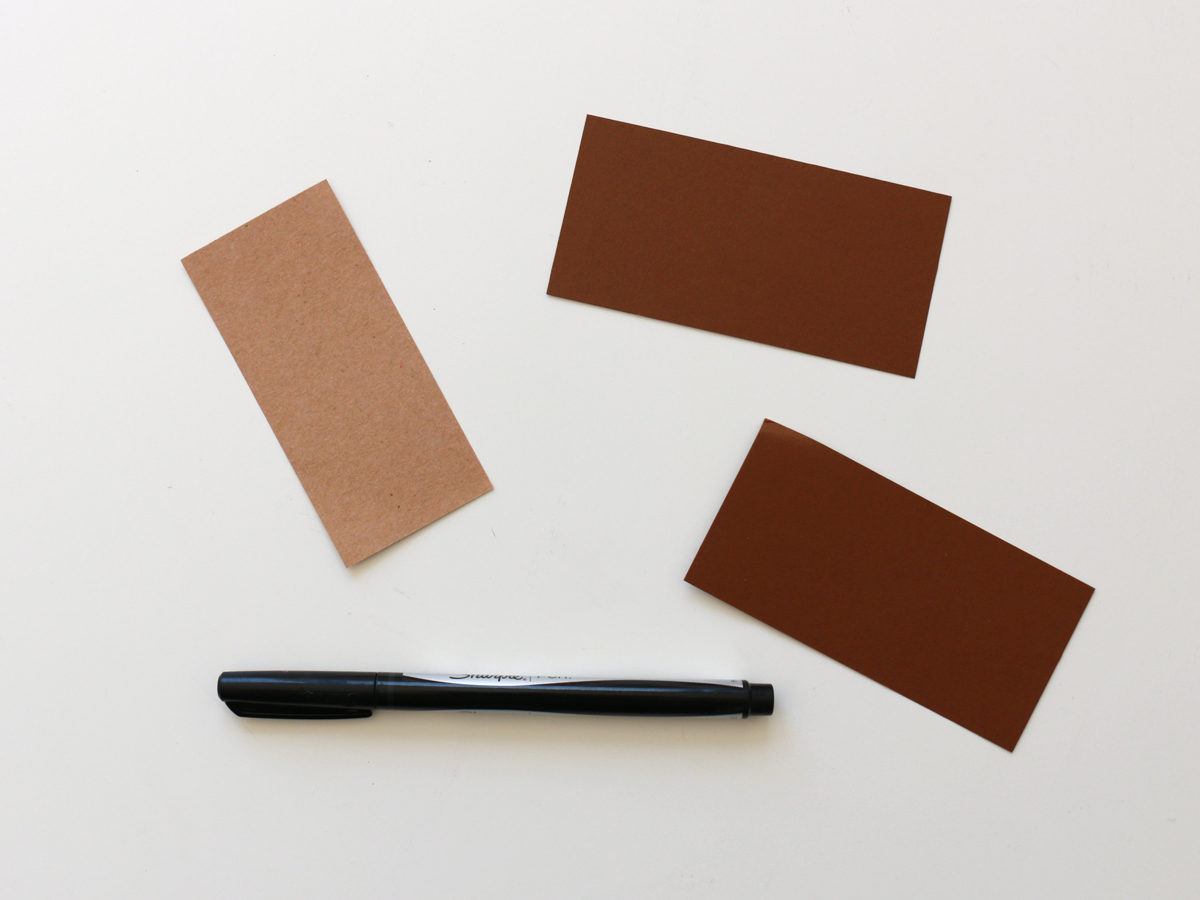
Name card:
- 2 rectangular 2-by-4-inch pieces from any cardstock
- 1 rectangular 1 ¾-by-3 ¾-inch piece from a light cardstock
Step 2
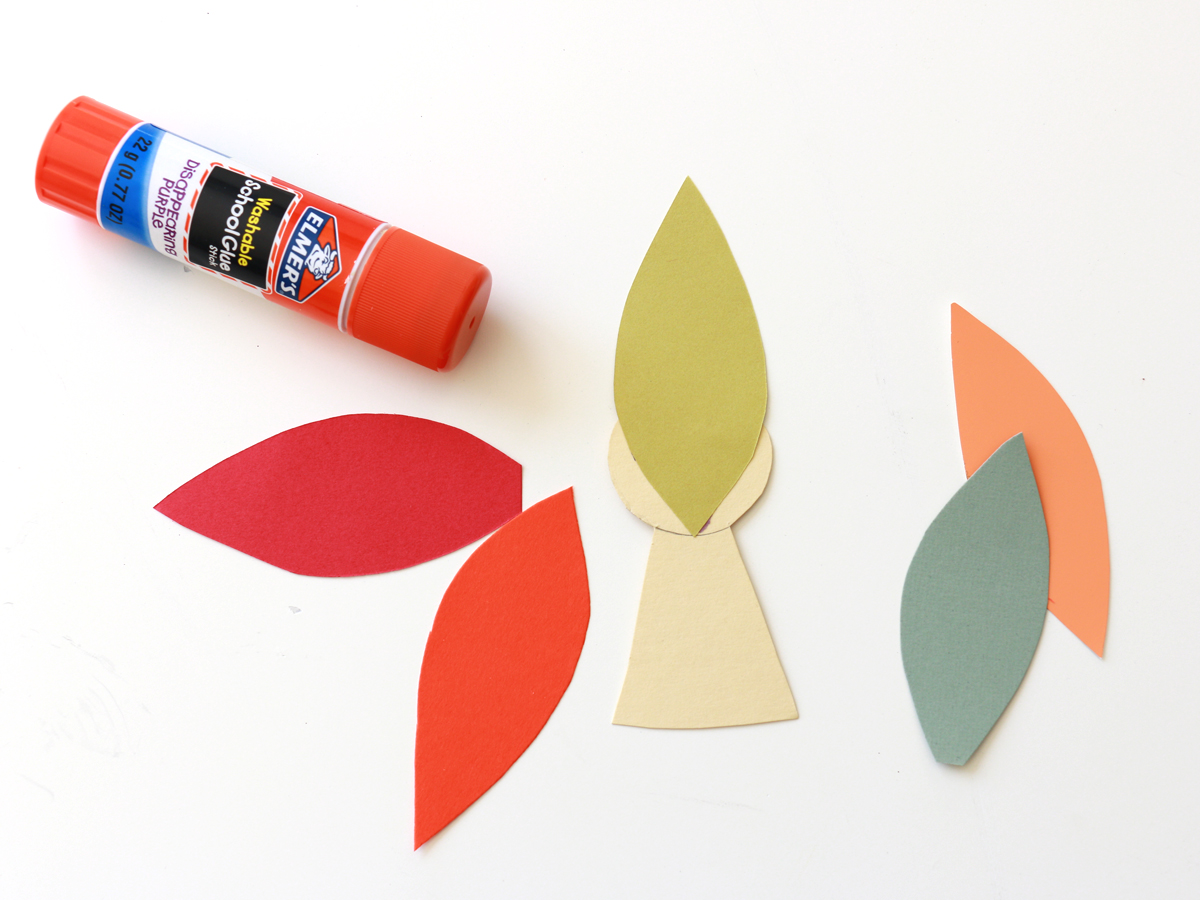
To start making the turkey, glue the leaf-shaped feathers to the back of the pawn piece in a fan arrangement (for the turkey’s feathered tail).
Step 3
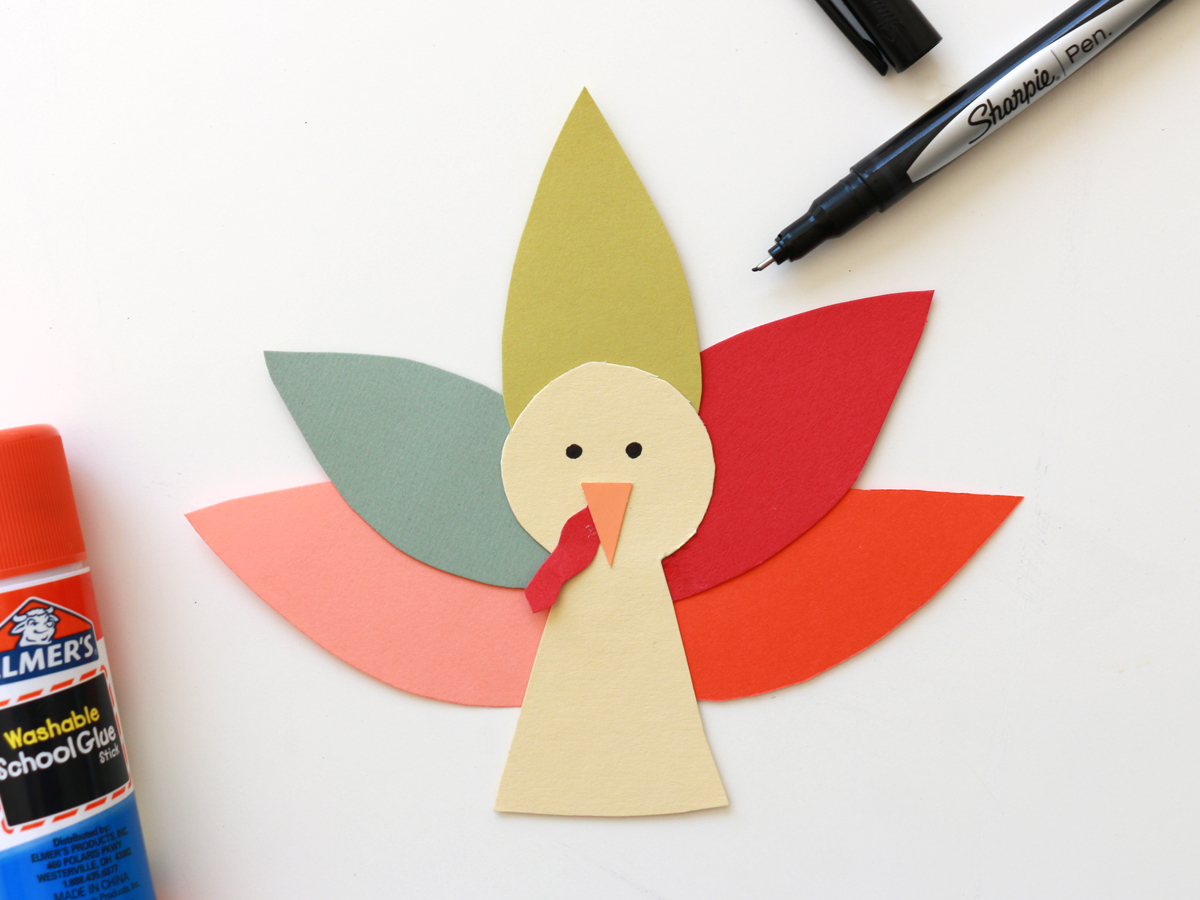
On the front side, glue on the nose and wattle. Use a black marker to add eyes.
Step 4
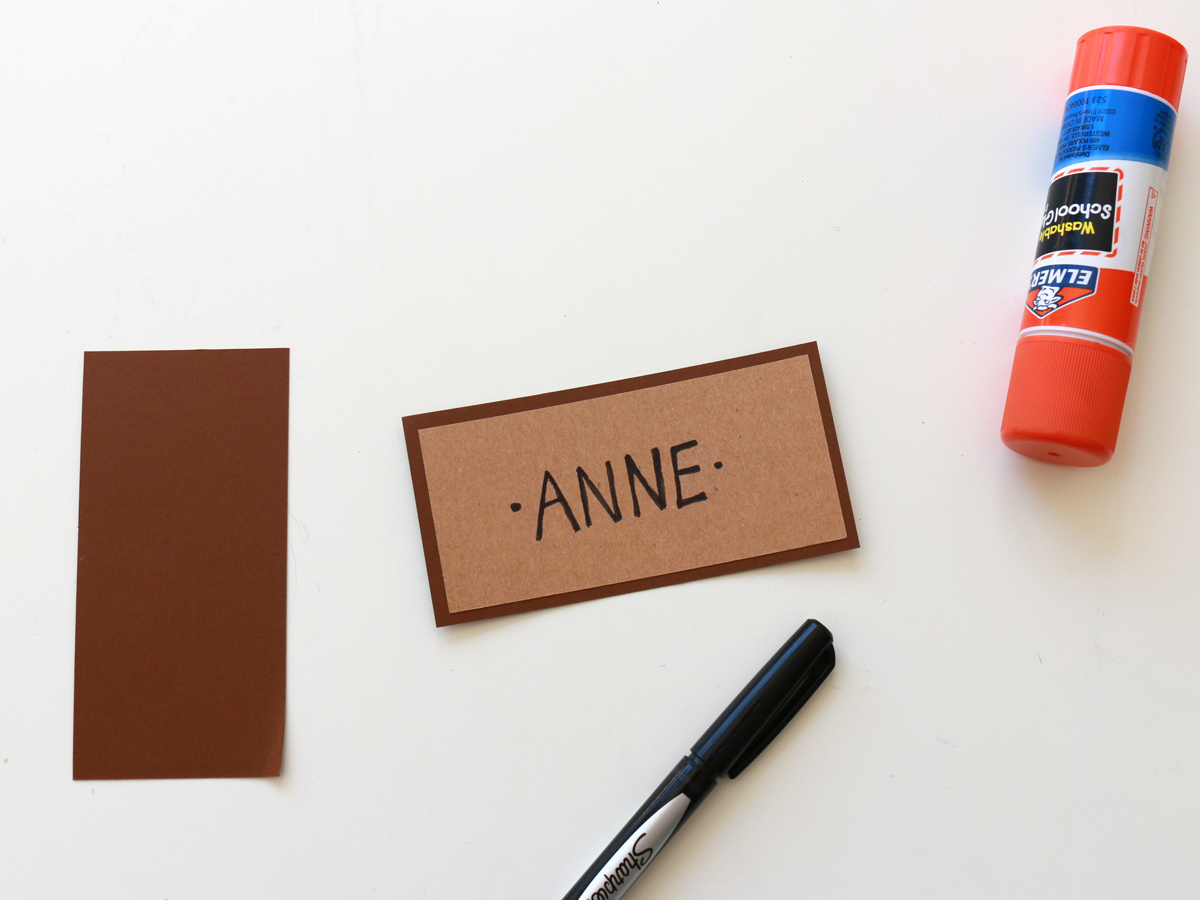
For the name cards, glue the smaller, light-colored rectangular piece of cardstock to the center of one of the larger, darker pieces. Use a black marker to write the guest’s name on the front of the card.

Step 5
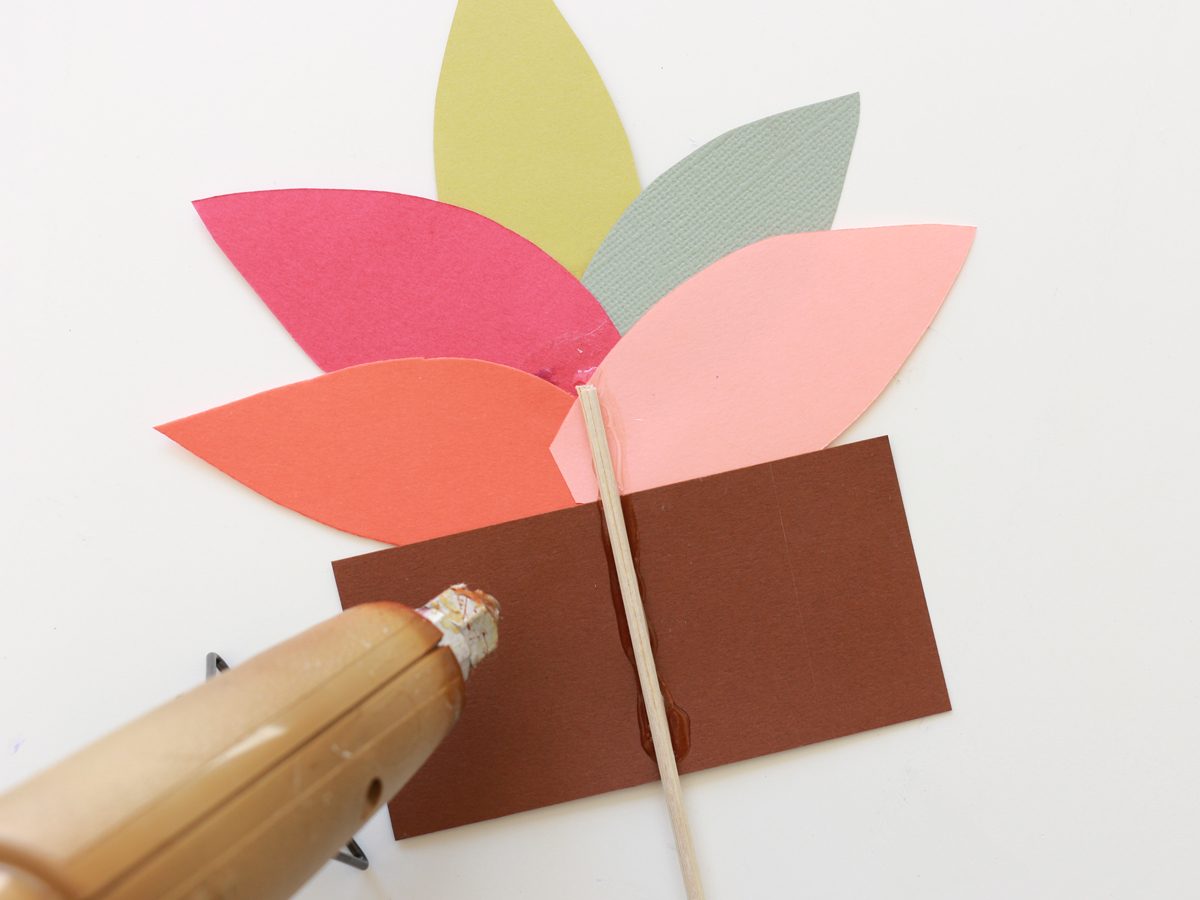
Place the name card and turkey face down, with the turkey at the top. Add a line of hot glue down the center, and place the end of a skewer into the glue. Glue on the second rectangular piece of cardstock to hold the skewer in place, and to hide the glue on the backside of the name card.
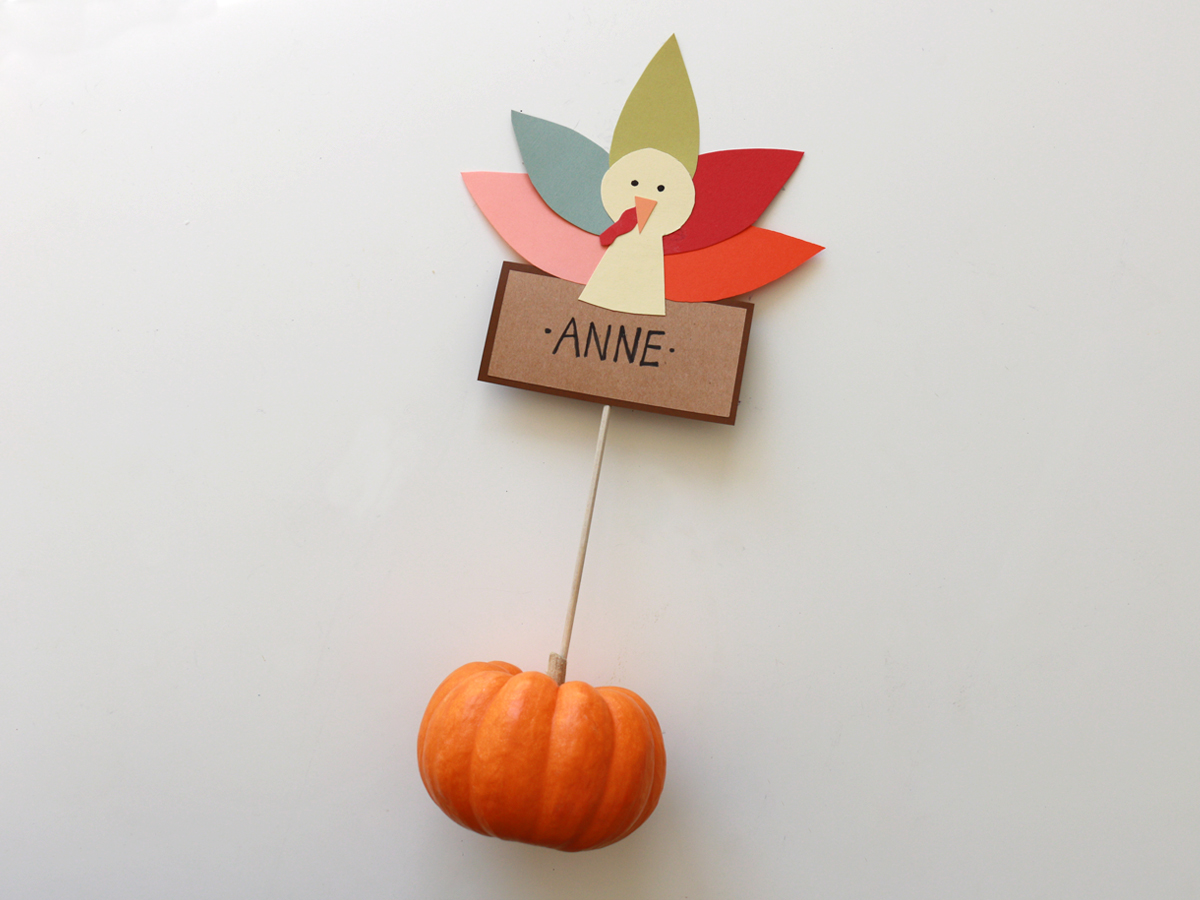
Step 6
Insert the skewer into a mini pumpkin. Set each pumpkin at the place setting for that particular guest.