


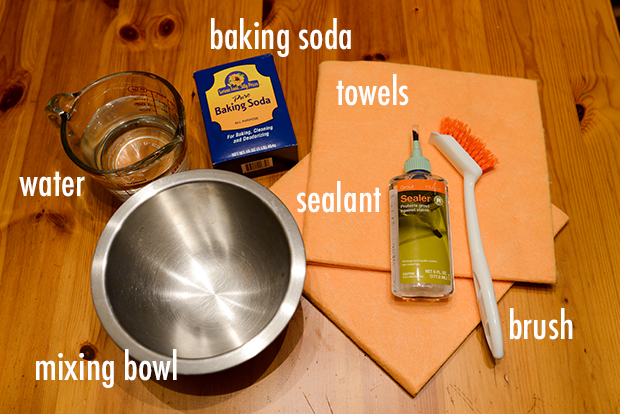
What you will need:
- Two wet towels
- Baking soda
- Mixing bowl
- Water
- Cleaning brush
- Sealant

Step 1: Gather Supplies
To get started, you’ll need the right brush and a solvent. You can purchase a grout cleaning brush from any big-box retailer, or use an old electric or manual toothbrush. You can make the cleaning solvent at home by mixing two parts baking soda and one part water in a bowl. (The result is a paste-like substance.)

Step 2: Clean the Area
Wipe down the area with water and a towel to remove any stains or debris on the tile, and have your paste ready.
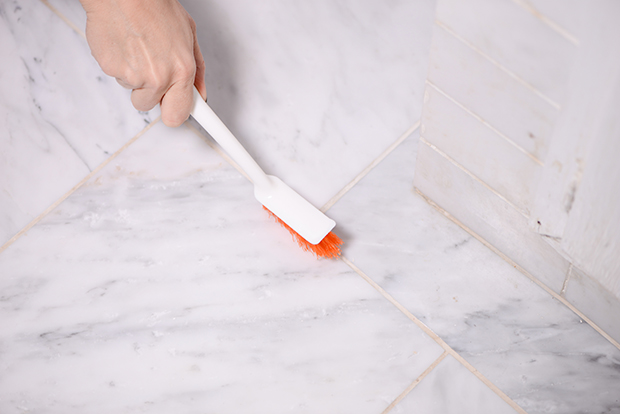
Step 3: Scrub
Dip the brush into the cleaning paste to cover the bristles and then apply it to the grout area. Scrub the grout in a back-and-forth motion until you notice a change in the grout color. Continue until all of the grout has been cleaned.
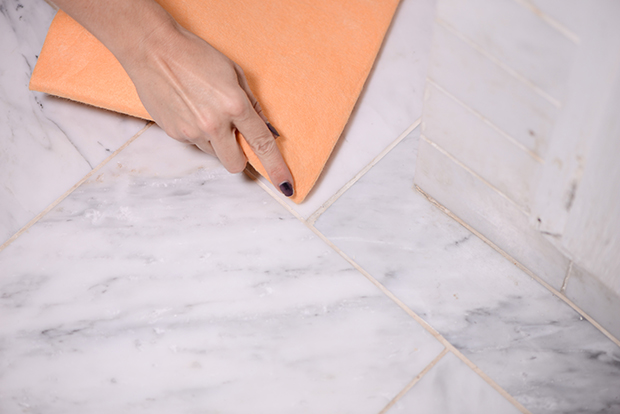
Step 4: Dry the Area
Wipe the solvent off the surface with a clean, wet towel (or a large sponge) and let the area dry for 24 hours.
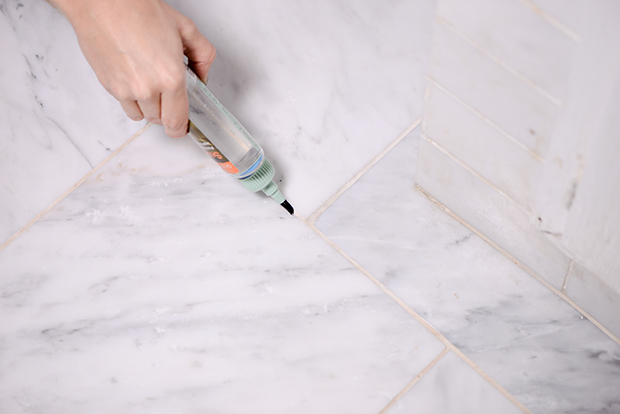
Step 5: Seal
Once the grout is clean, experts recommend sealing the seams, which is done with a grout-sealing product. The sealer protects the grout from wear and dirt, and prolongs the life of the tile area. You can purchase a grout sealer in a spray or one with a roller or brush applicator. Read the manufacturer’s instructions to apply the seal properly, and be sure to let it dry for the recommended time.