


It’s almost the time of year to celebrate friends, family, and all the other things that make your life rich and full. Why not create a concrete reminder of the love you share by compiling reflections in a handmade gratitude journal?
This fun, family-oriented gratitude journal craft is a great way to bring everyone together to reflect on what they’re most thankful for this season, and to treasure memories of friends and family for years to come.
What you will need:
- A plain, expandable scrapbook cover with binder clips
- A book of colorful paper or cardstock
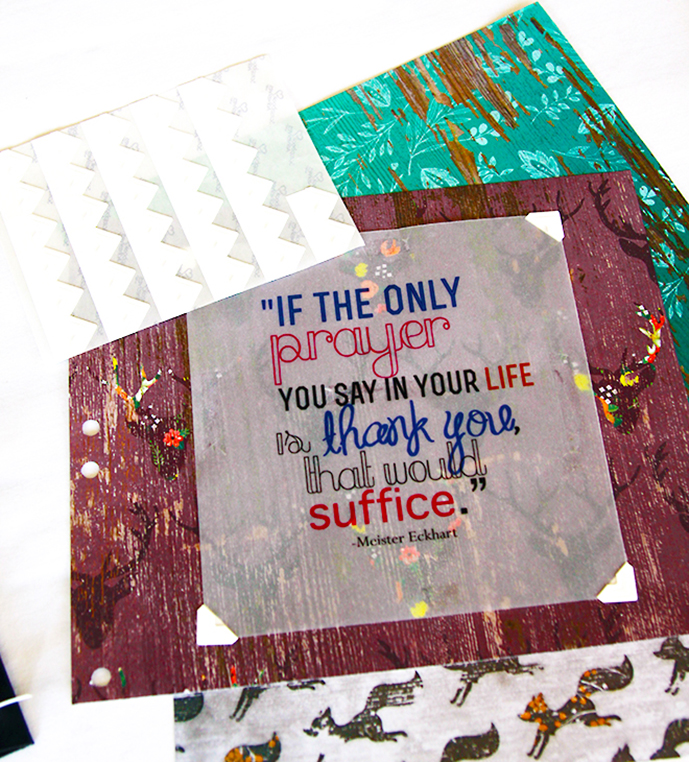
- Translucent printable vellum sheets
- Self-adhesive photo corners
- Hole punch
- Scissors or a paper cutter
- Computer printer
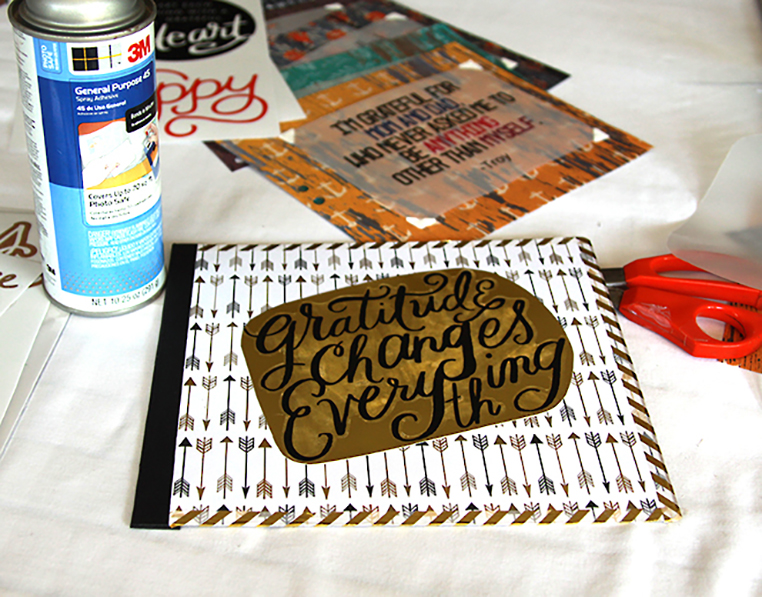
- Spray adhesive
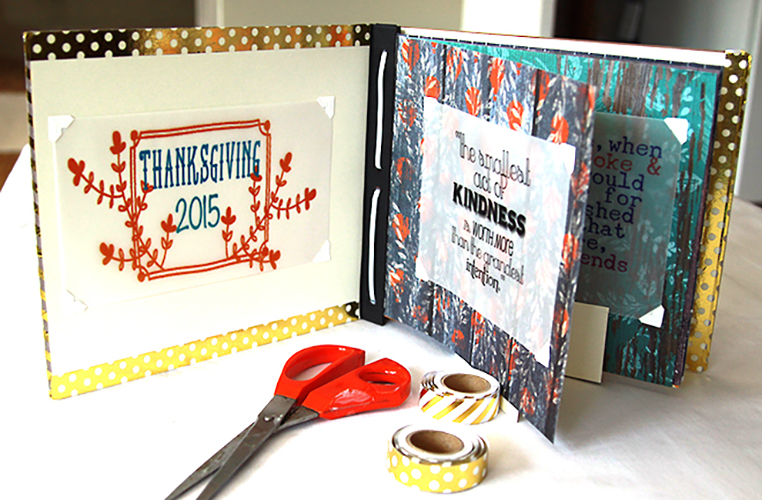
- Washi tape
- Optional: stickers, embellishments, markers (for additional décor)
Step 1
Before your next holiday gathering, send an email asking guests to email you a few sentences about something or someone they feel especially grateful for.

Step 2
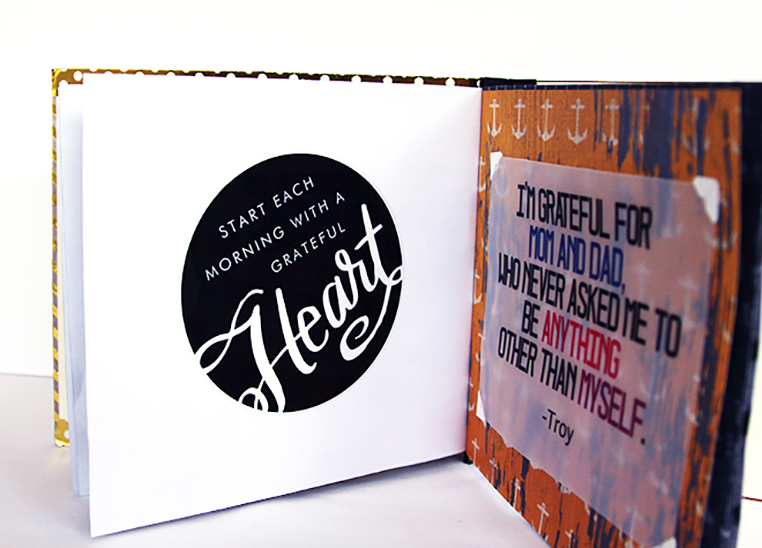
While waiting for your friends’ replies, search online for quotes about gratitude that speak to you. Copy them and, using a word processing program, format each quote in a text block that’s a few inches smaller than your book’s page size. For example, for an 8-by-8-inch book, format the text so that it forms a 4-by-4-inch square. Have fun playing with fonts, colors, alignment, and borders.
Step 3
Once some email replies come in, repeat the text formatting process above, creating individualized layouts for each person’s response in the word processing program.
Step 4
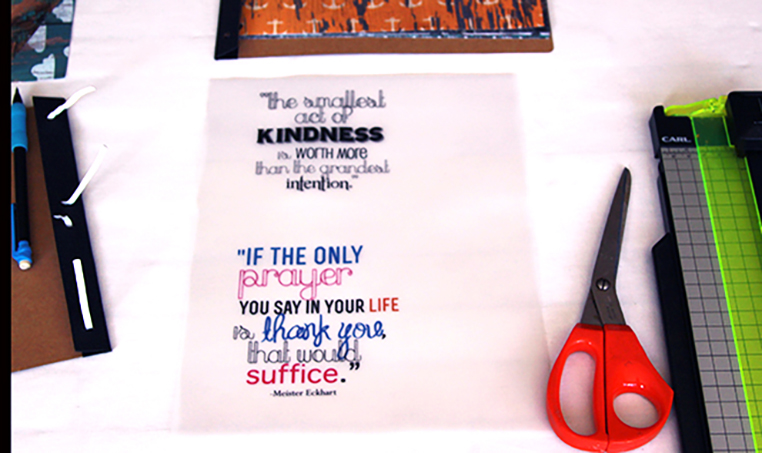
Print the gratitude statements onto printable vellum, and then cut them out.
Tip: Maximize your materials by printing two or more quotes on each piece of vellum.

Step 5
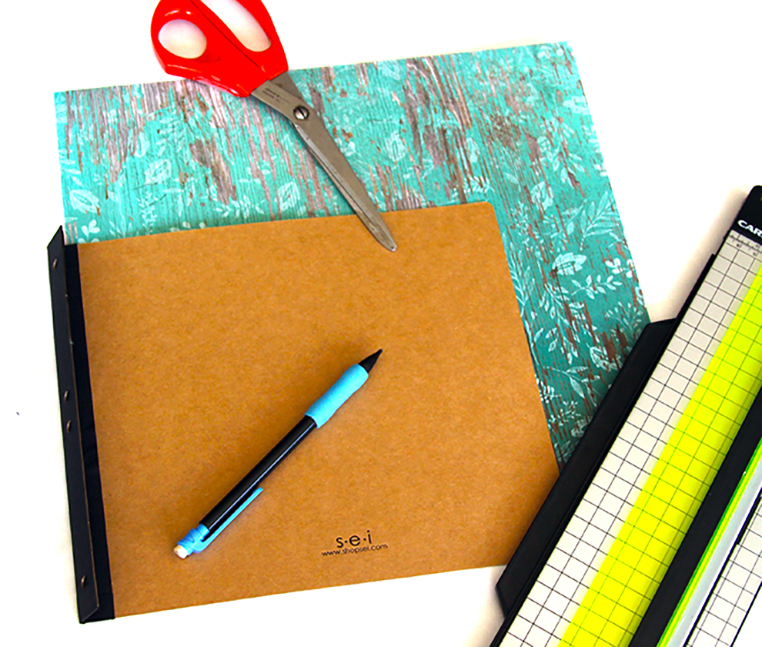
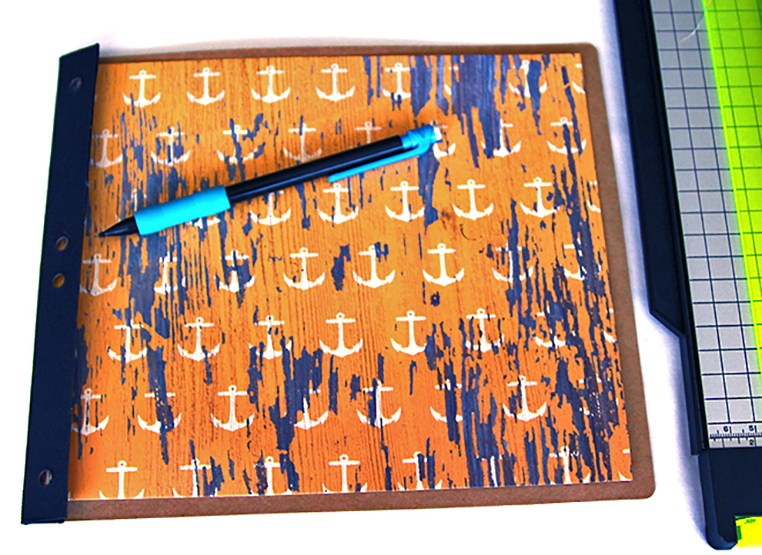
Trim the paper or cardstock that will serve as your pages to the correct size that fits your book. Be sure to account for the amount that will fall inside the binding.

Step 6
Remove your book’s binder clips, and mark the location of the binding holes onto your first sheet using a pencil. Use this sheet as a guide to hole-punch all of your other pages.

Step 7
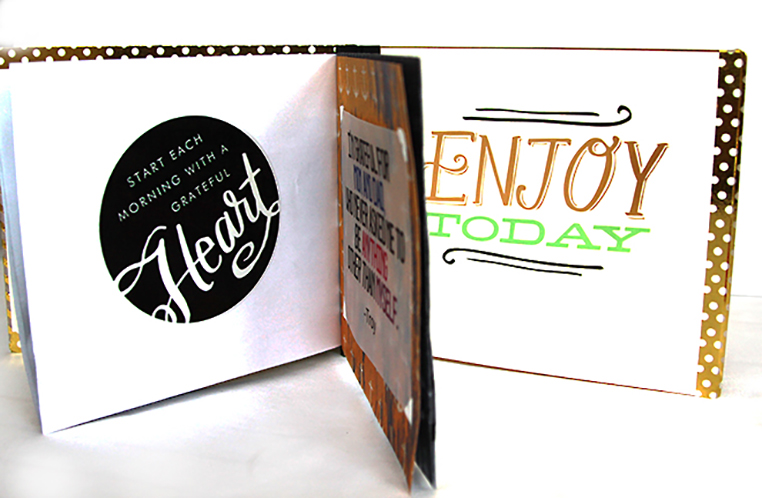
Affix the printed recollections and quotes to their own pages using self-adhesive photo corners. Consider inserting blank pages throughout so guests can add thoughts and kids can personalize with drawings.

Step 8
For the inside cover, create a page with name of the event or holiday and the date. In a ventilated area, apply a small amount of spray adhesive to the back of the paper. Affix it to the inside front cover. Finish edges with washi tape, if needed.

Step 9
Repeat step 8 to make the inside back cover. Get creative with colorful paper!

Step 10
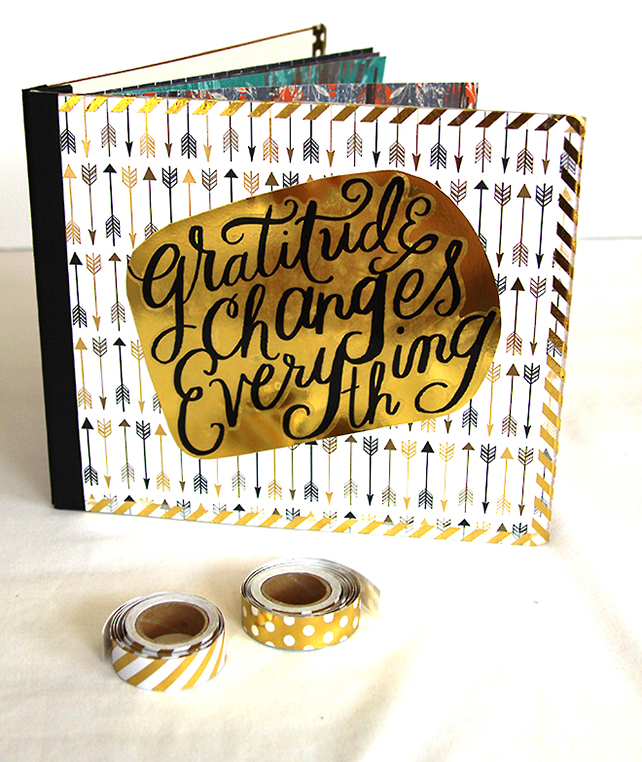
To customize the front cover, cut a piece of paper slightly smaller than the size of the book and, in a ventilated area, apply a small amount of spray adhesive to the back of the paper. Smooth the paper into place and finish the edges with contrasting pieces of washi tape, if needed. Add embellishments as you see fit.

Step 11
Load your pages front to back, reattach your binders, and voilà! You’ve created a beautiful — and meaningful — DIY keepsake.