


So you’ve been invited to the holiday office party, and the invitation says to arrive in an ugly Christmas sweater. Ugh. No worries … you got this! (It’s better than having to bring the fruitcake, right?) In an afternoon, and under $20, you can transform an otherwise boring sweater into something legendary with the following steps:
To begin, find a sweater and gather an assortment of holiday tchotchkes. The more garish the better! If you don’t already have extra holiday items in the attic, your local thrift store is a treasure trove of inexpensive goodies.
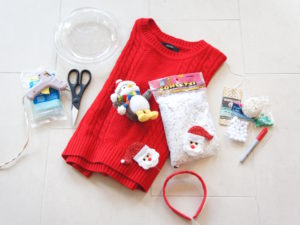 |
Materials
|

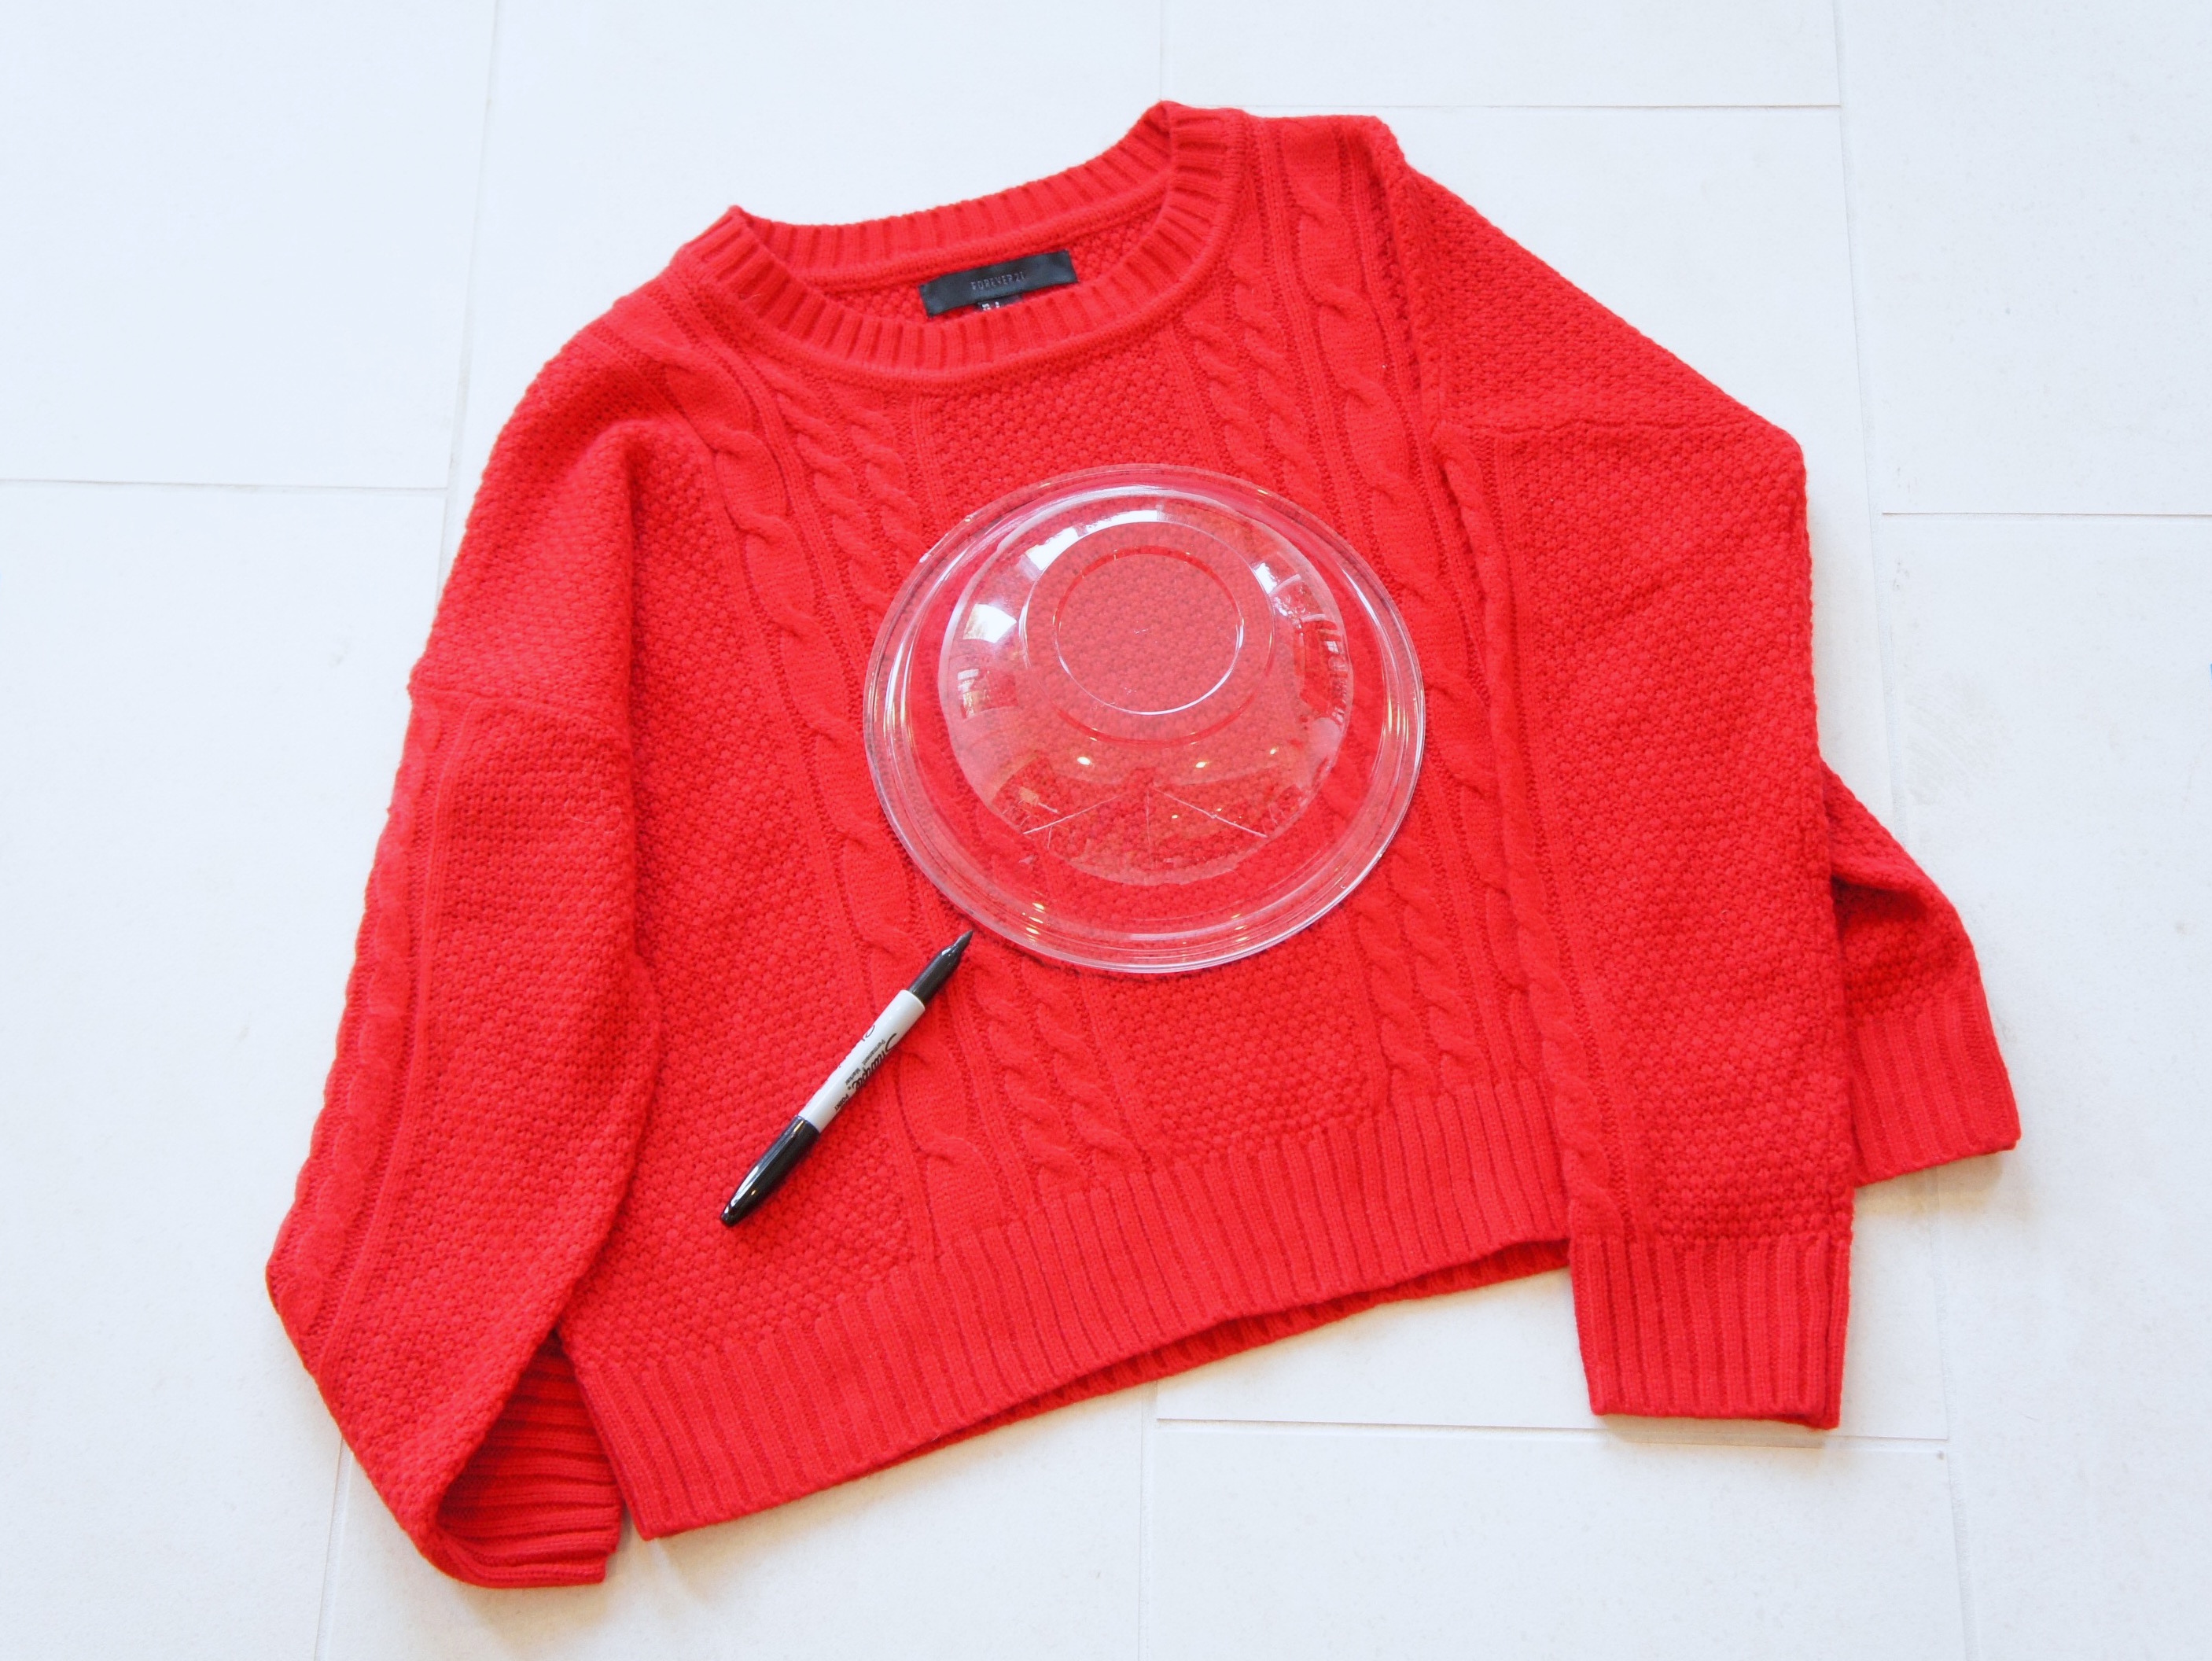

Step 1
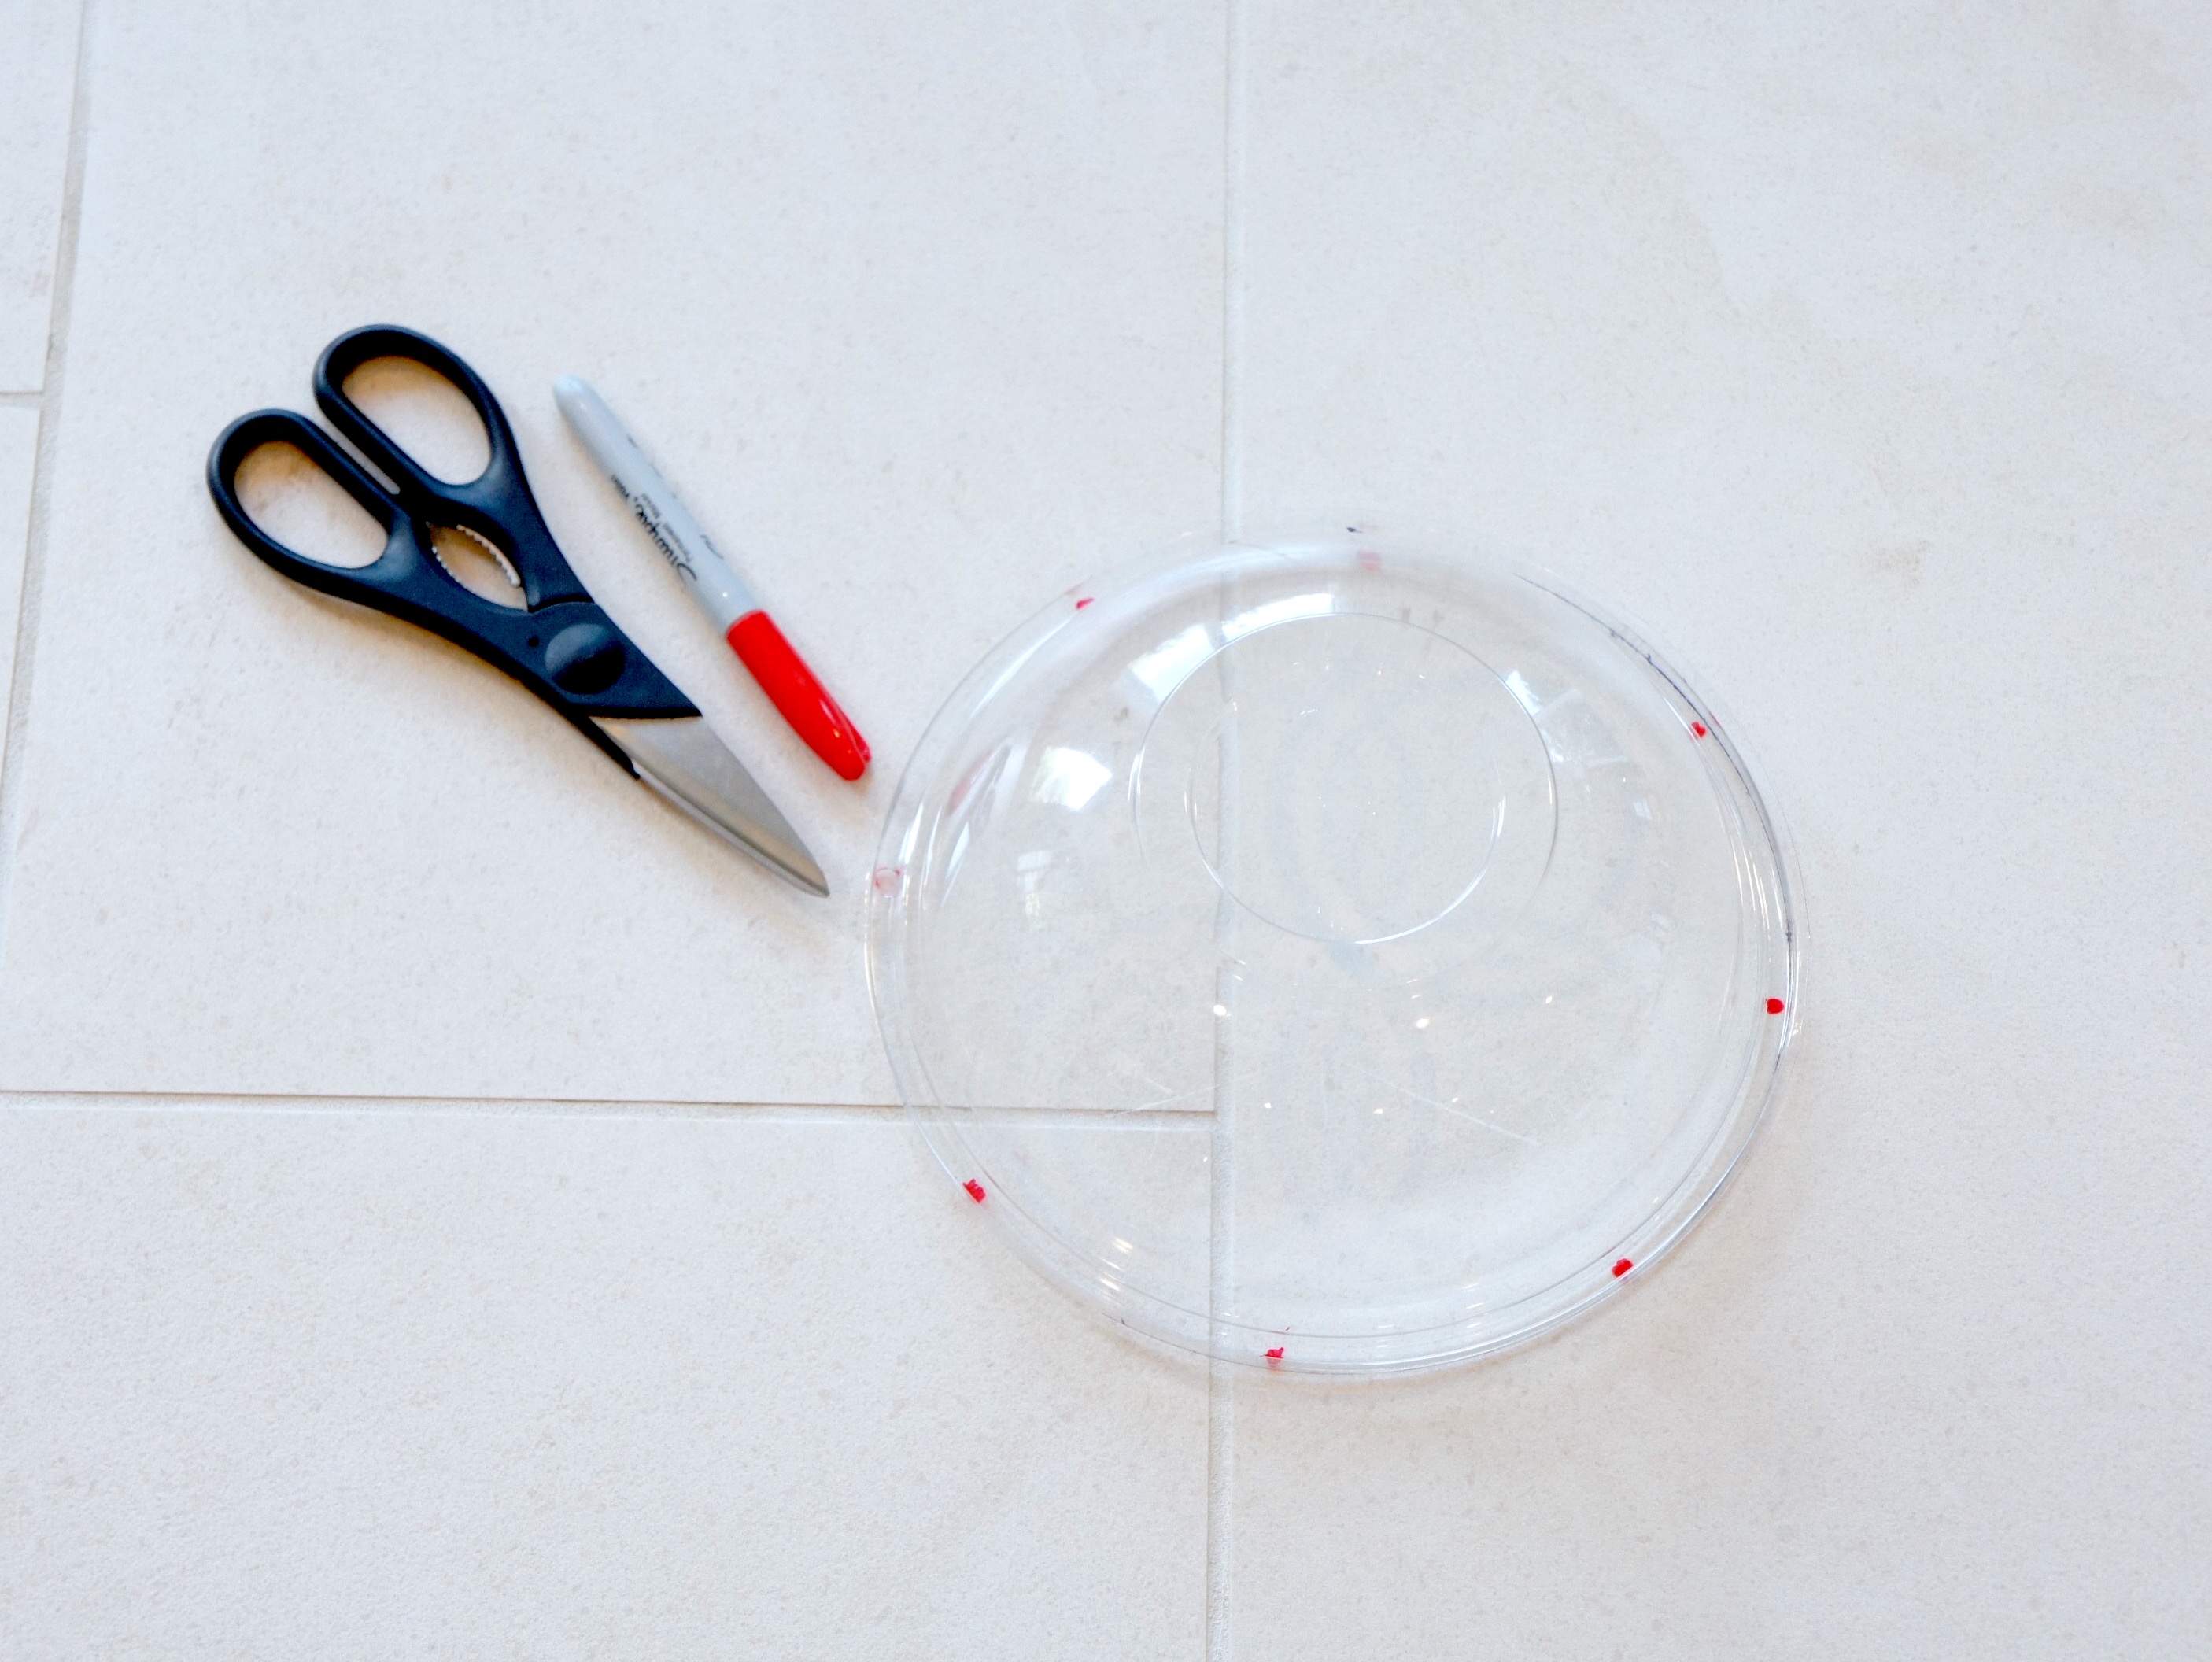
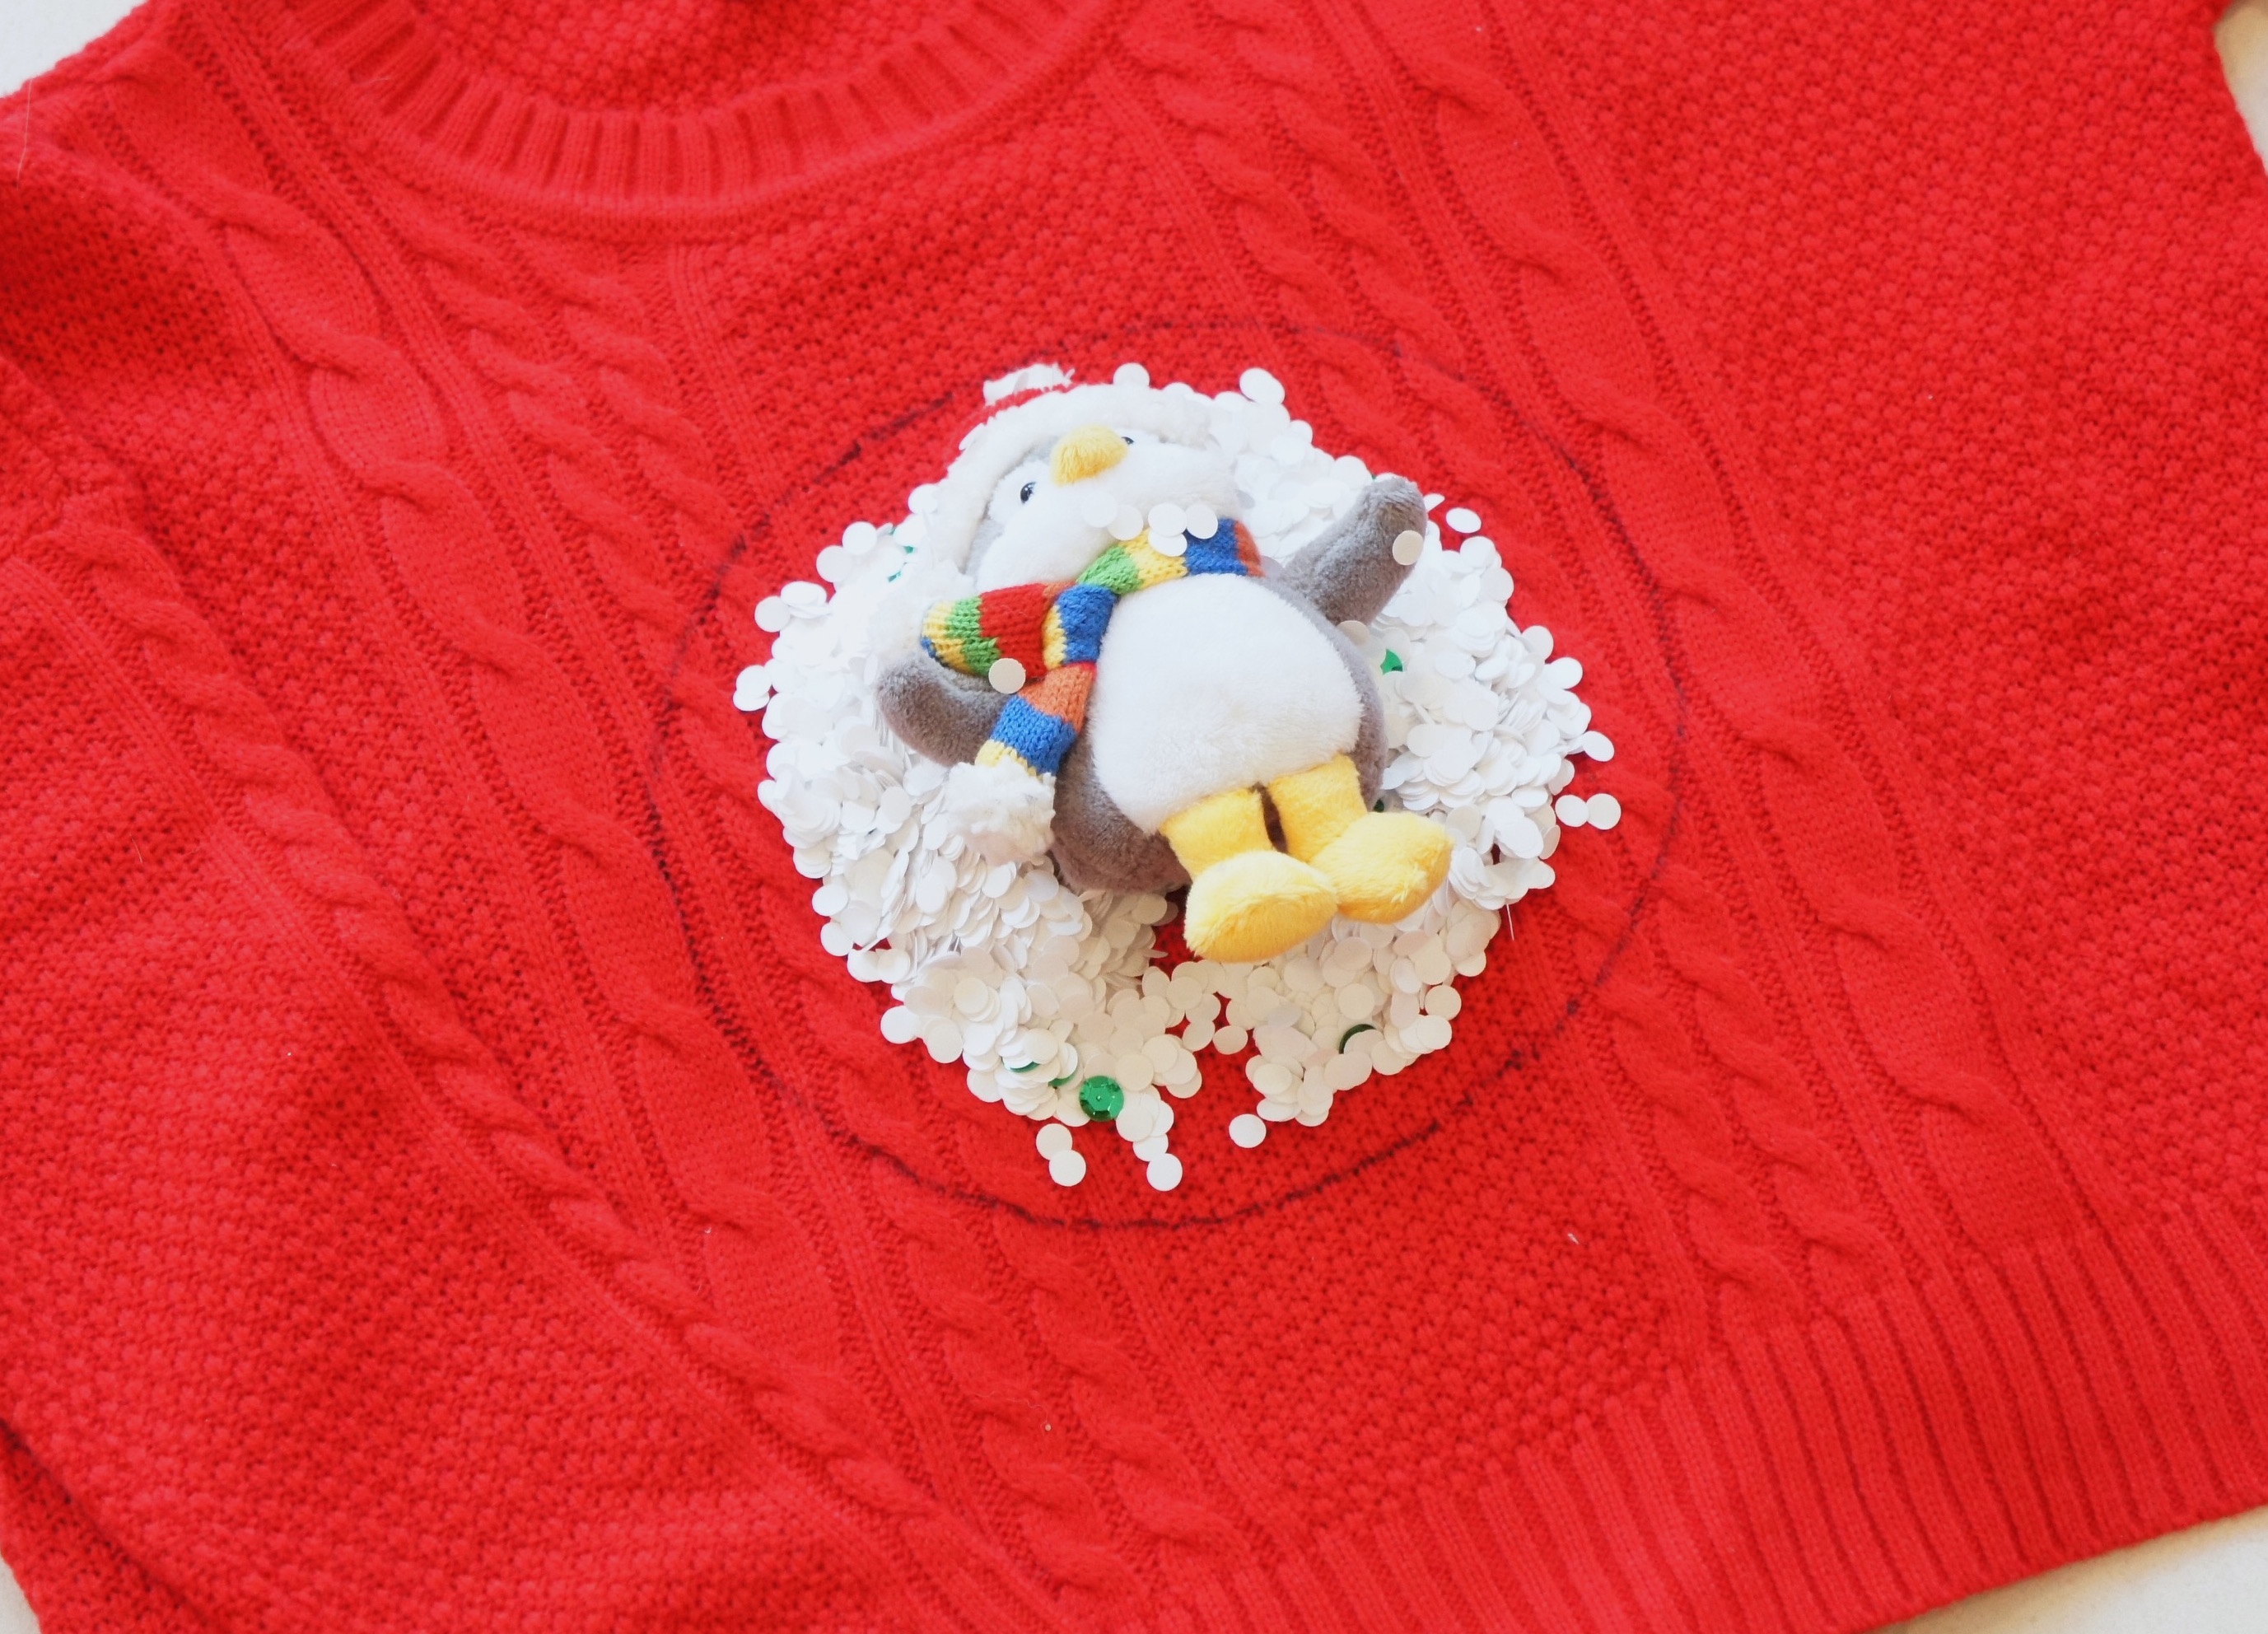
With bowl and marker nearby, try on your sweater. Mark where you want your snow globe to sit. (Different body types will require different placements. See what works best for you!) Back on a flat surface, place the plastic bowl where you marked your sweater (lip side toward sweater), and draw a circle around your bowl. This will be where your snow globe sits.

Step 2
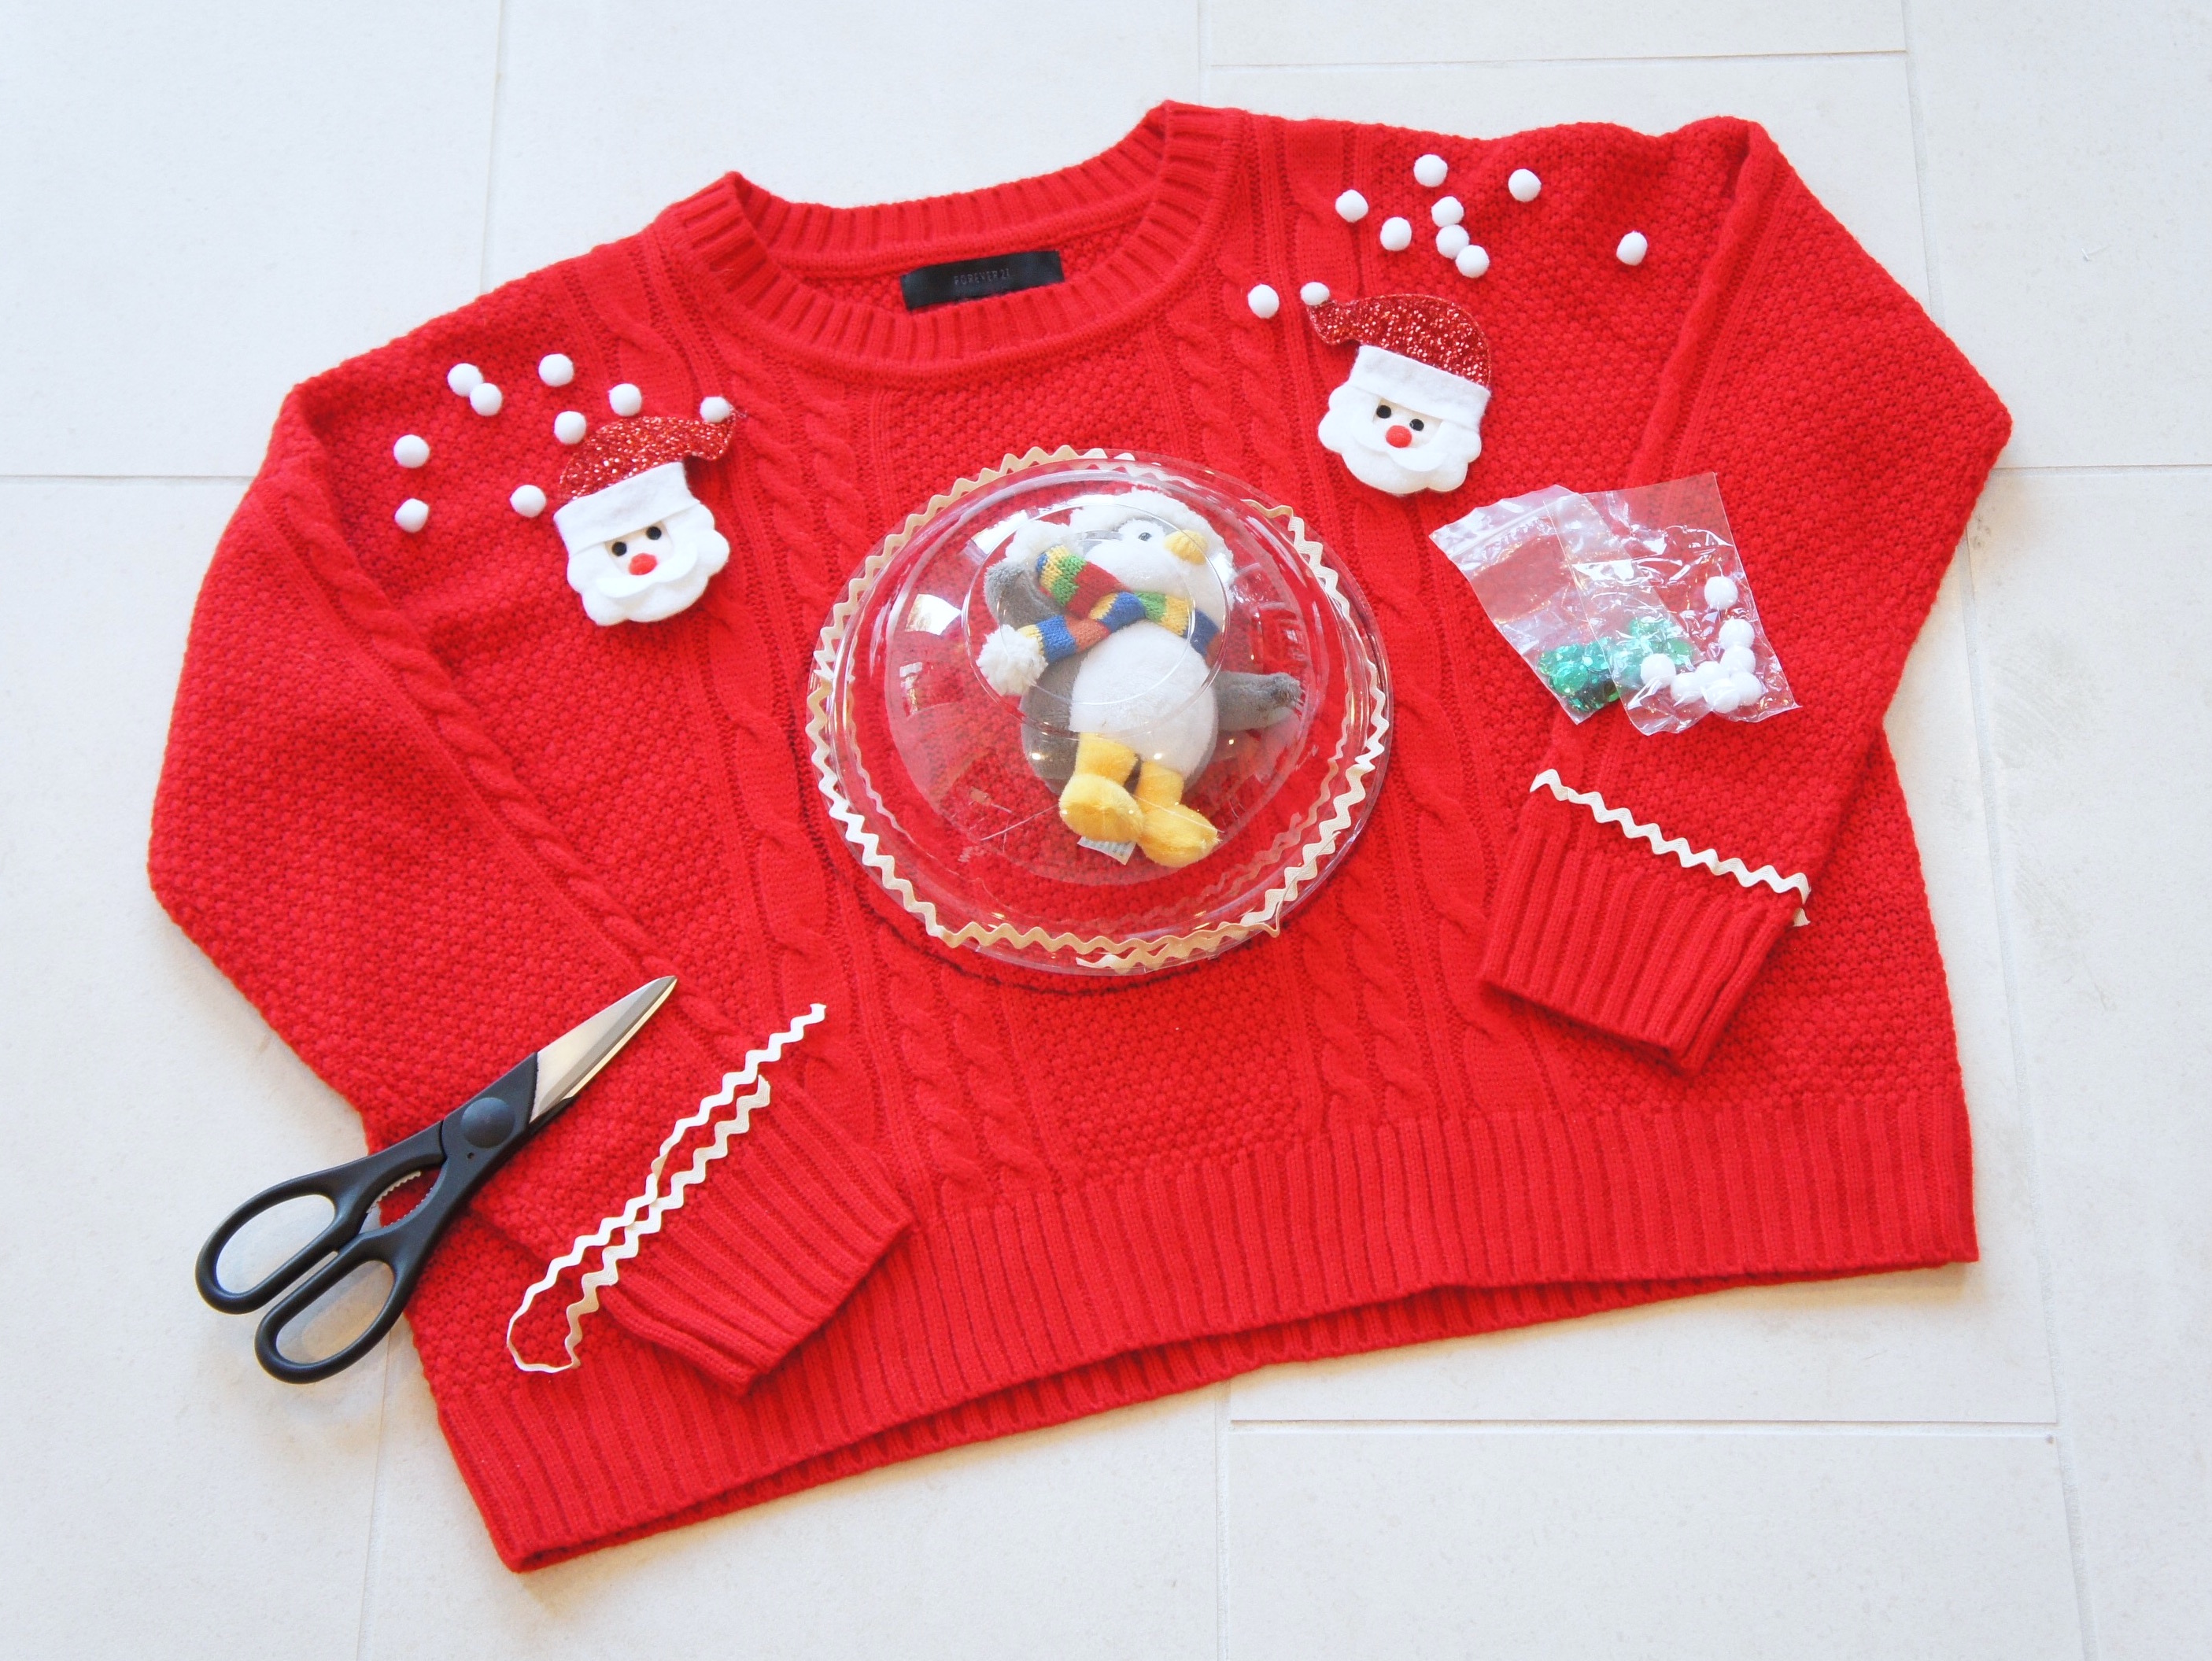
With sweater flat on work surface, set the rest of your items on sweater in the places you think they’ll best fit. (Hold off opening the confetti until you assemble your snow globe). Set aside your favorite items but keep handy. We’ll come back to these.

Step 3
Mark 8 evenly-spaced holes around the perimeter of your bowl, and use scissors to create a small hole at each mark. You’ll use these to sew the globe onto your sweater.

Step 4
Place a paper bag between the front and back layers of your sweater. With snow globe placement already marked, put your snow globe items inside the circle. Make a confetti cradle for your stuffed animal. It doesn’t matter at this point where the confetti falls, just be sure to have enough to shake around!
Pro tip: Leave a ¼” space between your drawn circle, and snow globe contents, and confetti, so you have a clear space to run your hot glue.


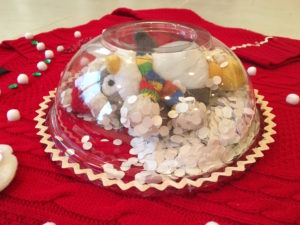
Step 5
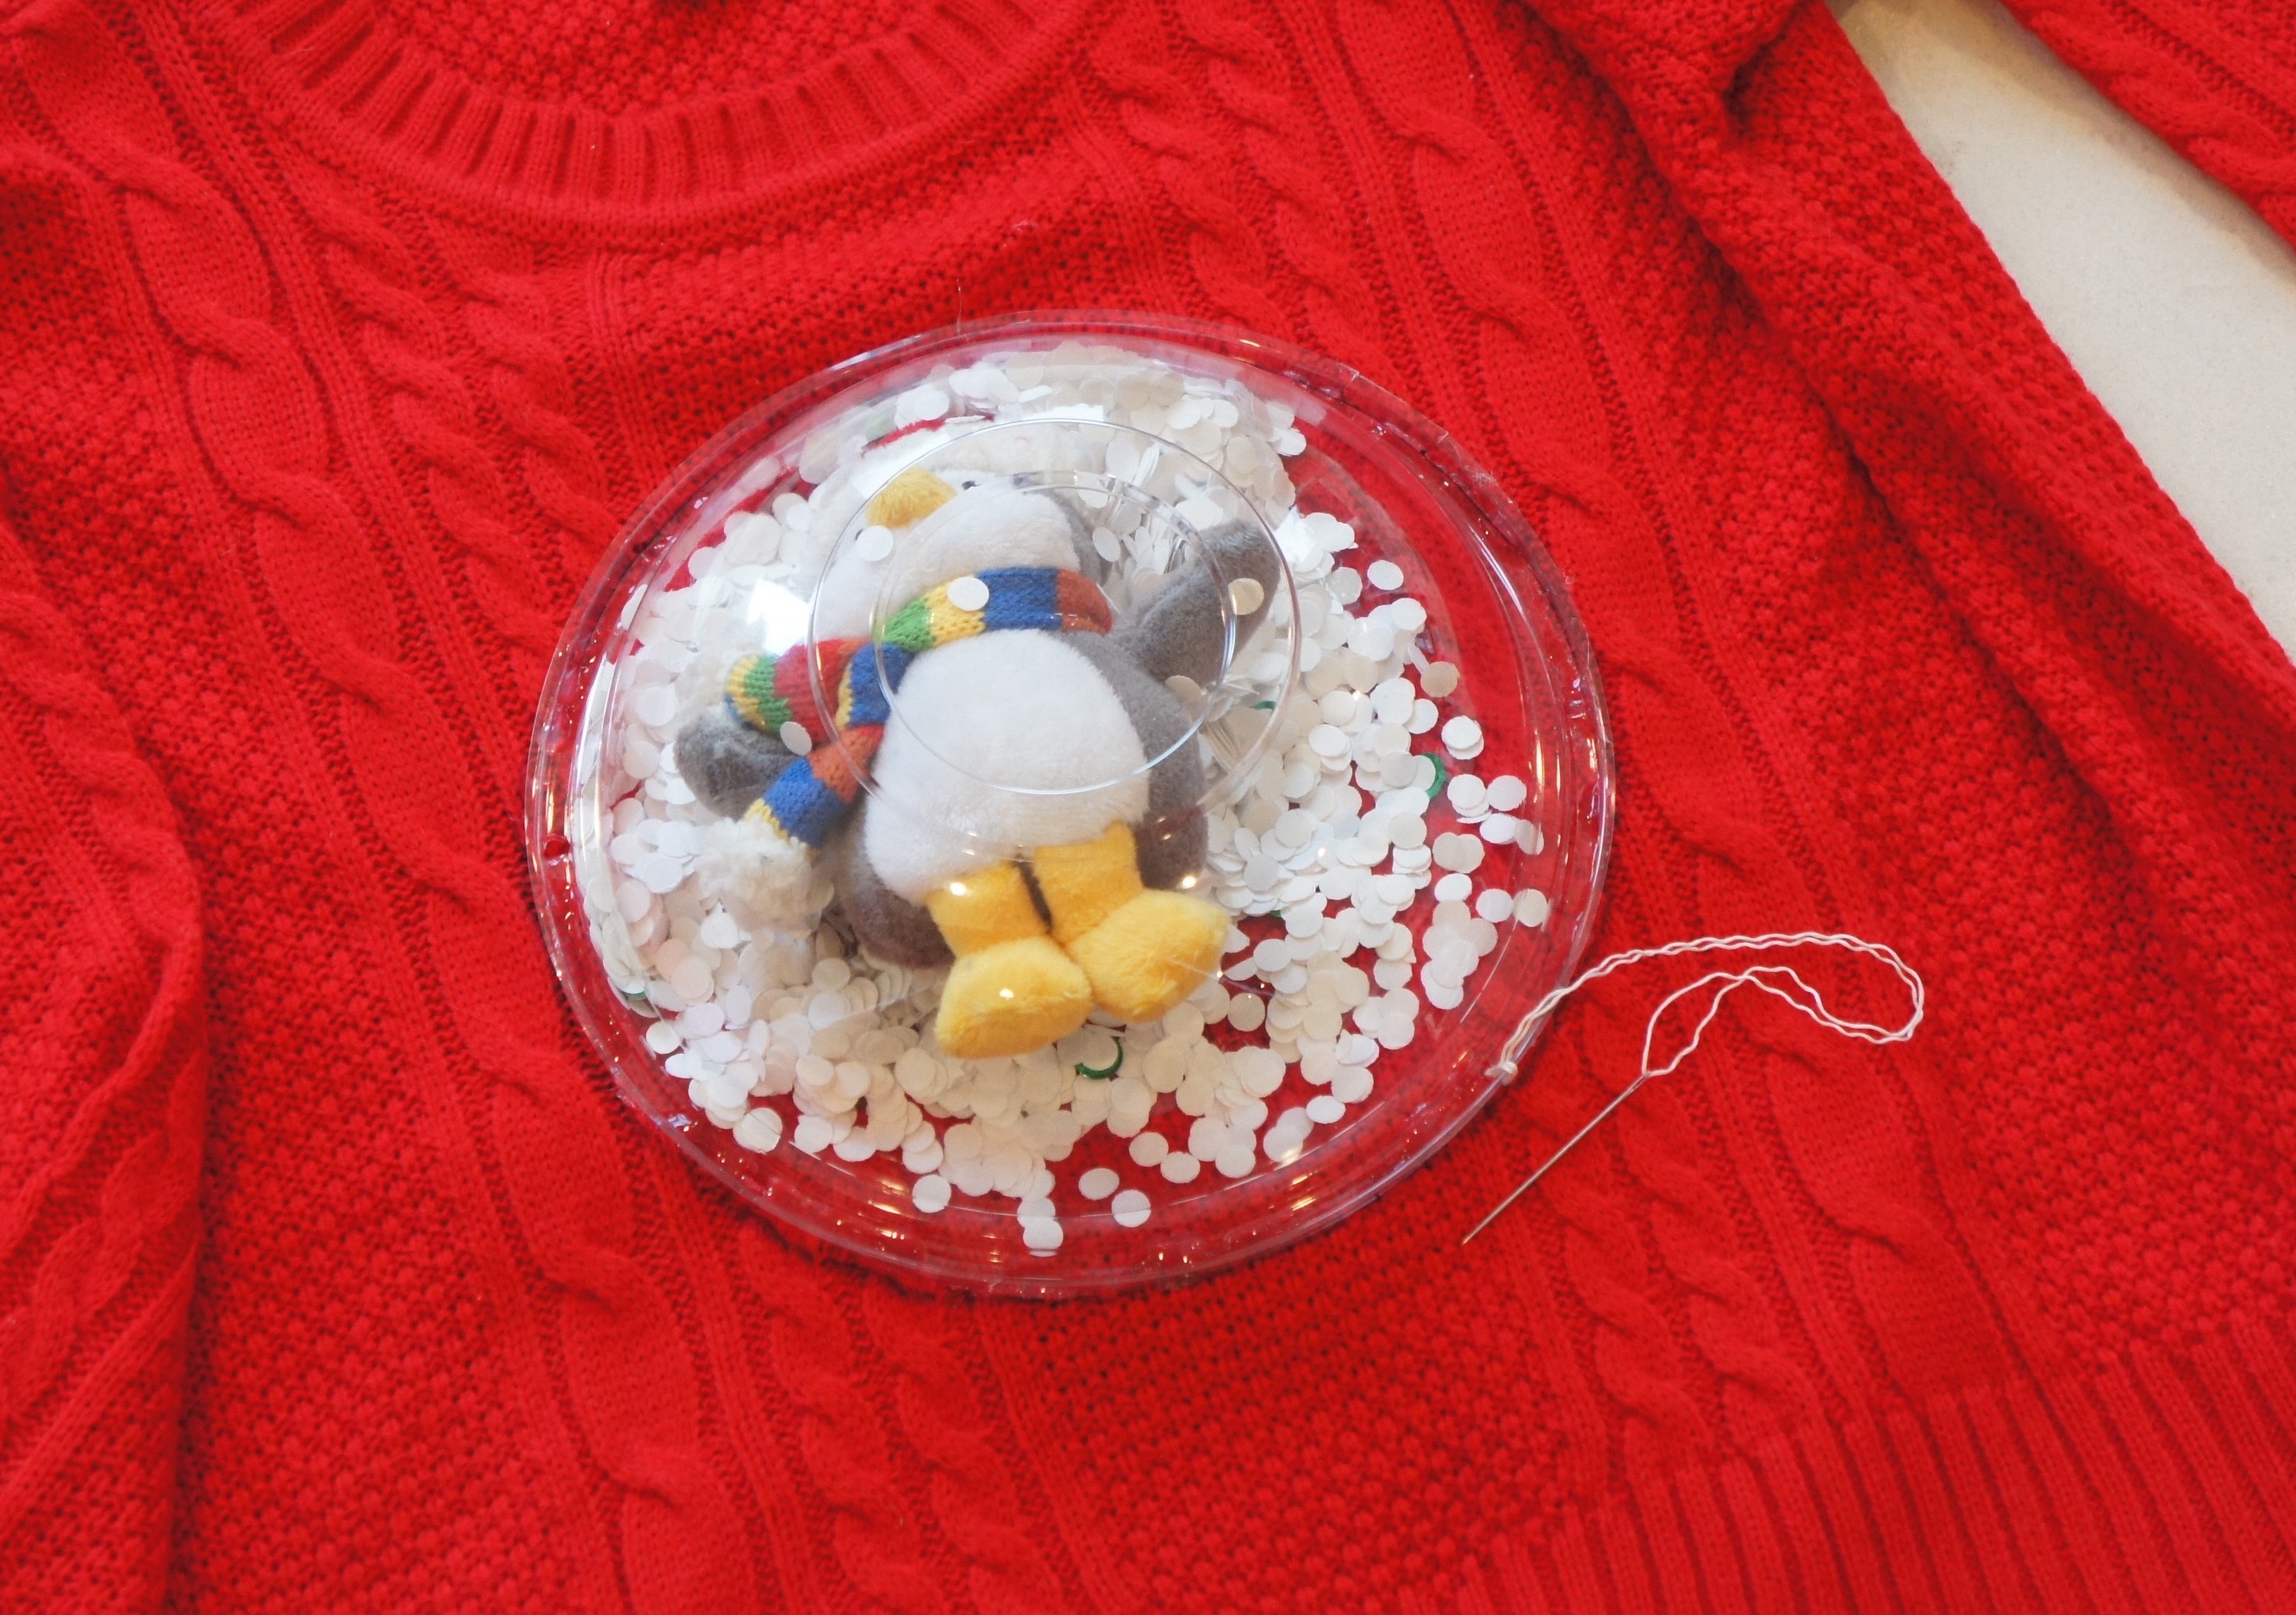
Run a strip of hot glue around your sweater, just inside the marked circle. Quickly place plastic bowl (or what will be the globe) on top of your glue strip. Gently press down while the glue dries. (This is where the paper bag comes in handy.) Inspect your work! If you spot any gaps between your globe and sweater, place a quick spot of glue and press again. You want to make a nice solid seal between the globe and sweater.

Step 6
Using heavy thread, make a quick stitch between the 8 holes in your globe and the sweater (each time starting from the inside of your sweater and knotting inside).

Step 7
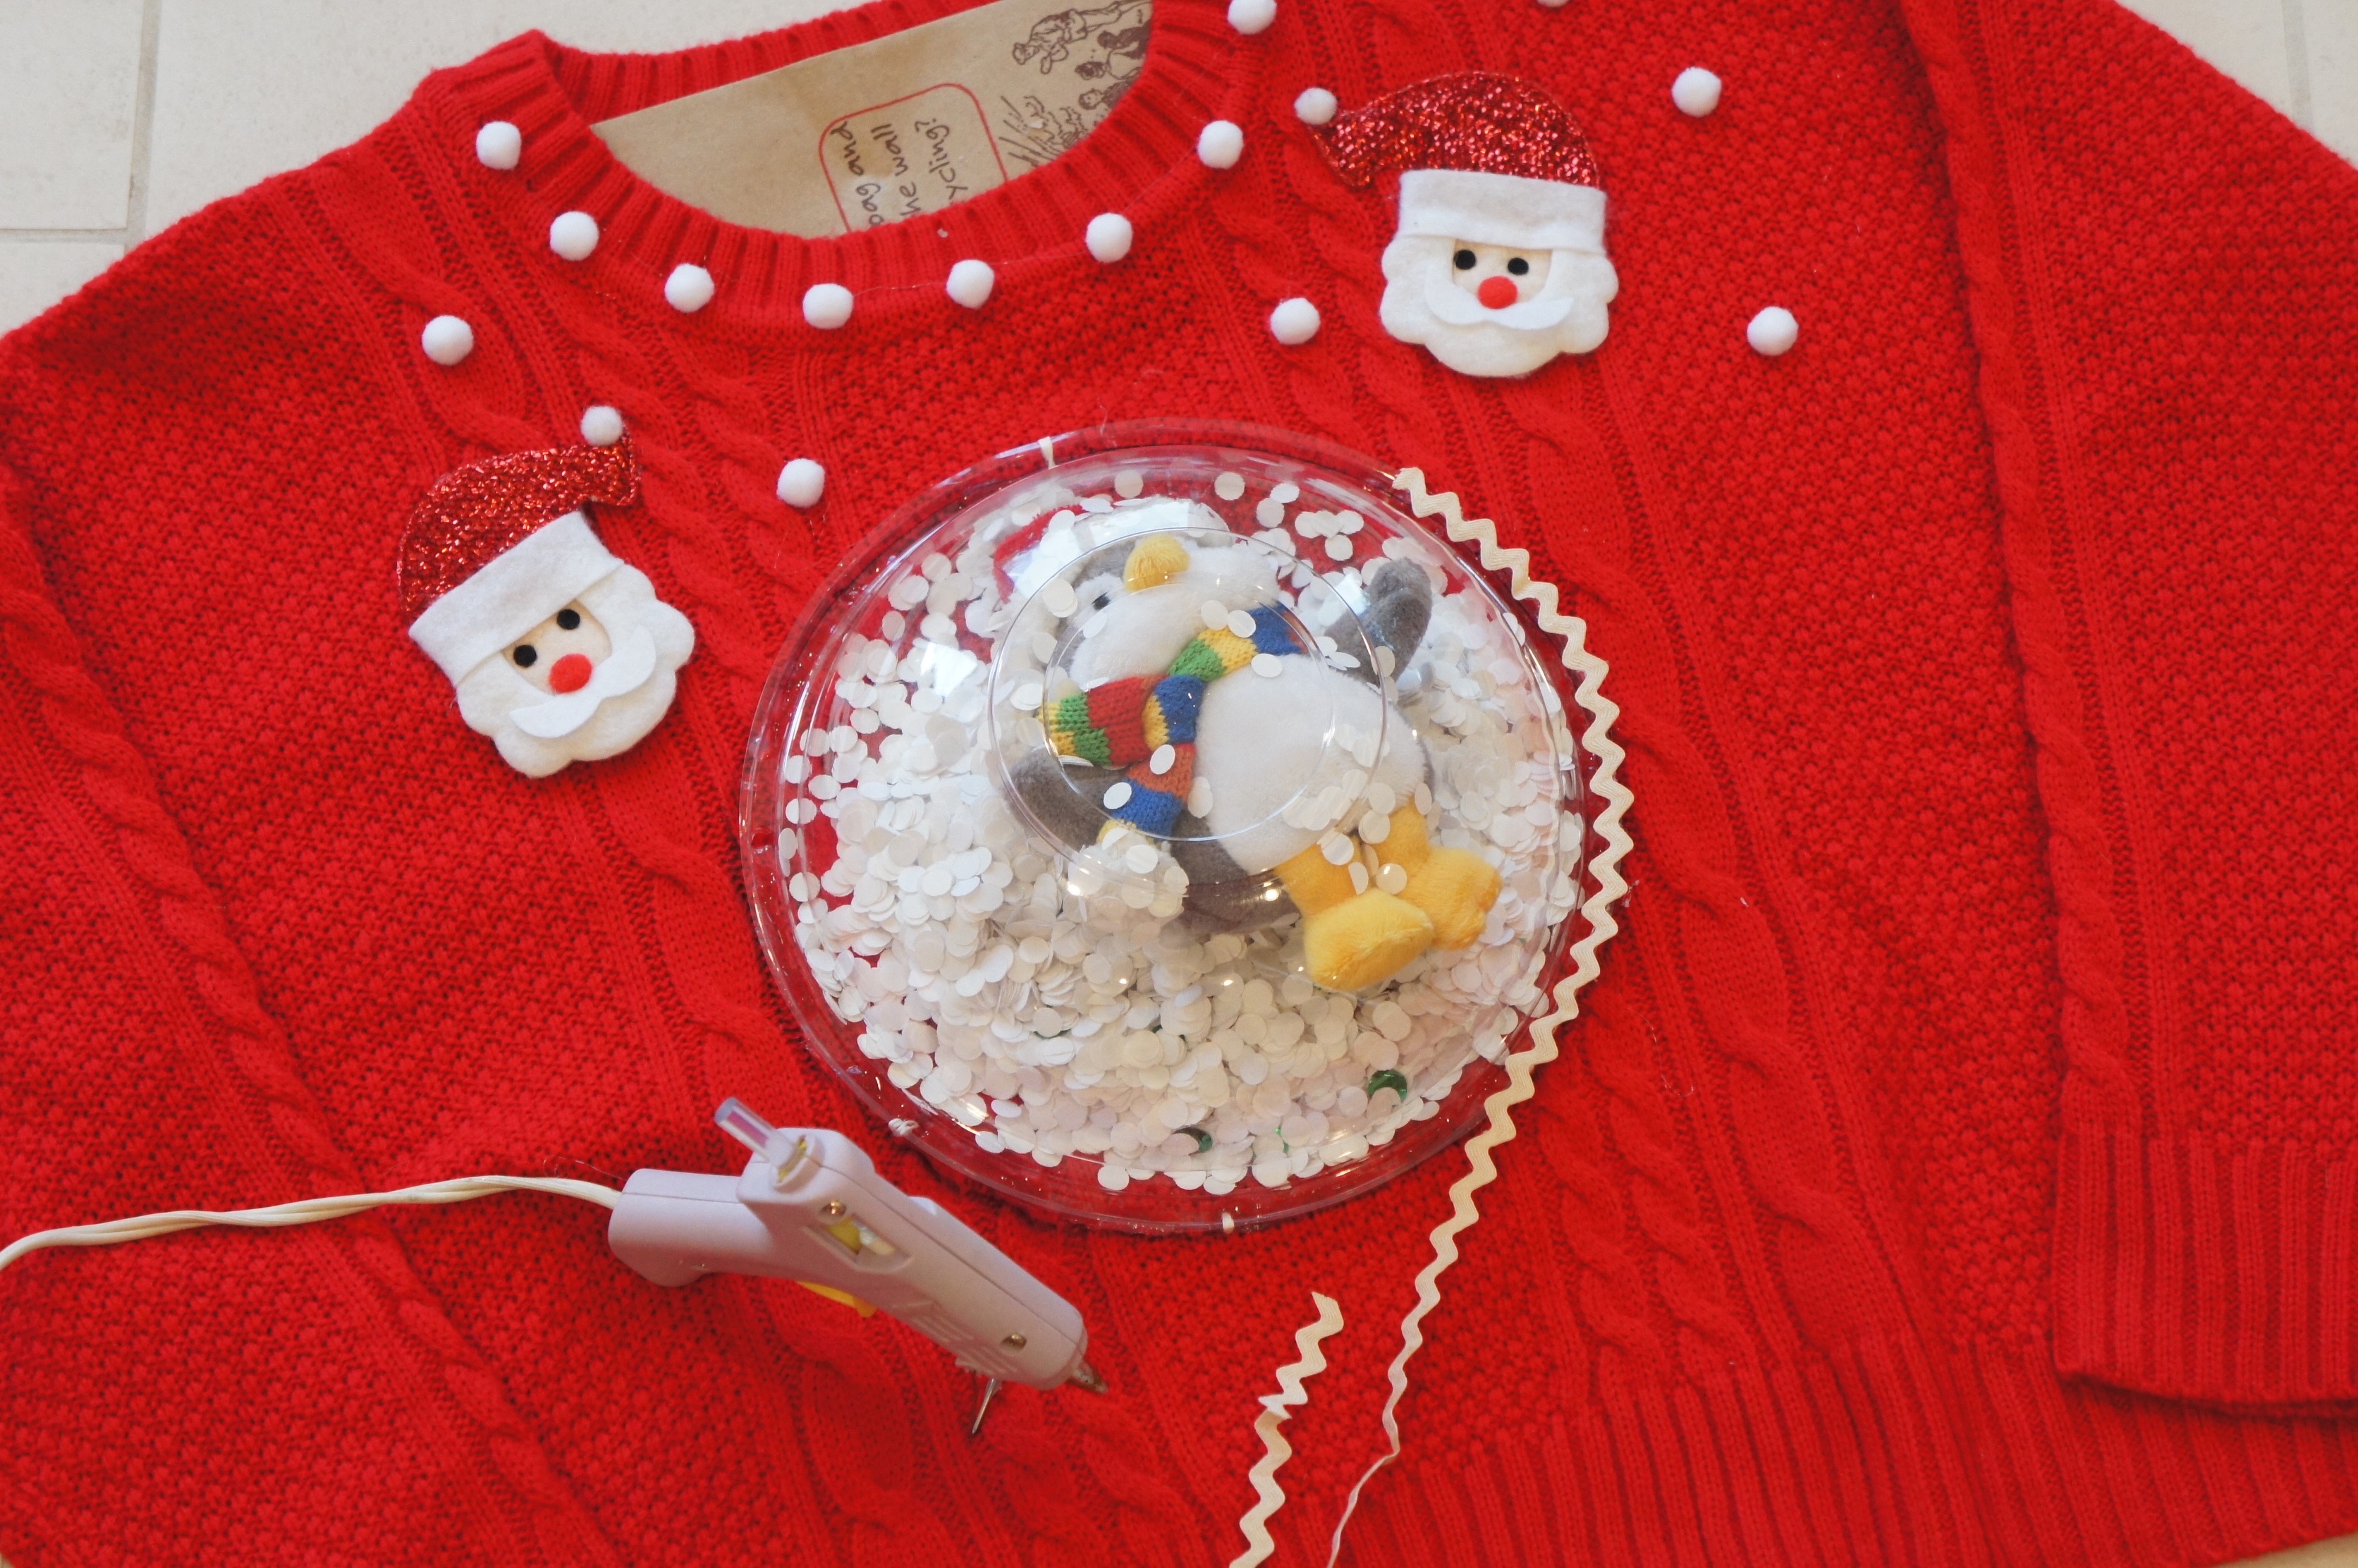
Tap a few dots of glue around the edge of your globe (if there is one) and attach garland or zig-zag trim to cover up any sewing spots. Also, this gives your globe a little more pizzazz. Hot glue the rest of your items around your sweater. Pom-poms? Yes! Random Christmas or holiday items? Why not! Zig-zag trim around your cuffs? Absolutely! The more the merrier! It’s a tacky sweater, after all.
 |
 |

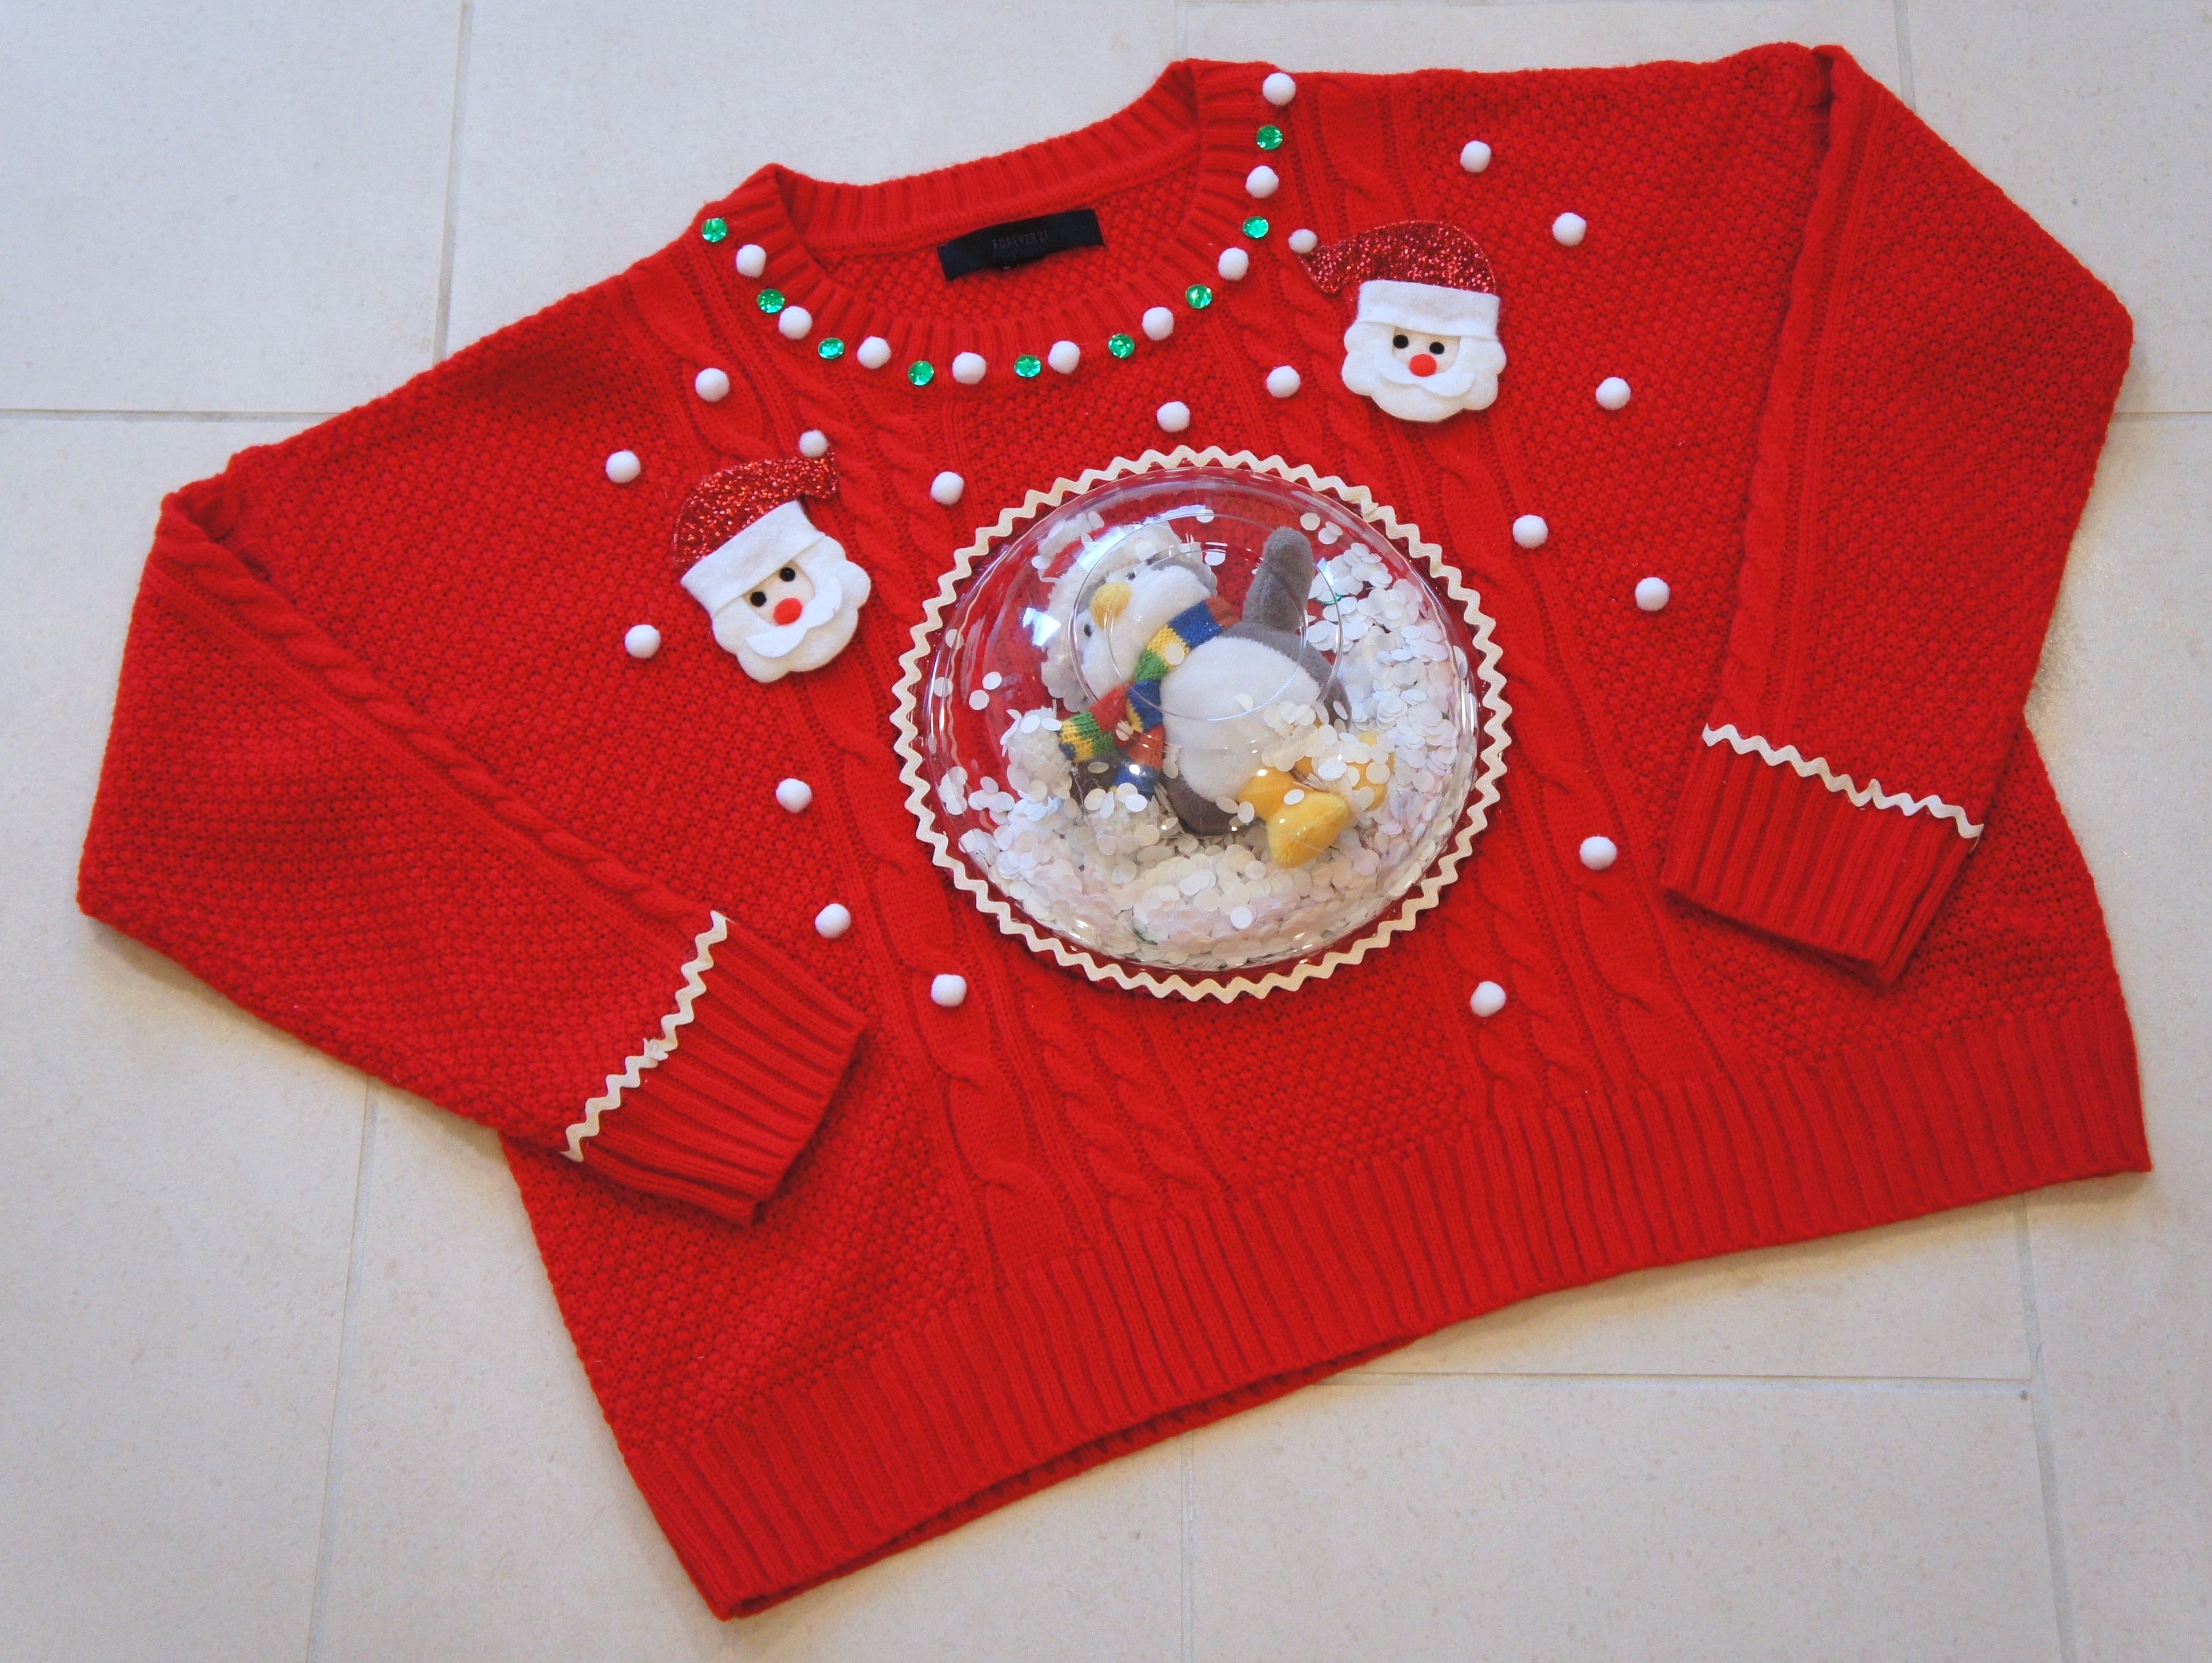
Step 8
Voila! Dazzle and amaze your friends at the next holiday party! If you win the “Ugly Sweater” contest (and we’re sure you’ll be in the running), tell them Rent-A-Center helped you do it!