


You know the saying: One man’s trash is another man’s treasure. Well, what if your trash was also your treasure? It can be!
If you have stuff you can’t bear to throw away — a cardboard box, a single bowl left over from a set, a scrap trimmed from a rug pad — you can upcycle it. The following three projects turn those unused items into décor you’ll be proud to display in your home because you made it yourself.
OFFICE DESK ORGANIZER
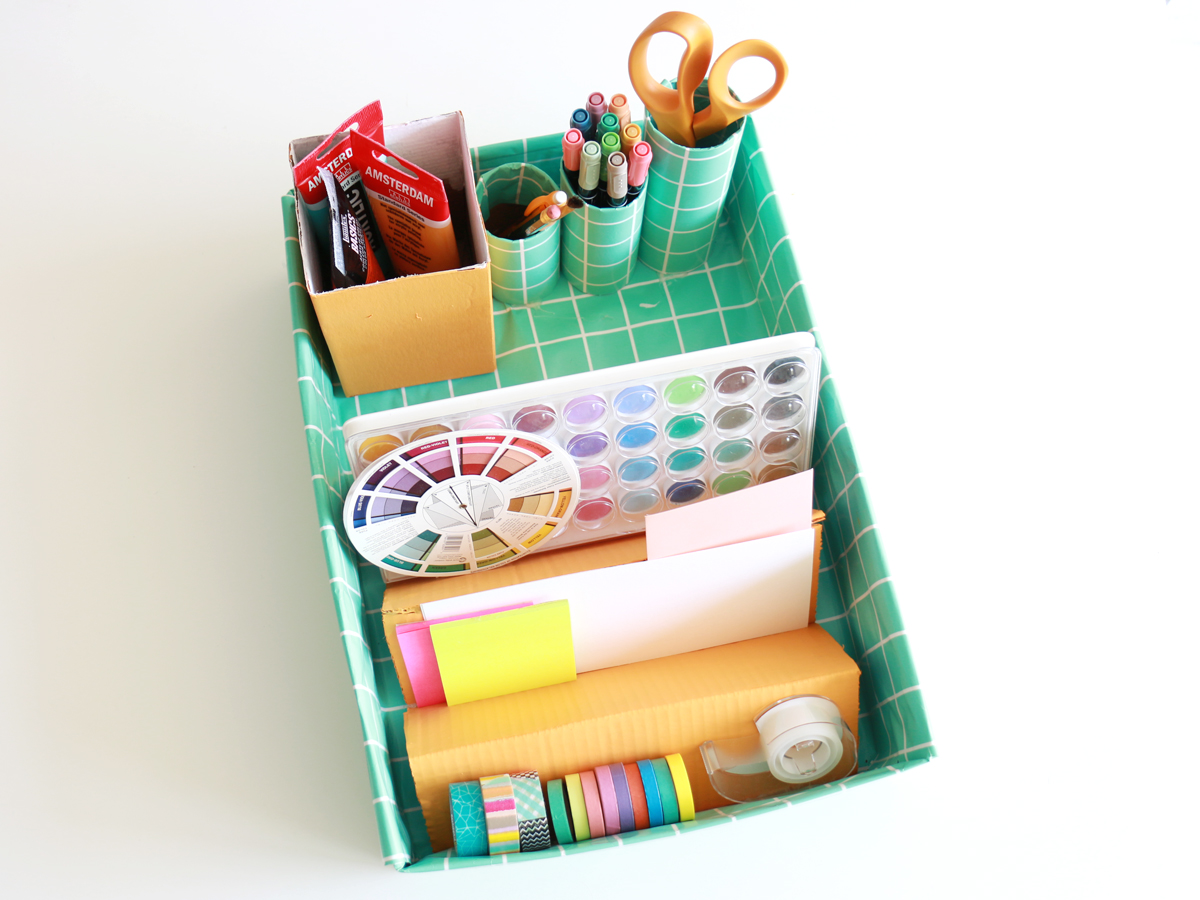
Keeping your desk clutter-free will be much easier with this stylish DIY office caddy. If you have some spare cardboard boxes, gift wrap or newspaper, and glue, the organizer won’t cost you a penny to make.

Materials Needed:
- Cardboard boxes
- Gift wrap or newspaper
- Glue (glue stick + hot glue)
- Scissors
- Optional: Craft paint + brush
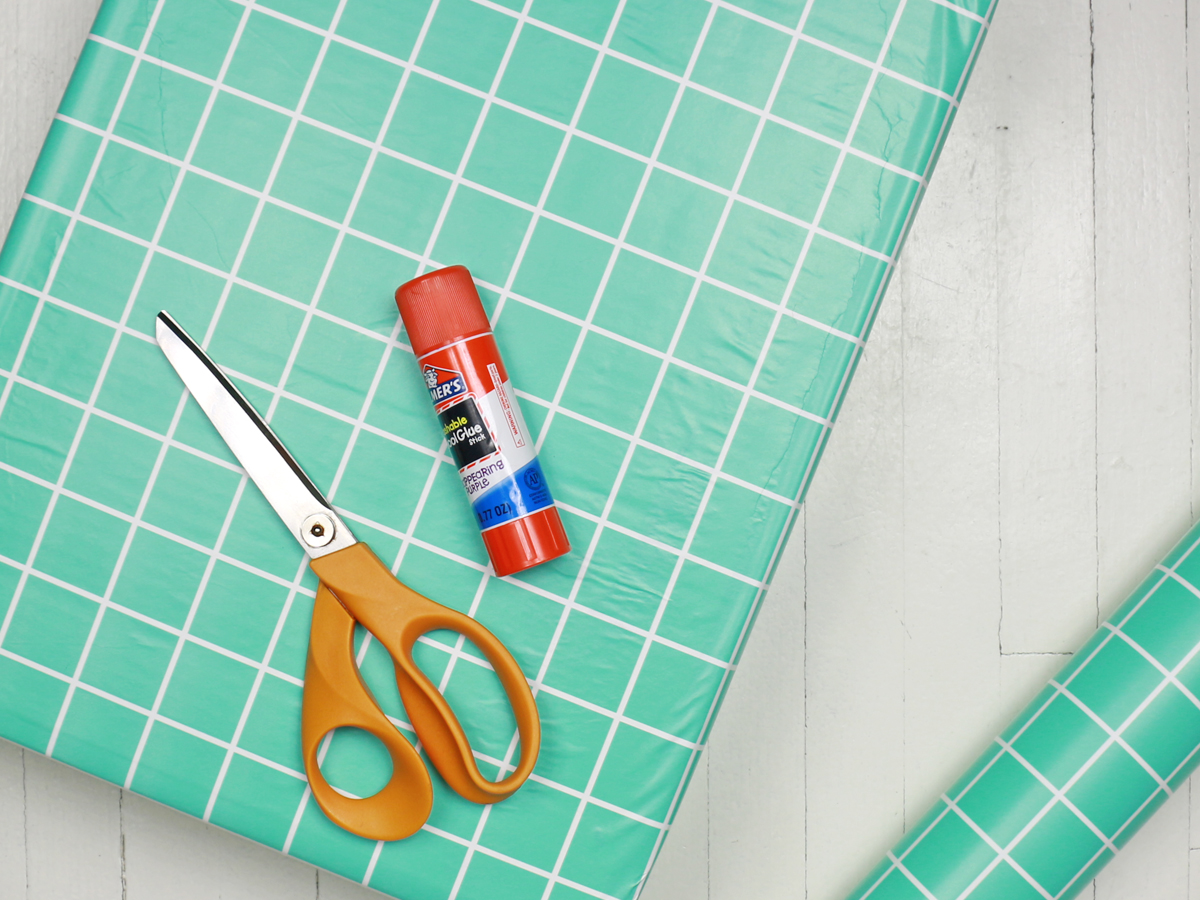
Step 1
Find a short, rectangular cardboard box for the base of your caddy. Wrap the box in brightly colored gift wrap. Use glue to secure the paper to the box.
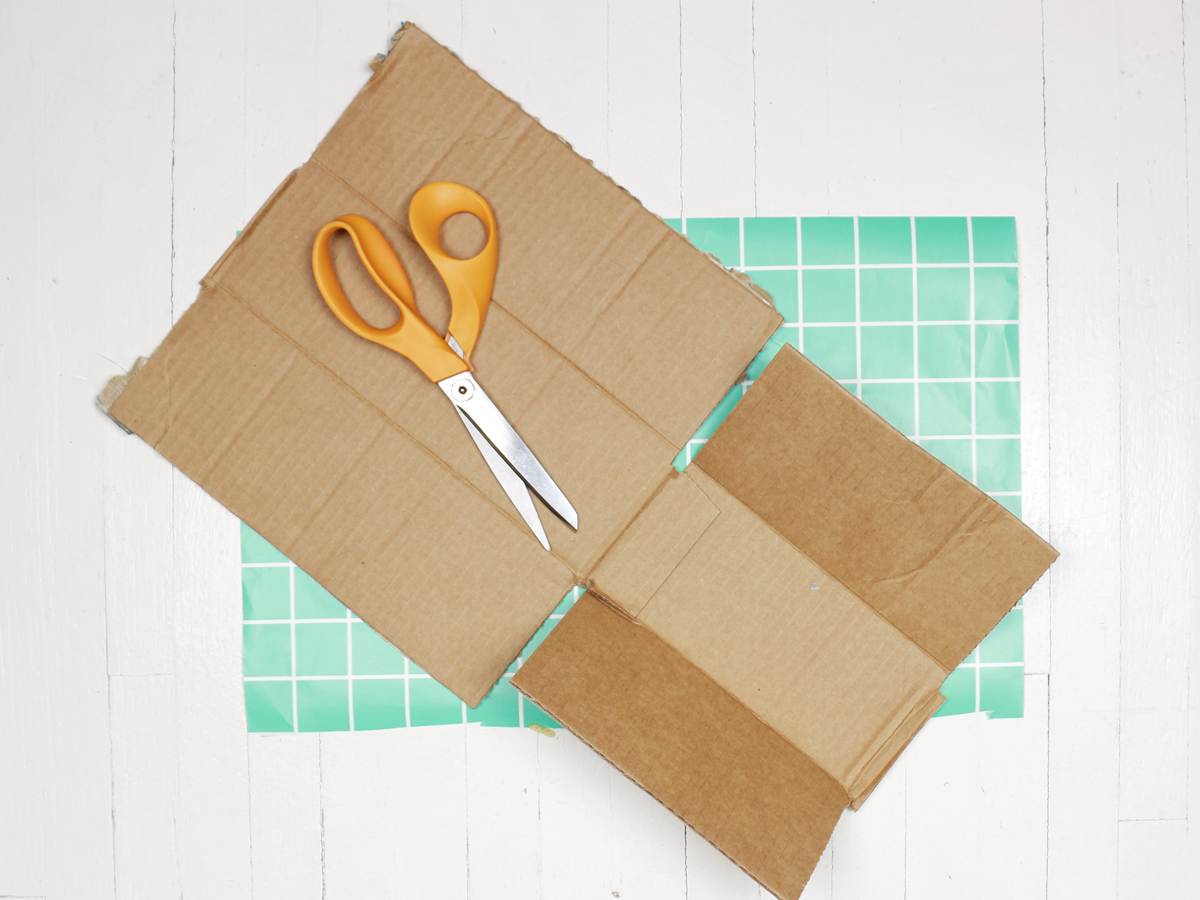
Step 2
Break down a second, slightly smaller cardboard box. Make three length-wise cuts at each fold. You’ll use the two matching, wider sections for the paper filer portion of the caddy.
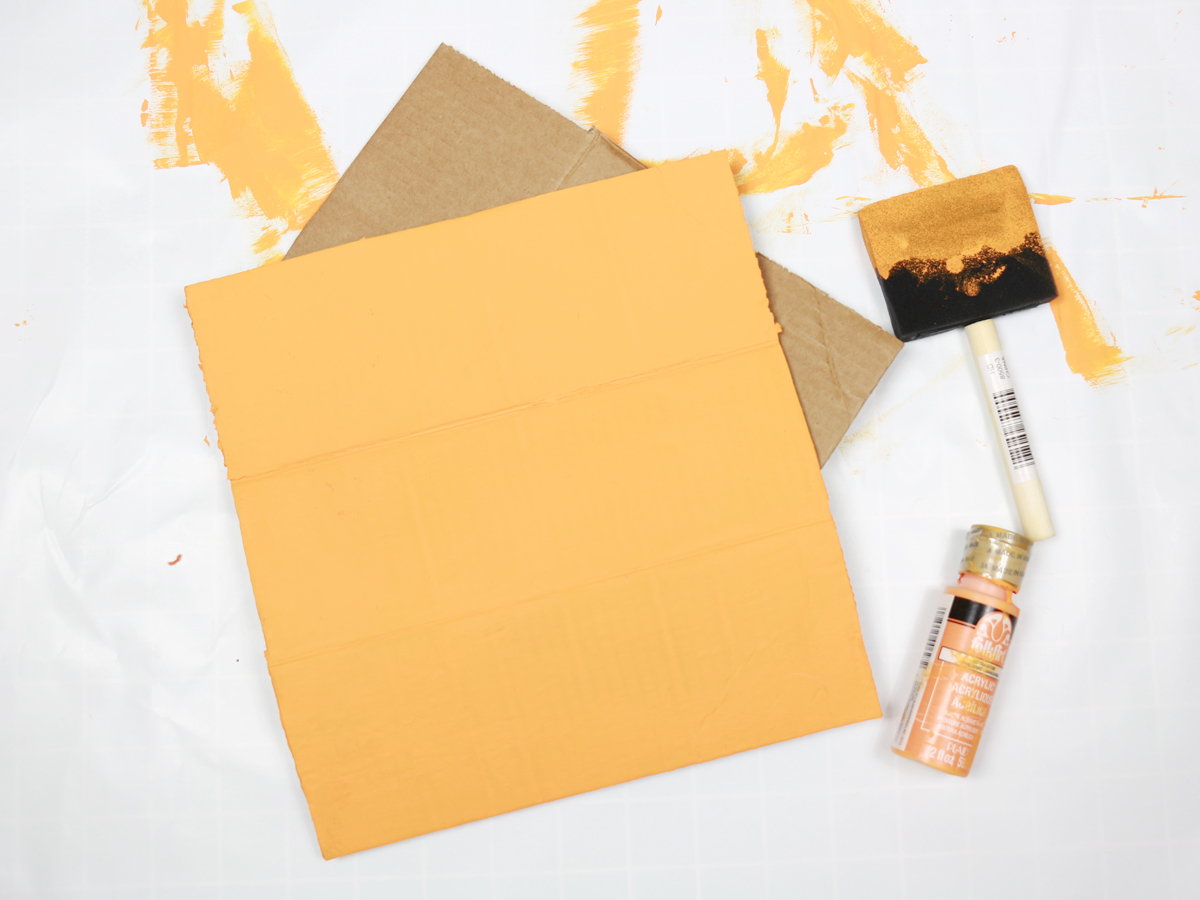
Step 3
If you’d like, paint the clean side of the two pieces and allow them to dry.
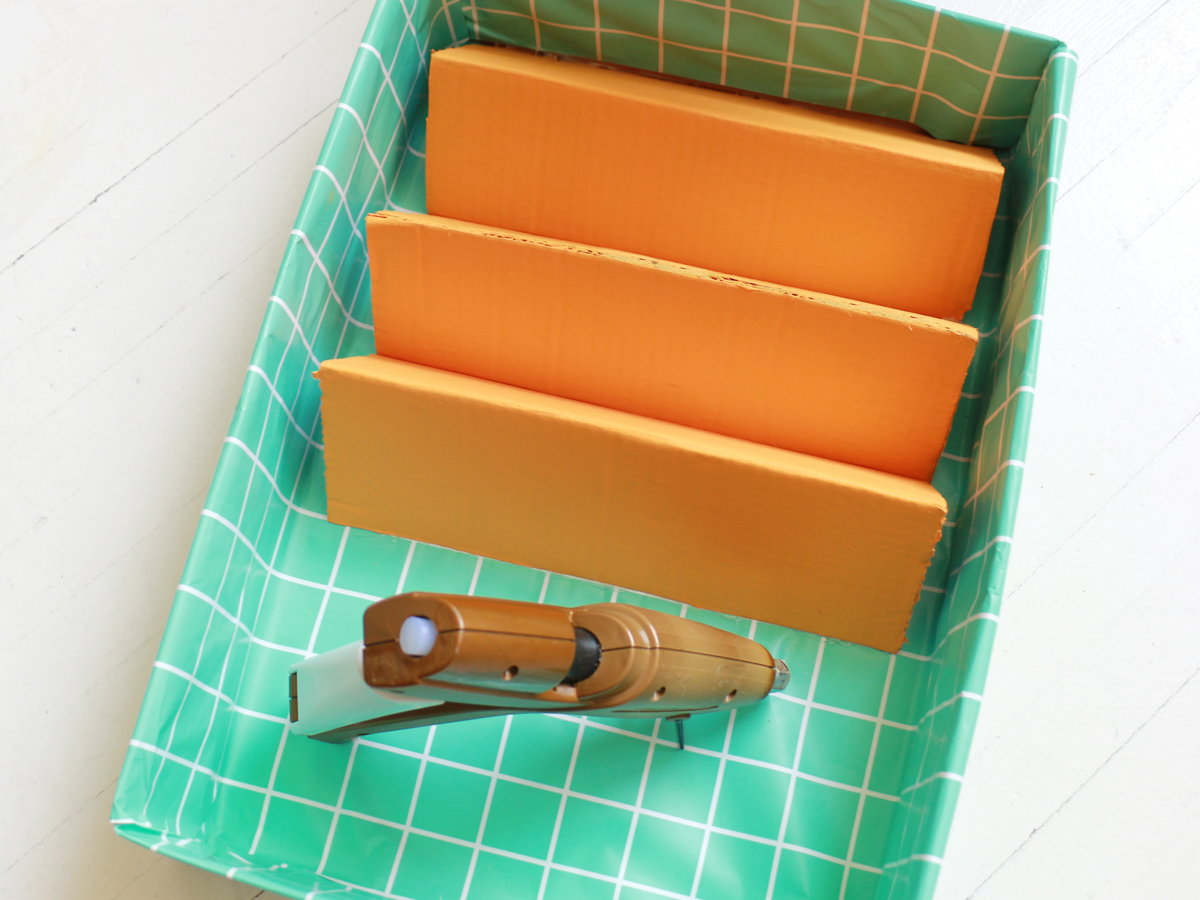
Step 4
Position the pieces accordion-style toward the front of the box. While holding the first piece in position, glue the bottom creases and hold them in place for 30 seconds to 1 minute while drying. Add in your second piece, positioning it so that it mirrors the first. Use hot glue for all of the creases on the bottom, as well as the two pieces that touch.

Step 5
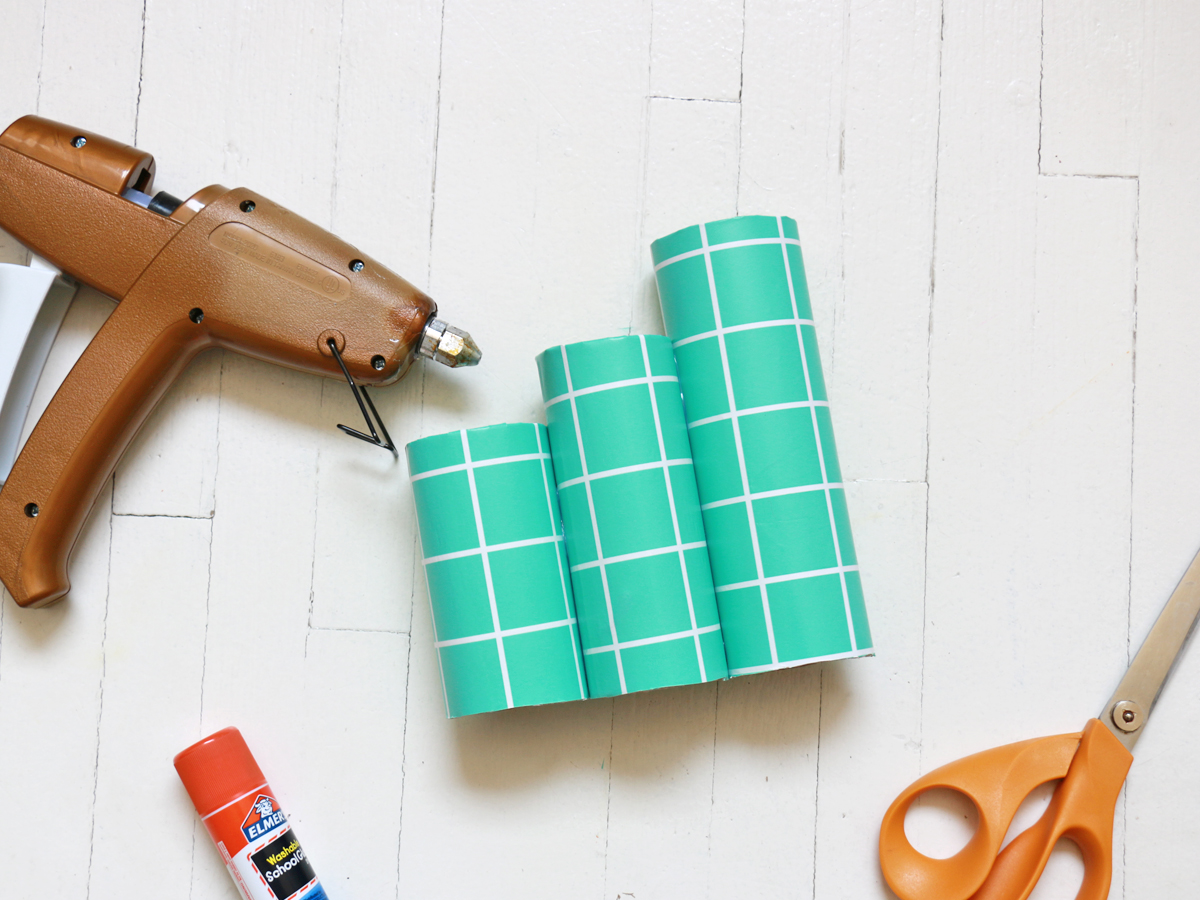
Add more cardboard pieces to your caddy, depending on what else you want to organize. We added a small box, which we painted orange, to hold some paint. For miscellaneous office supplies, such as scissors and pens, we added three tubular pieces.
To make those, cut pieces from the cardboard tubing of the gift wrap, then cover them with the paper. Glue them together, then add a ring of hot glue to each of the bottoms to secure the tubes inside the organizer.
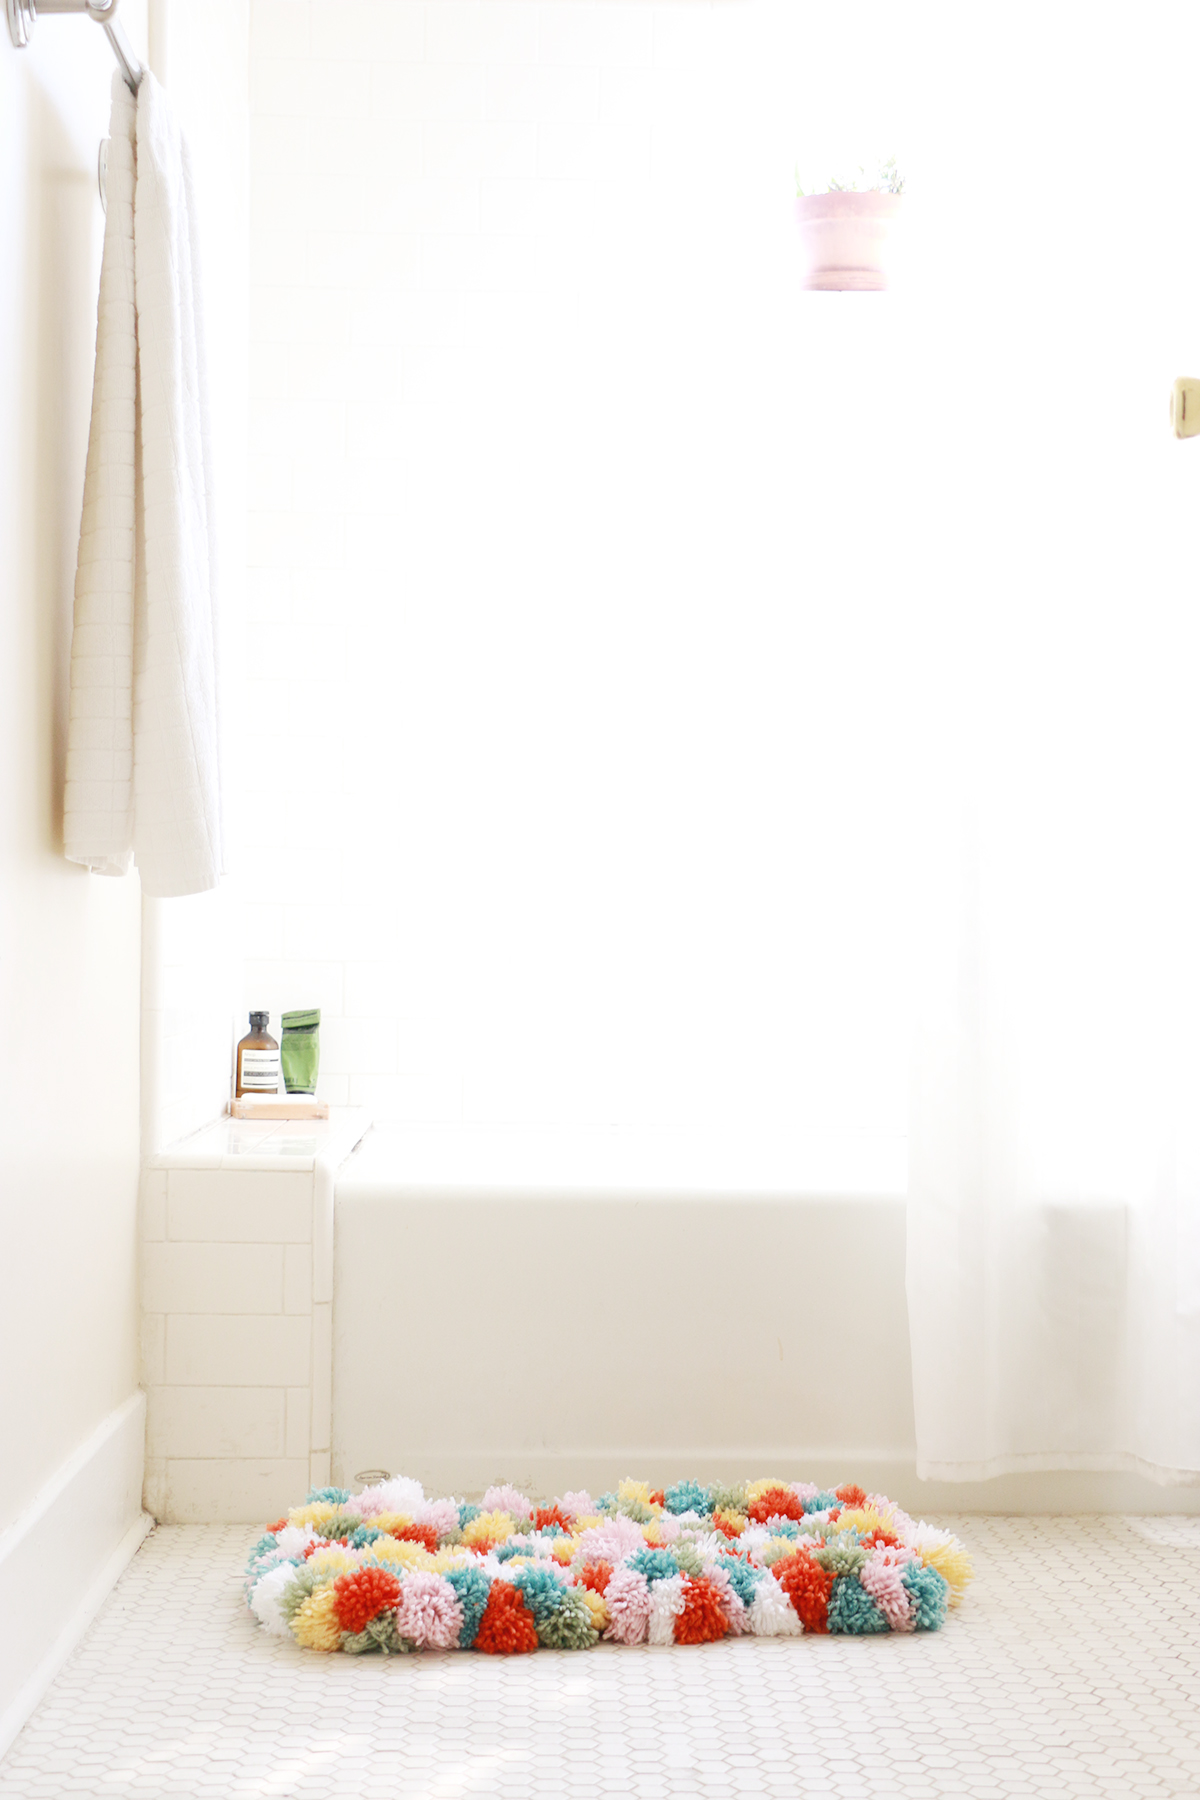

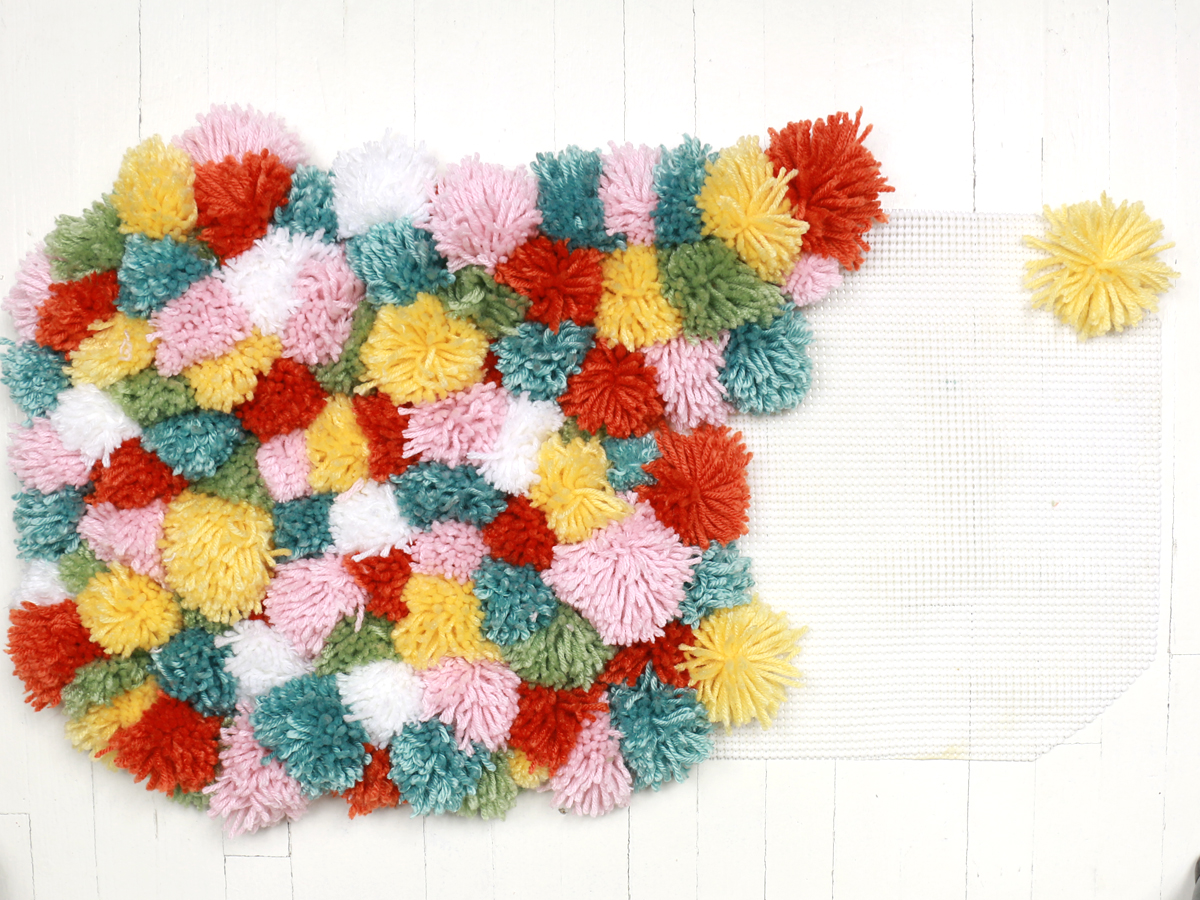
POM-POM RUG
If you’ve ever used a rug pad under a rug, you know you often have to trim it to fit. But what do you do with the extra? We made a small, colorful pom-pom rug. We put ours in the bathroom, but you could make a rug for any room in your house.
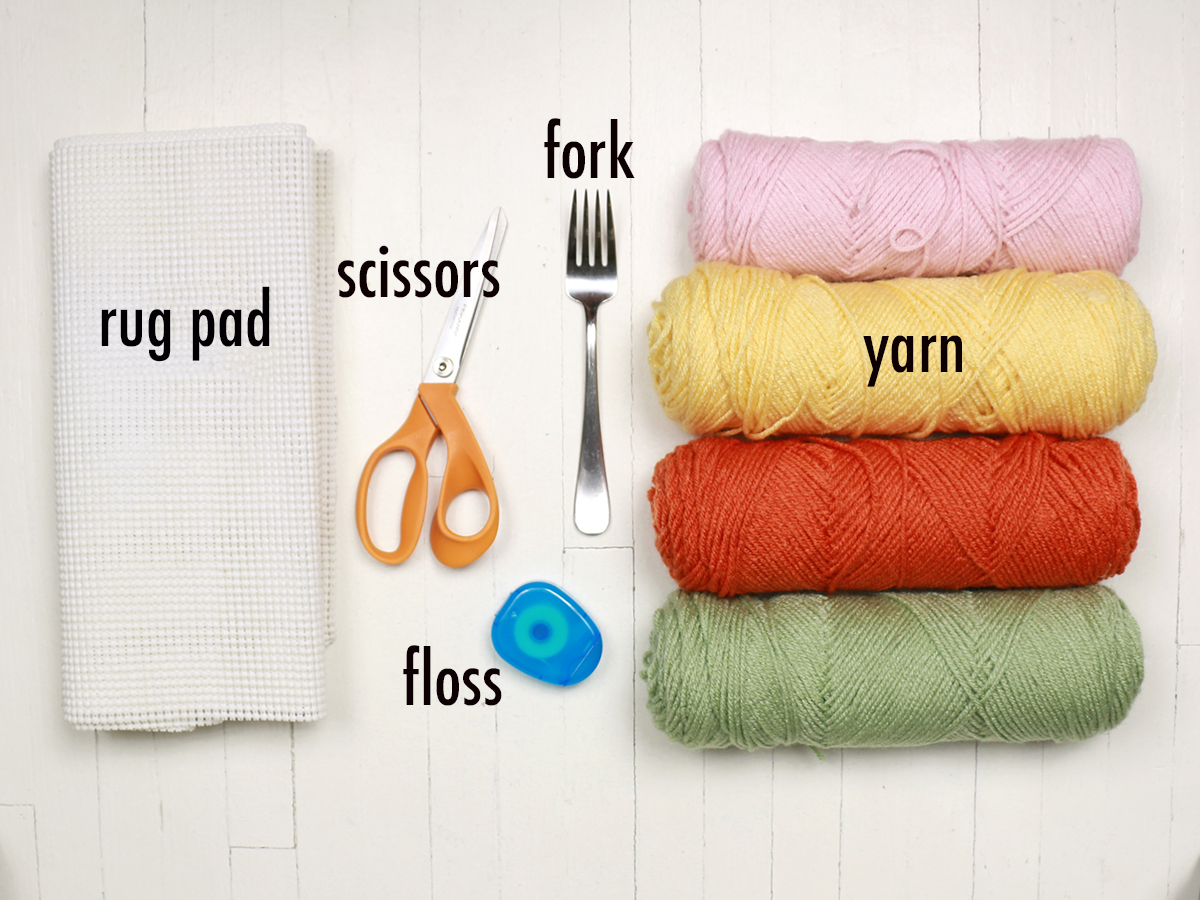
Materials Needed:
- Rug pad
- Scissors
- Fork
- Floss
- Yarn
Pom-Pom Directions
Because you’ll need to make a bunch of pom-poms, we suggest gathering a few family members or friends to help.
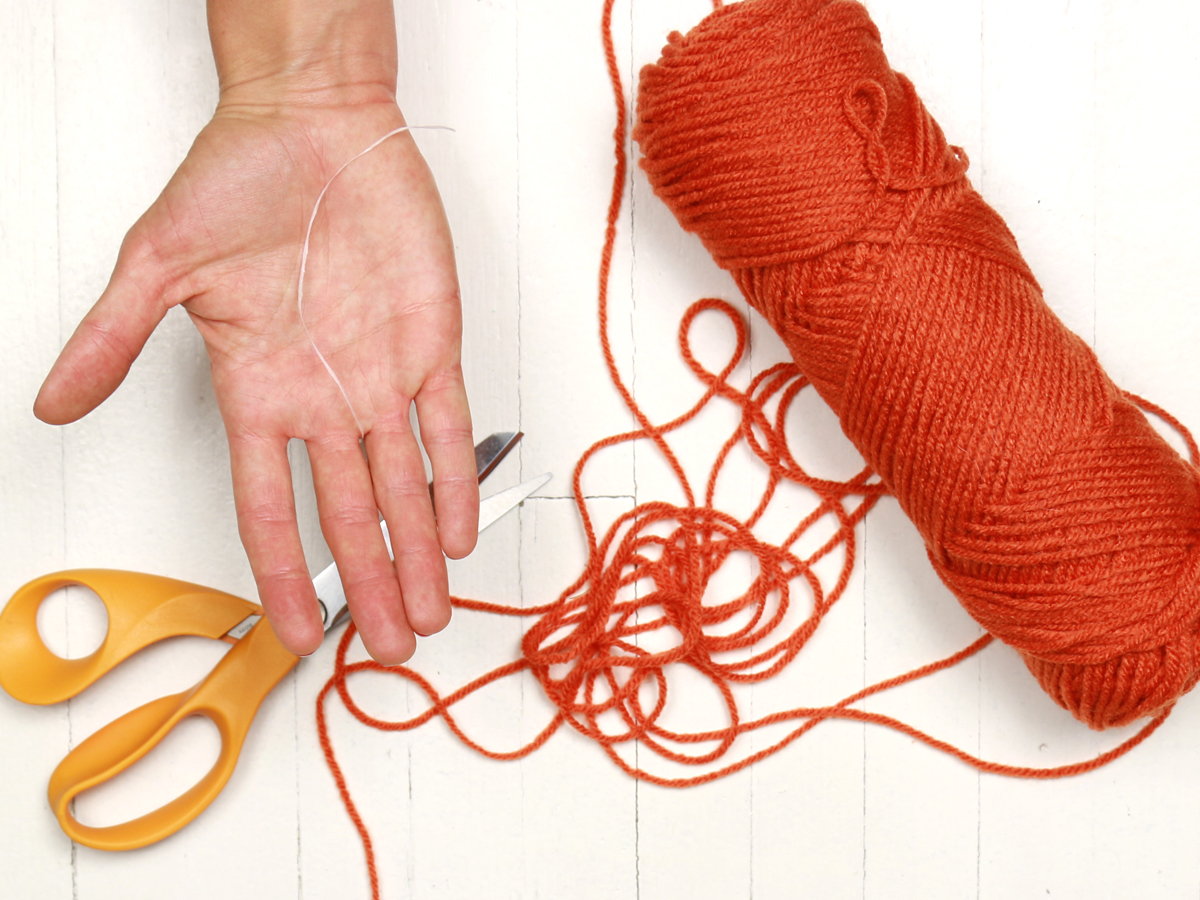
Step 1
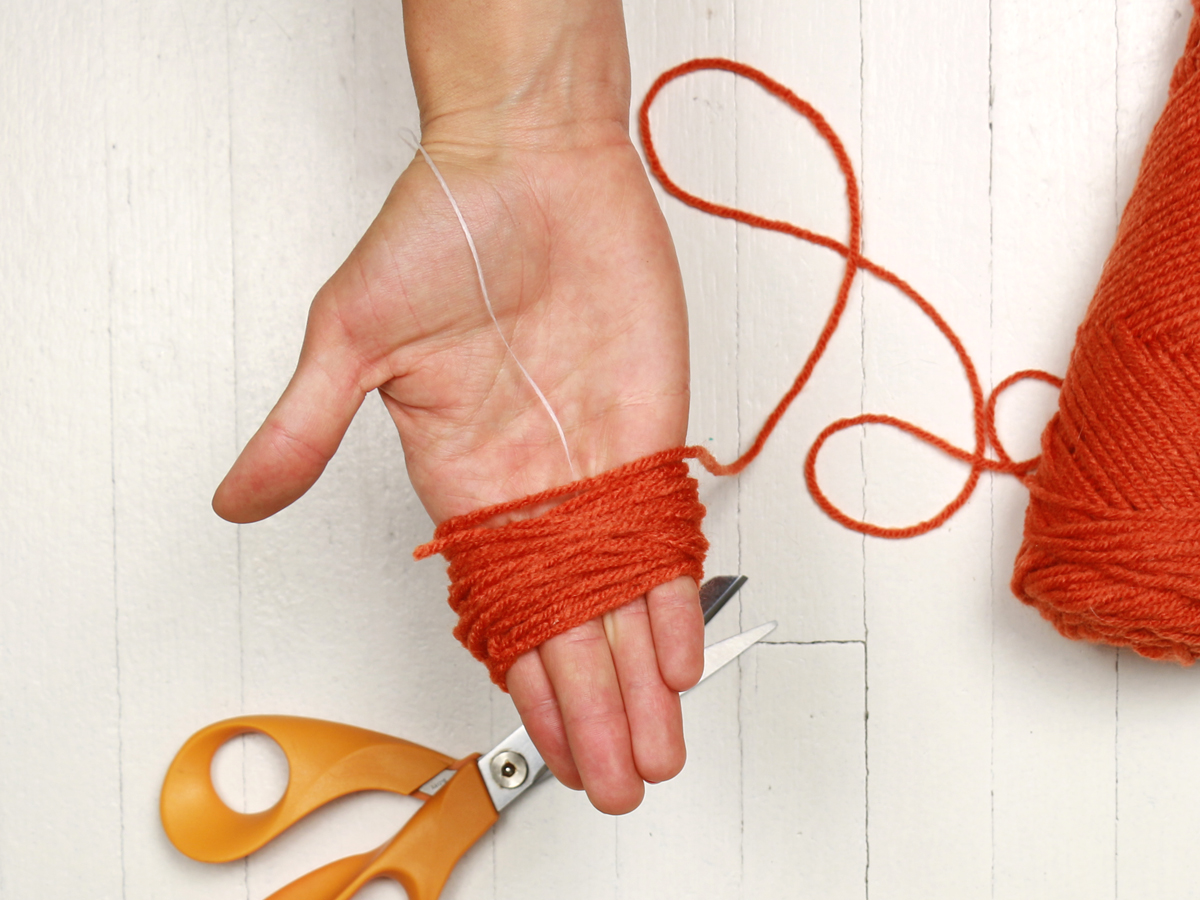
To make the larger pom-poms, string a piece of floss in between your ring and middle finger on your non-dominant hand. One end of the floss will rest on your palm and the other on the back of your hand.
Step 2
Wrap the yarn somewhat loosely around your four fingers (pinky, ring, middle, index), anywhere between 20 to 40 times.
Step 3
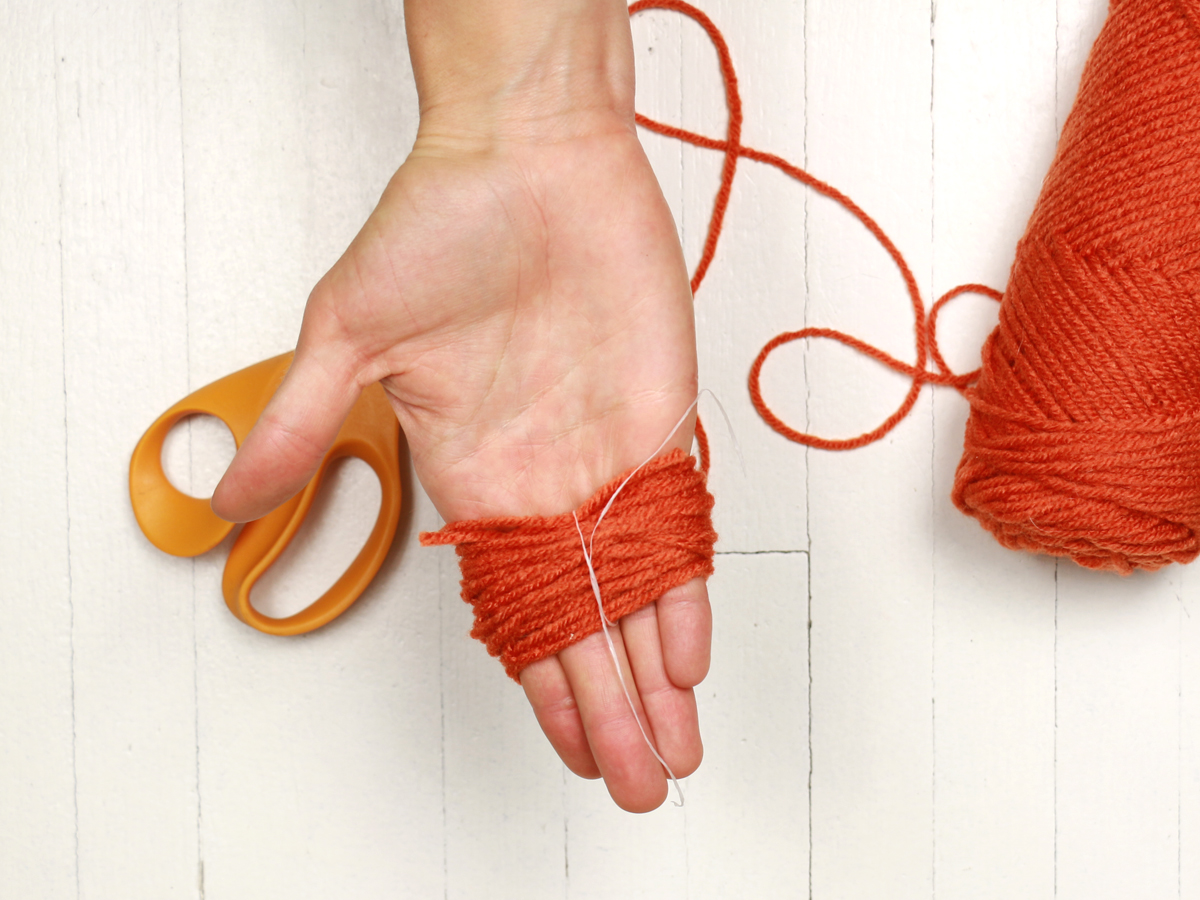
Cut the end of the yarn once you’ve made the necessary revolutions. Loosely tie the floss together, just to hold the yarn in place for now.
Step 4
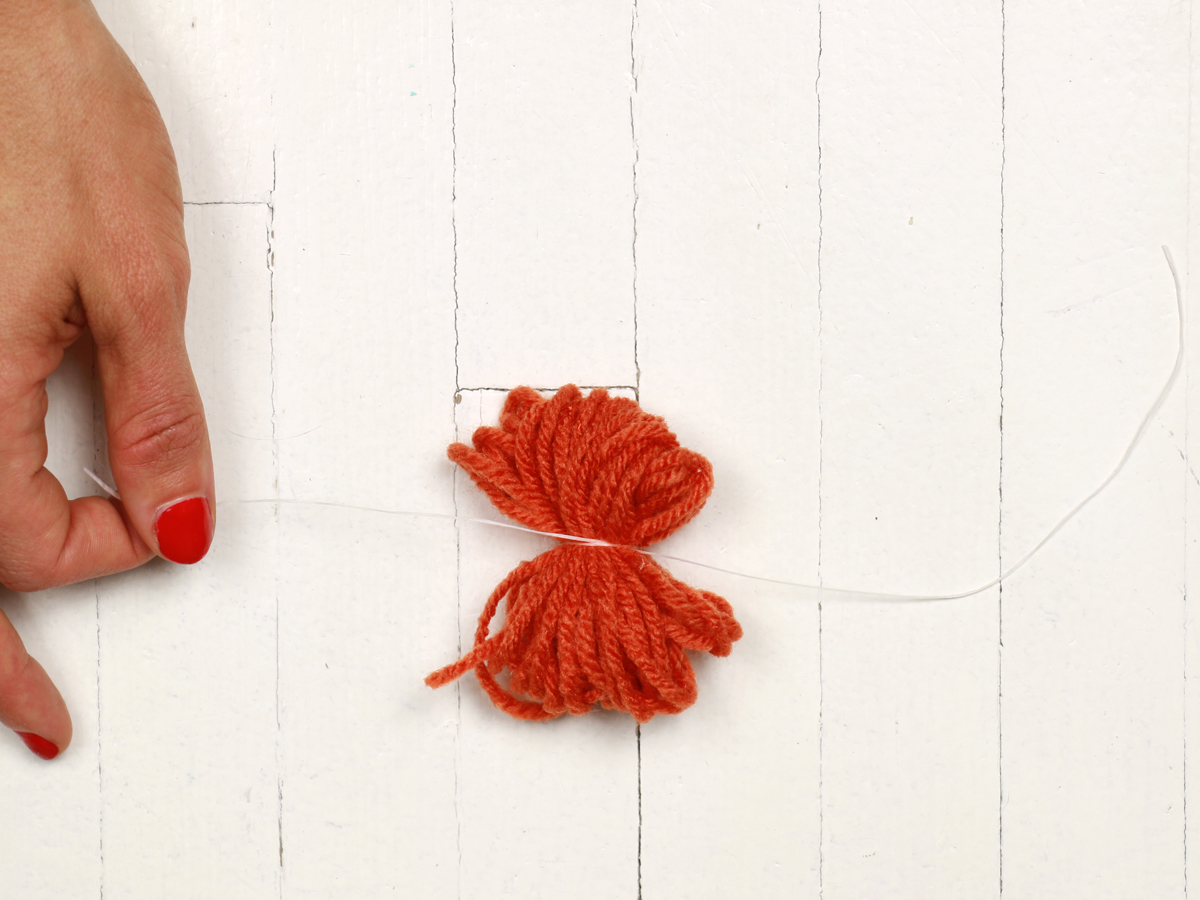
Slide the yarn and floss off of your fingers. Firmly double knot the floss in the center of the yarn. You should have a ball of yarn that looks like a figure 8 at this point.
Step 5
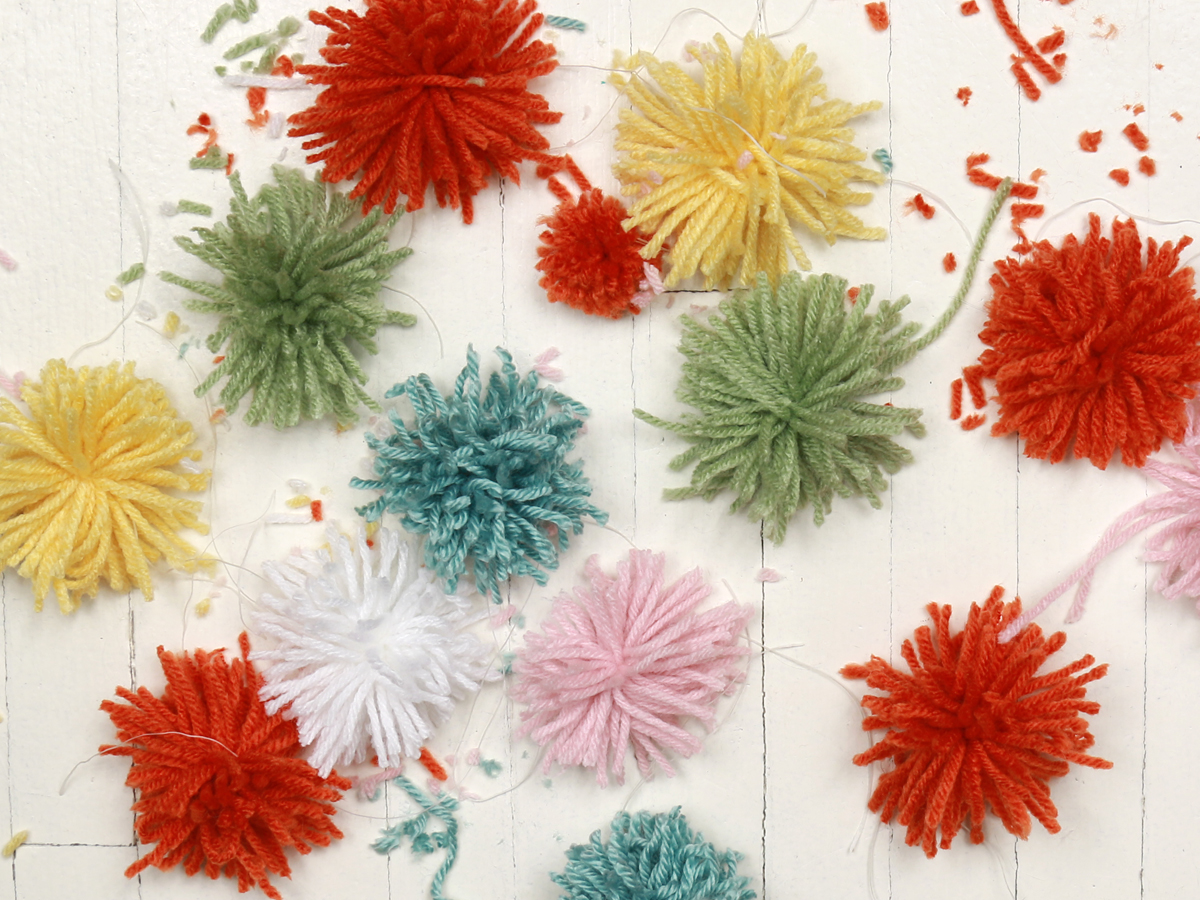
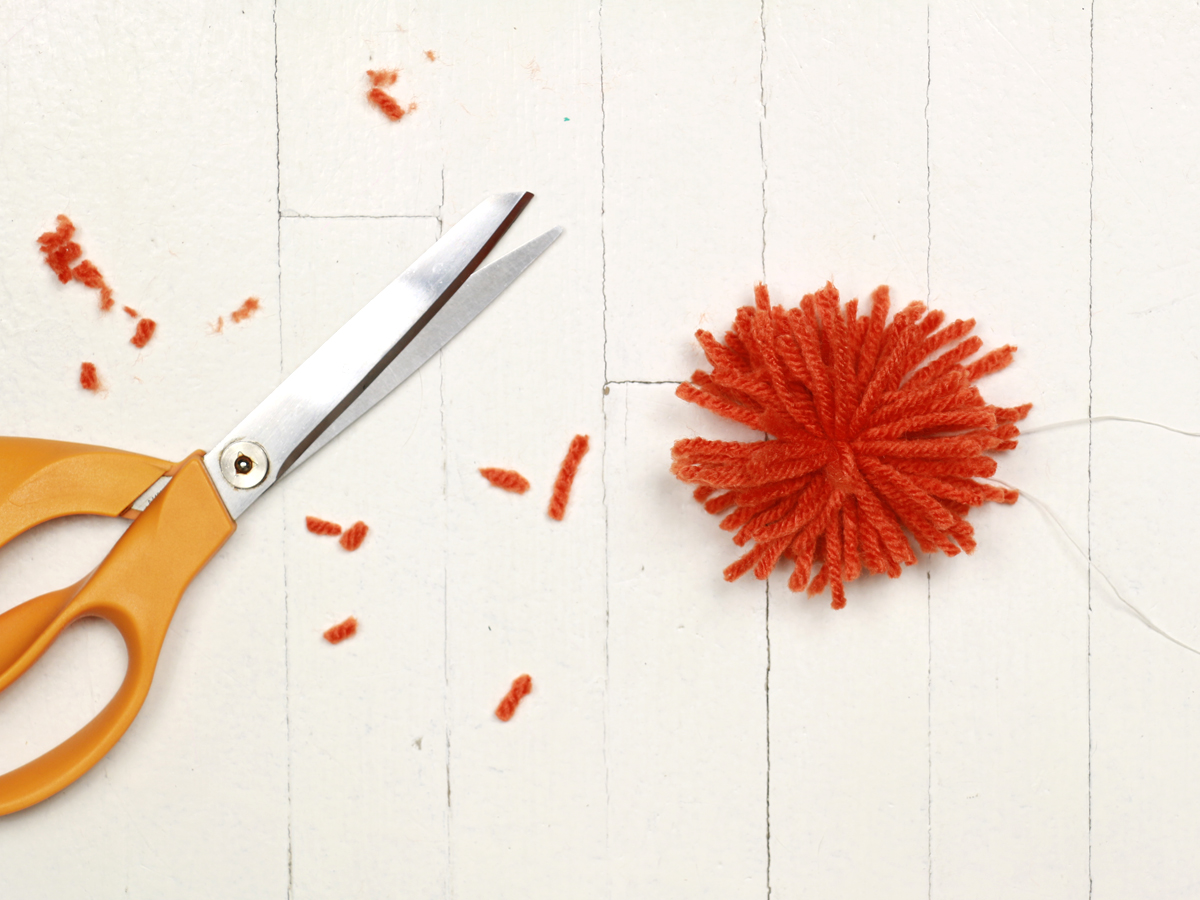
Cut the center point of the loops with scissors. If necessary, trim any uneven yarn ends.
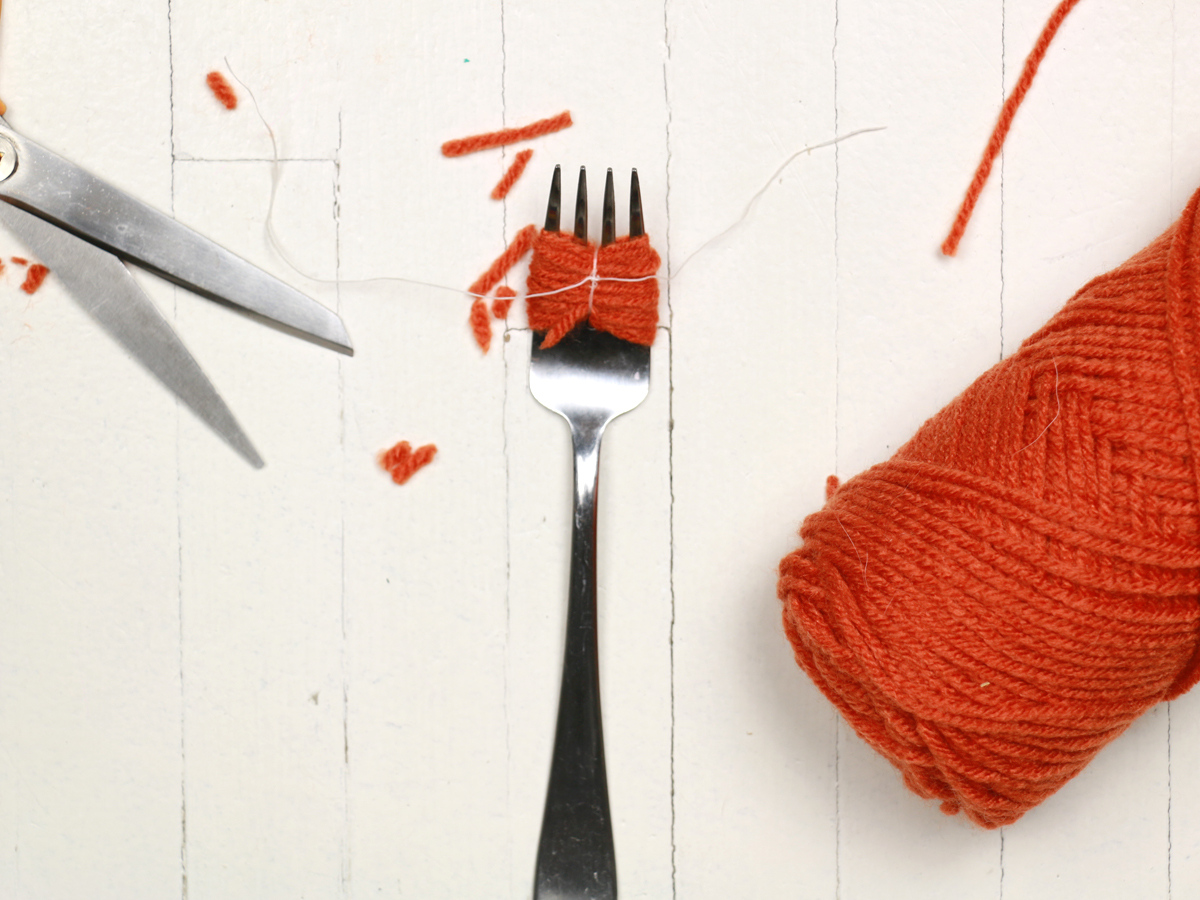
For the smaller pom-poms, repeat the same process, but use a fork instead of your fingers.
Rug Directions
When all of your pom-poms are finished, you can put together your rug.
Step 1
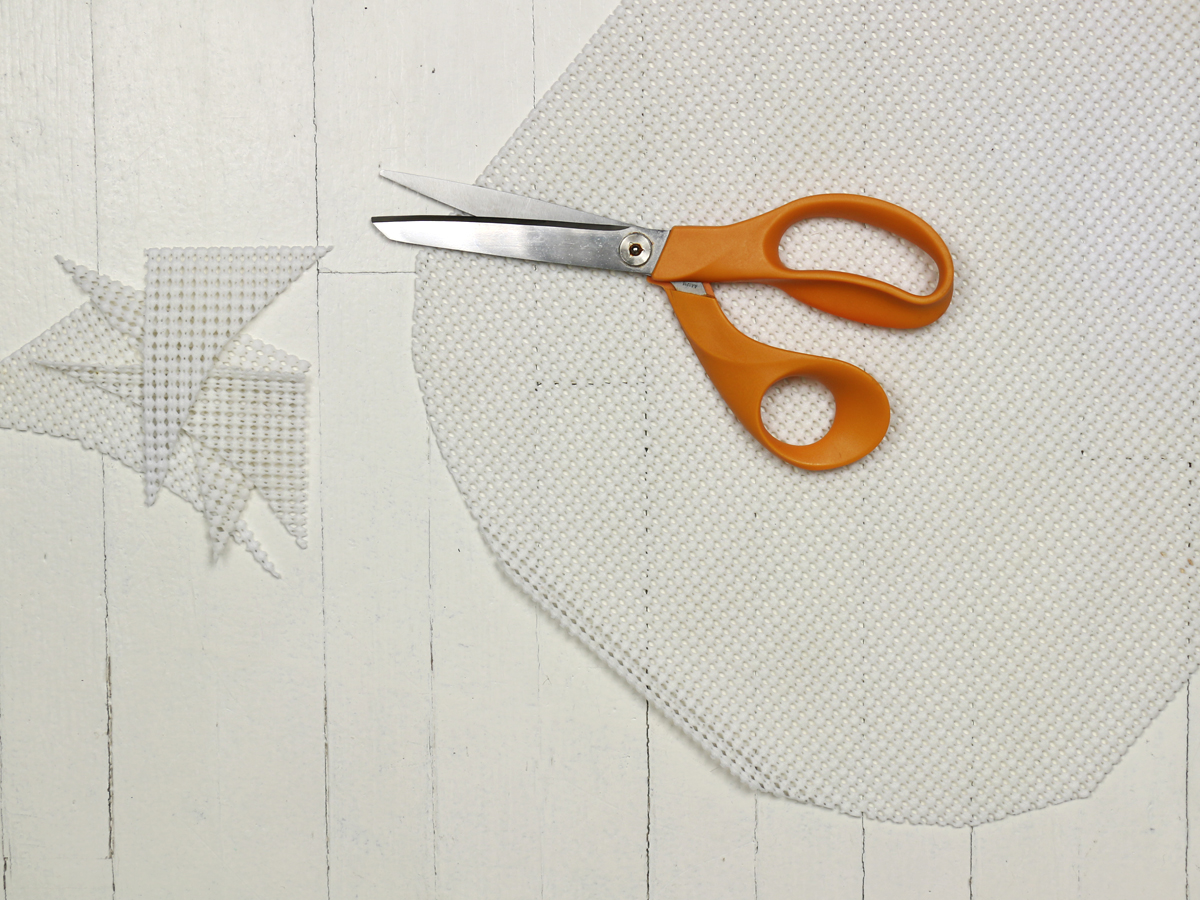
Cut your rug pad piece to the desired size. We went with a bath mat-sized rug and rounded the corners to give it an oval shape, but the size and shape are up to you.
Step 2
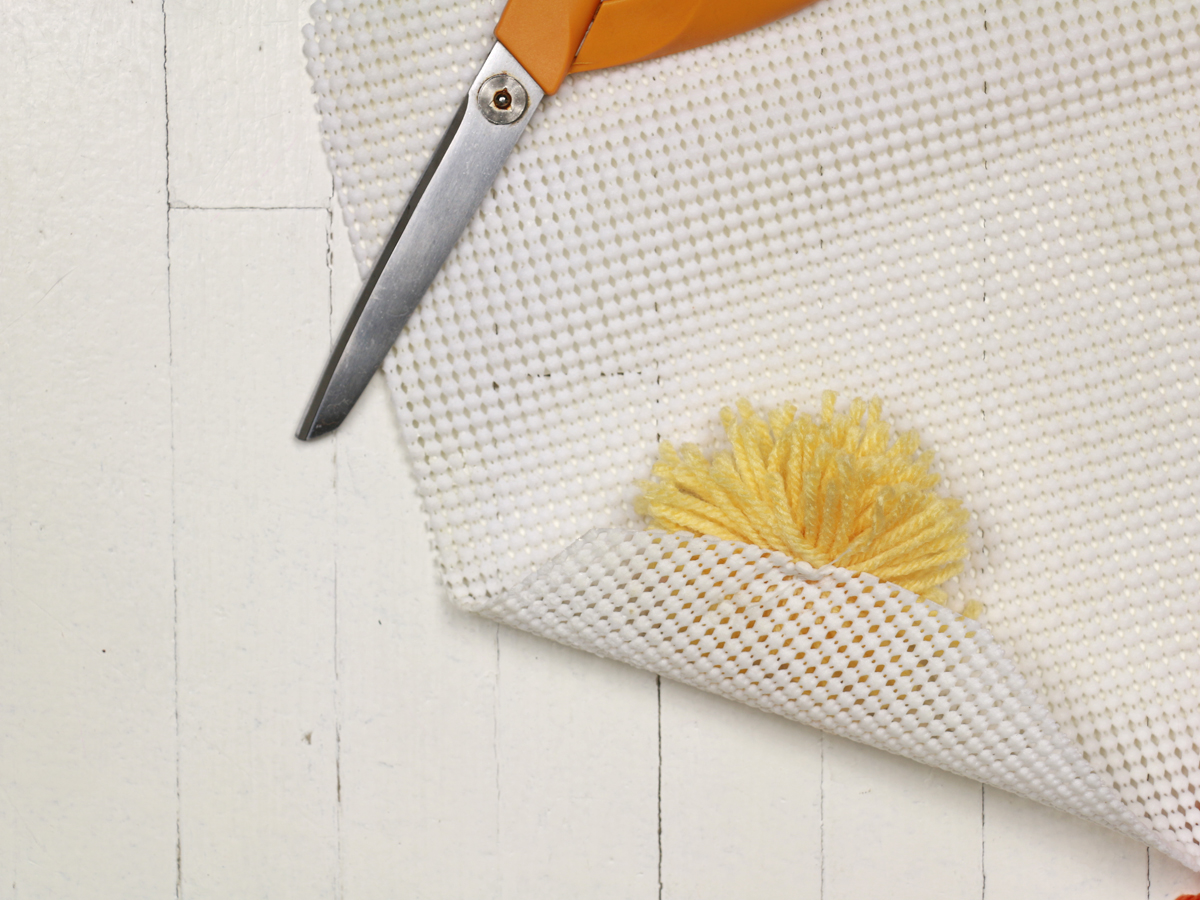
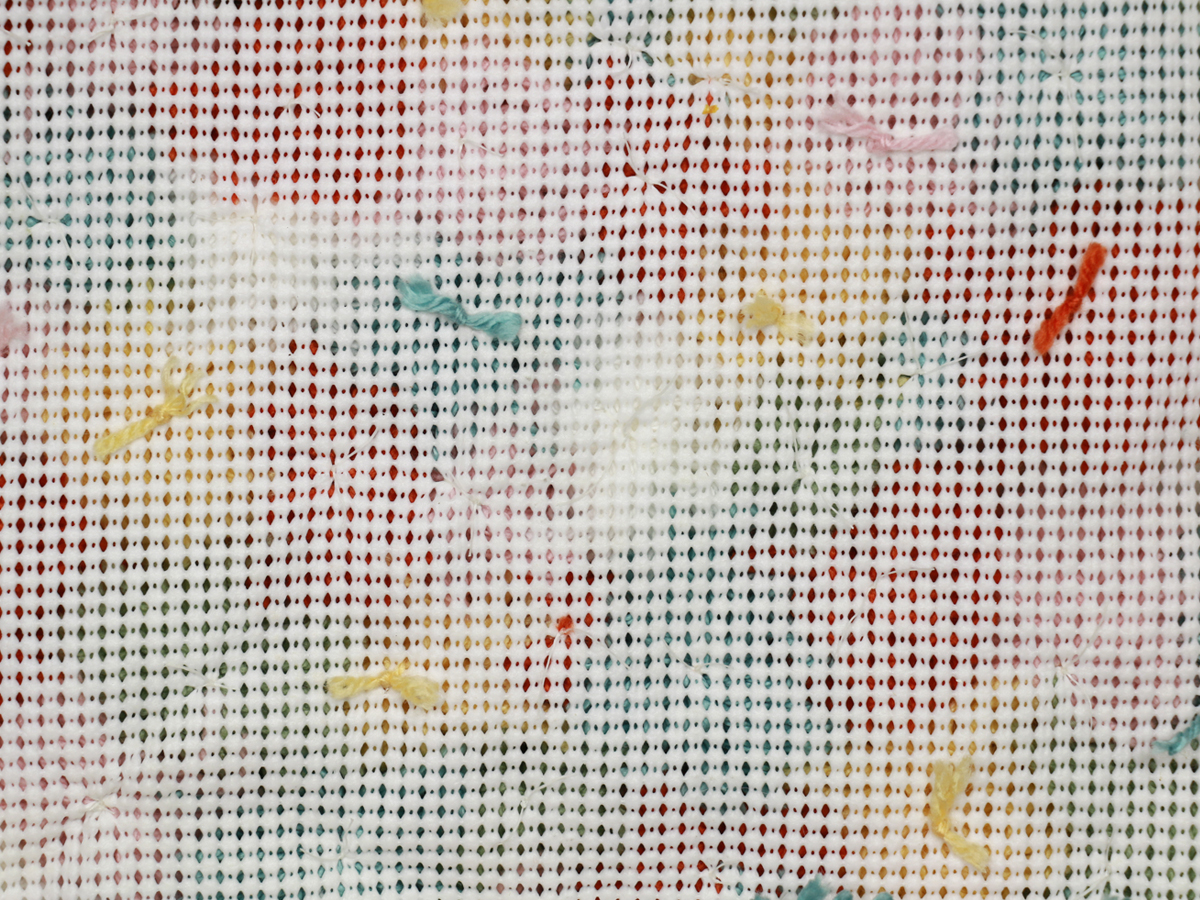
Secure each pom-pom to the rug pad by inserting the ends of floss through two adjacent holes in the perforation. Turn the rug pad over and double knot the ends of the floss to keep the pom-pom in place. Once knotted on the backside of the rug, trim the floss, leaving 1/2 to 1 inch of floss after the knot. This will come in handy if you need to re-knot any ends later.
Note: We used some colored yarn for a few of the pom-poms, so you could see what it looks like.
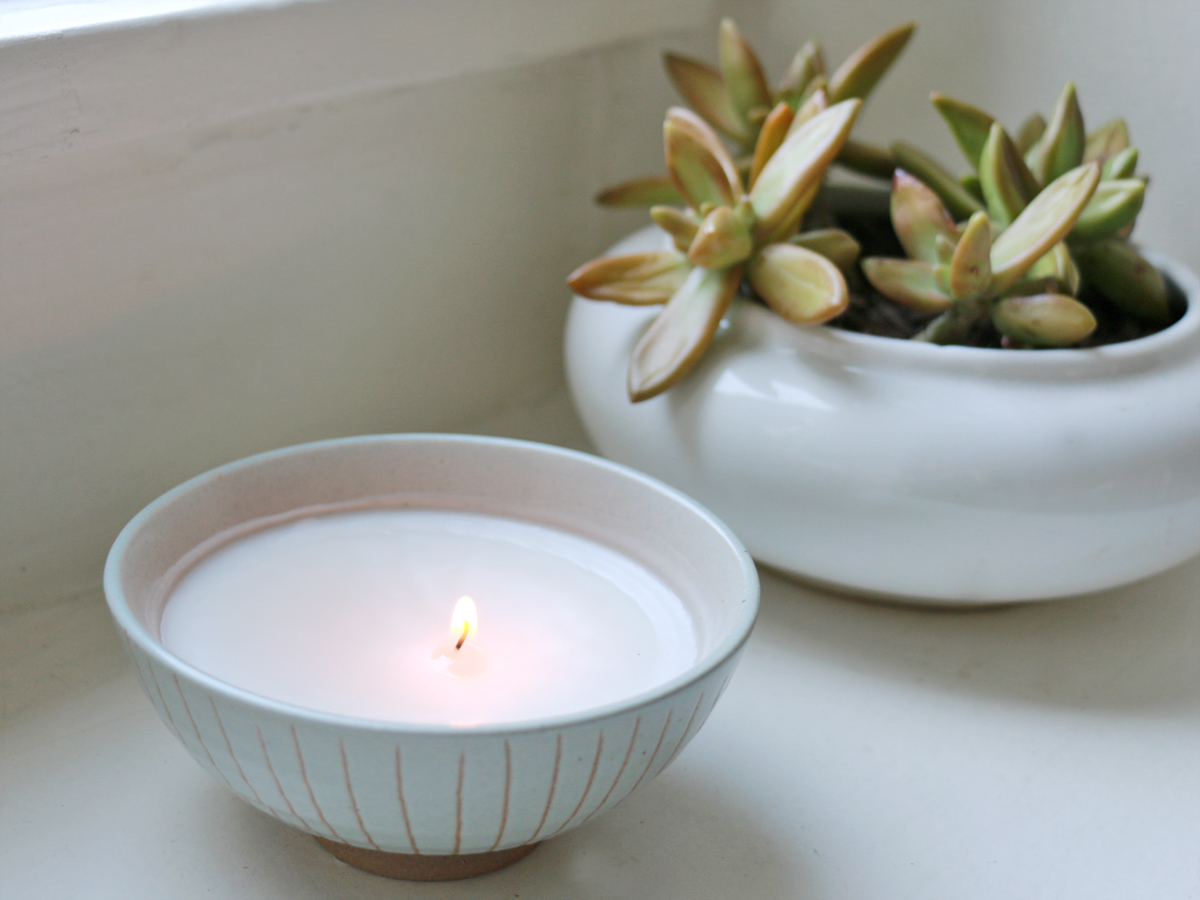
CERAMIC DISH CANDLE
Maybe you have only one bowl left from a set that broke. Or perhaps you received a decorative bowl as a gift, and you’re not sure how to use it. Instead of placing it in a cupboard, never to see the light of day, turn it into a unique candle for your home.
If you don’t have a spare bowl, any ceramic or glass item will work — just be sure that it’s heat-resistant and therefore safe to use as a candleholder. For the wax, you can reuse an existing candle contained in glass.
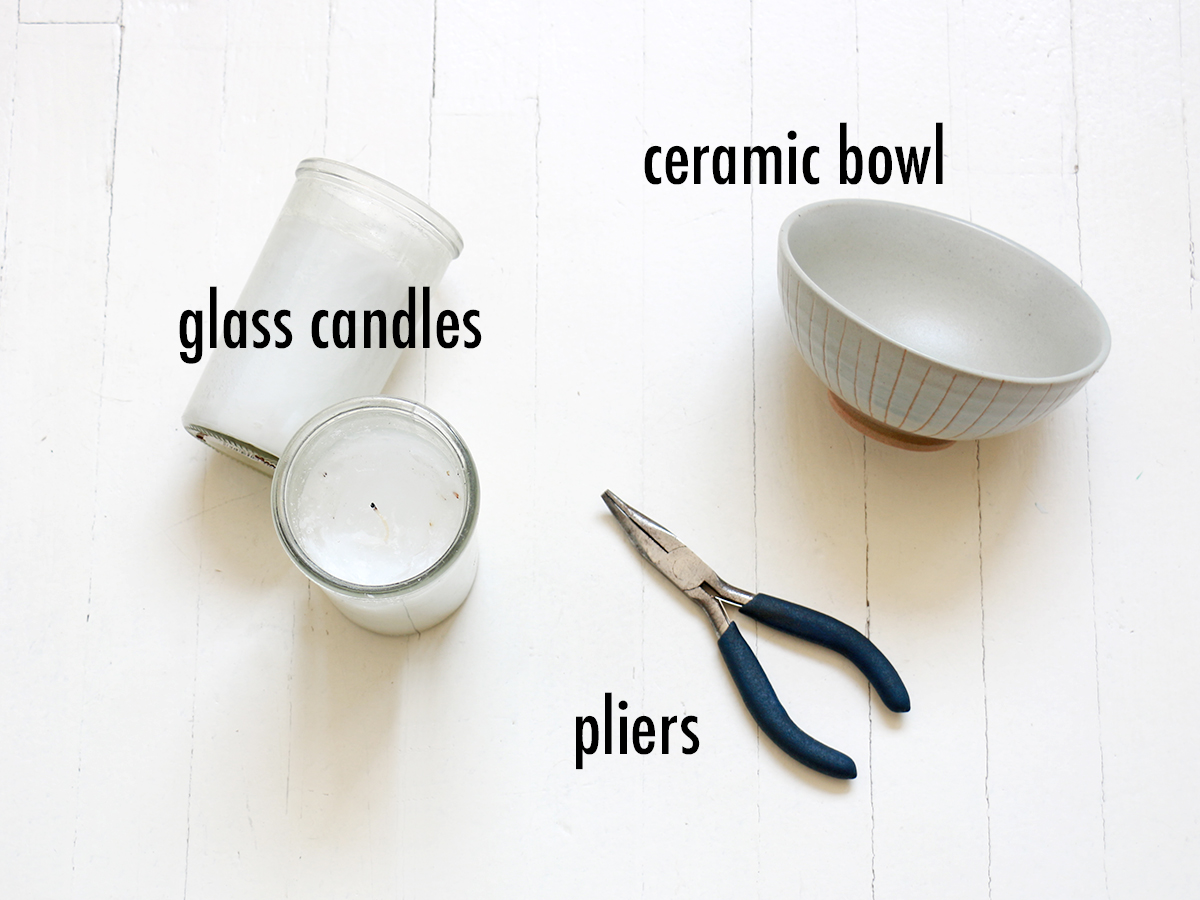
Materials Needed:
- Glass-contained candles
- Ceramic bowl
- Pliers
- Stove + medium saucepan
- Oven mitt
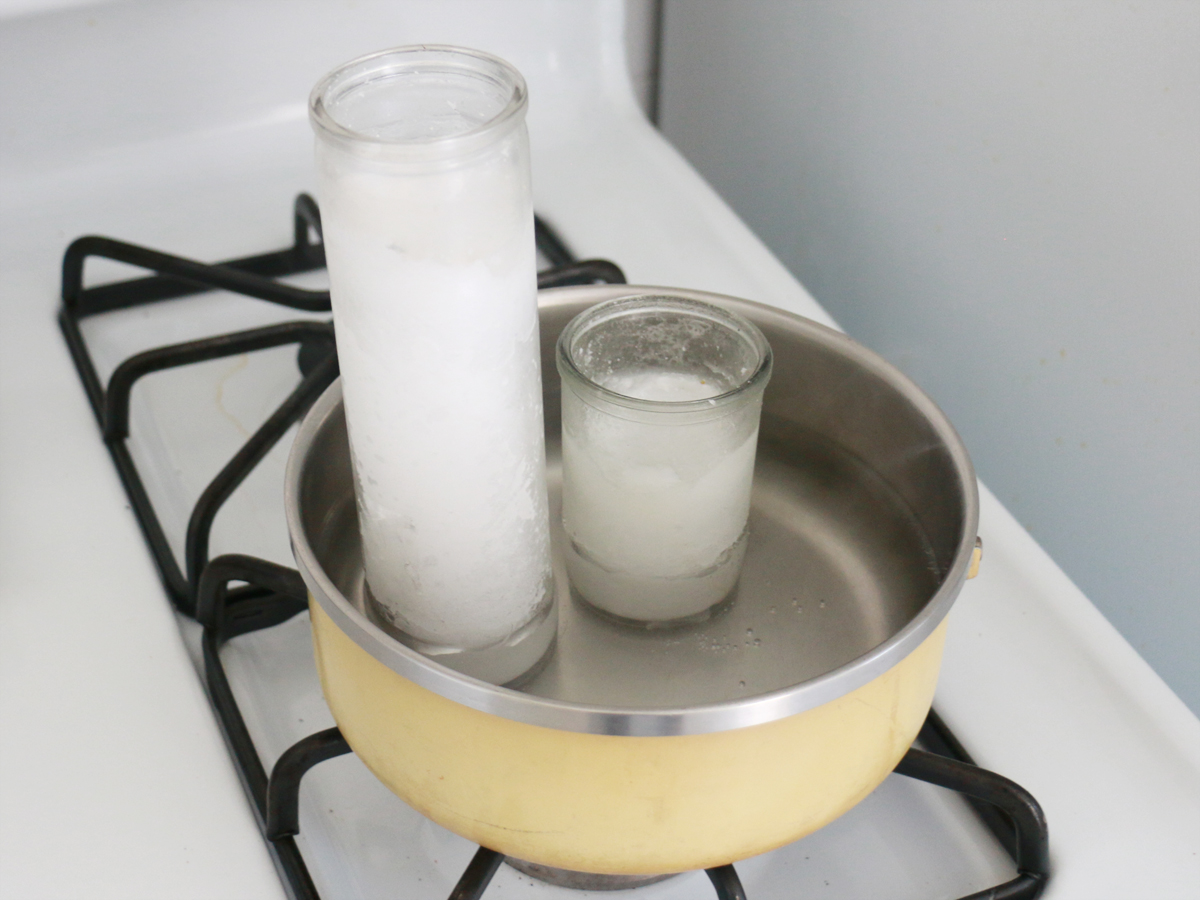
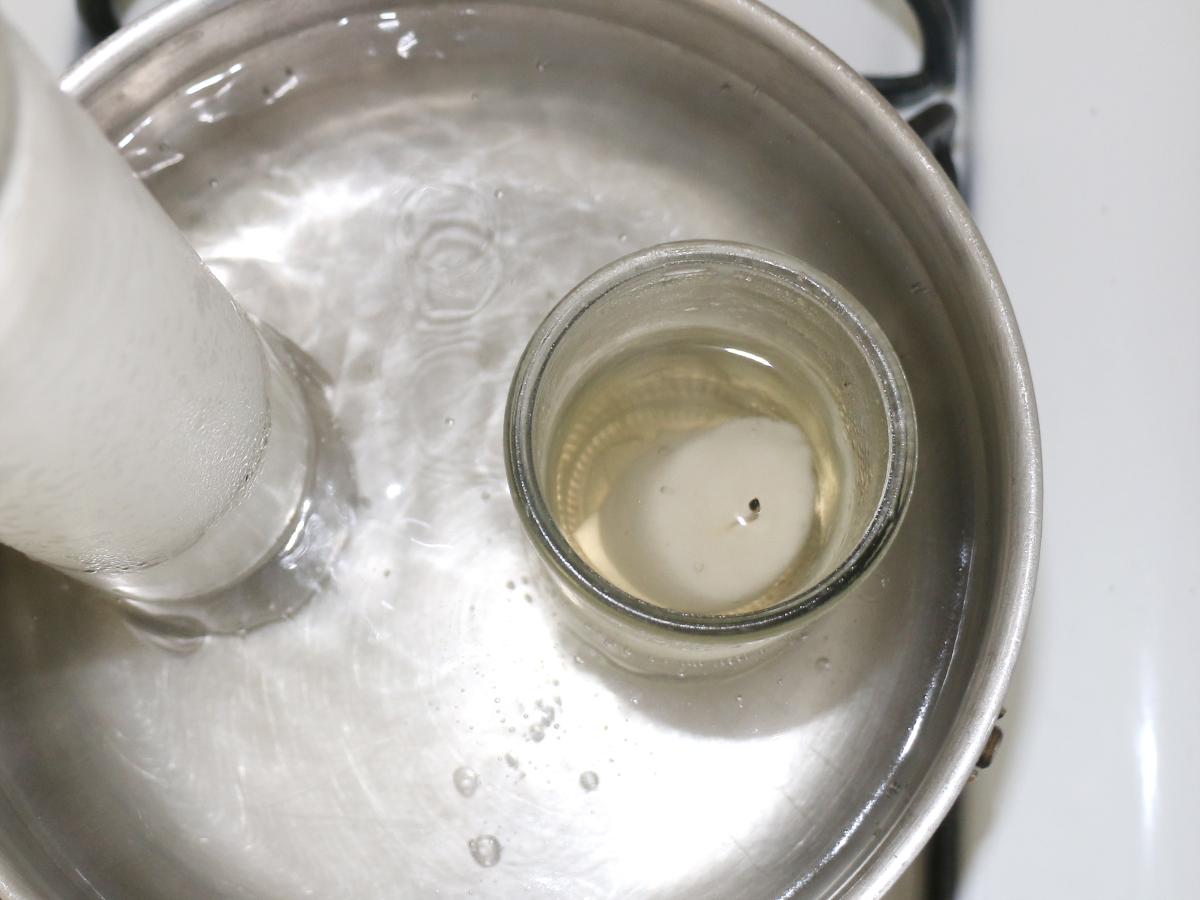
Step 1
Fill a medium saucepan three-quarters of the way with water. Bring to a boil over medium-high heat. Once boiling, turn the heat down to low.
Place the candle in the saucepan. Make sure the water level is well below the rims. Keep an eye on the candles while they are heating.
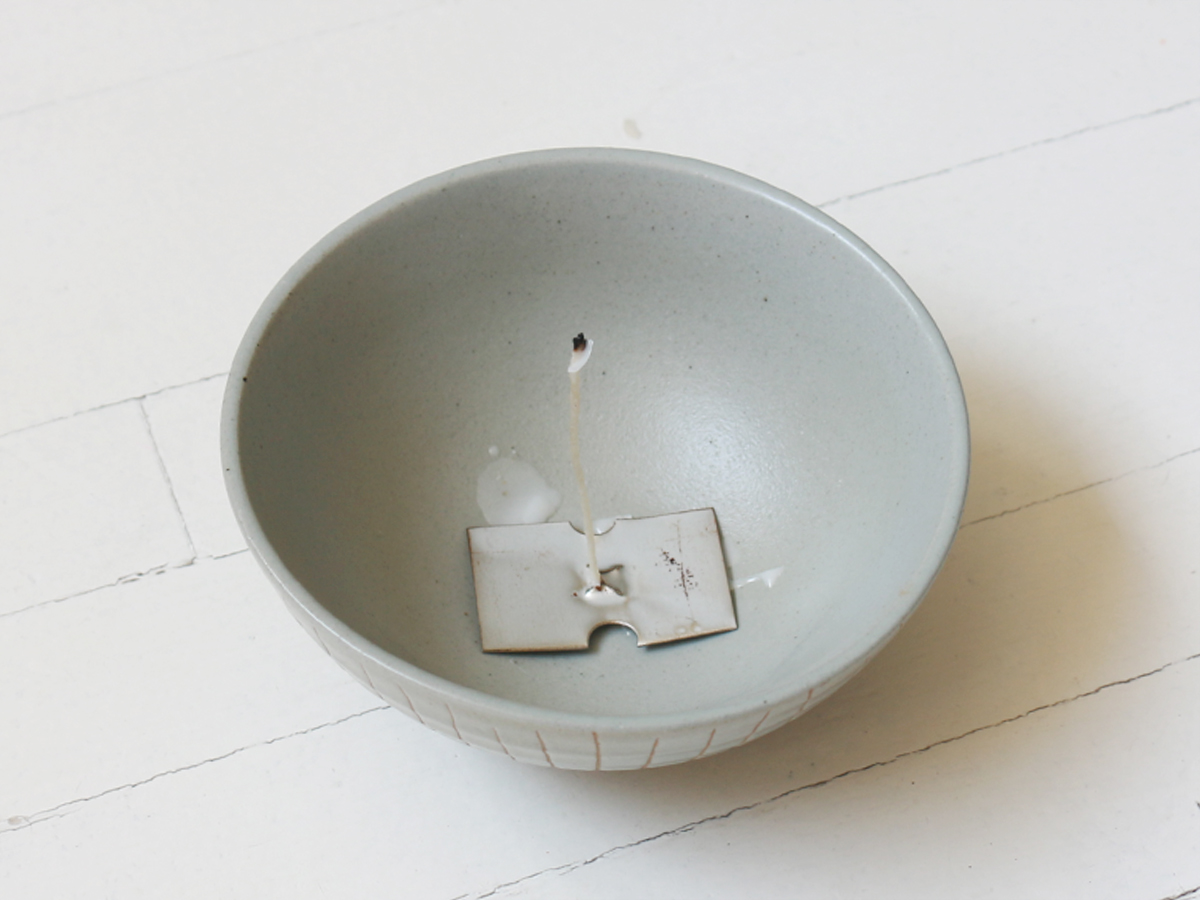
Step 2
When the candle wax is melted and translucent, use pliers to remove the wick. Position the wick in the center of your ceramic bowl.
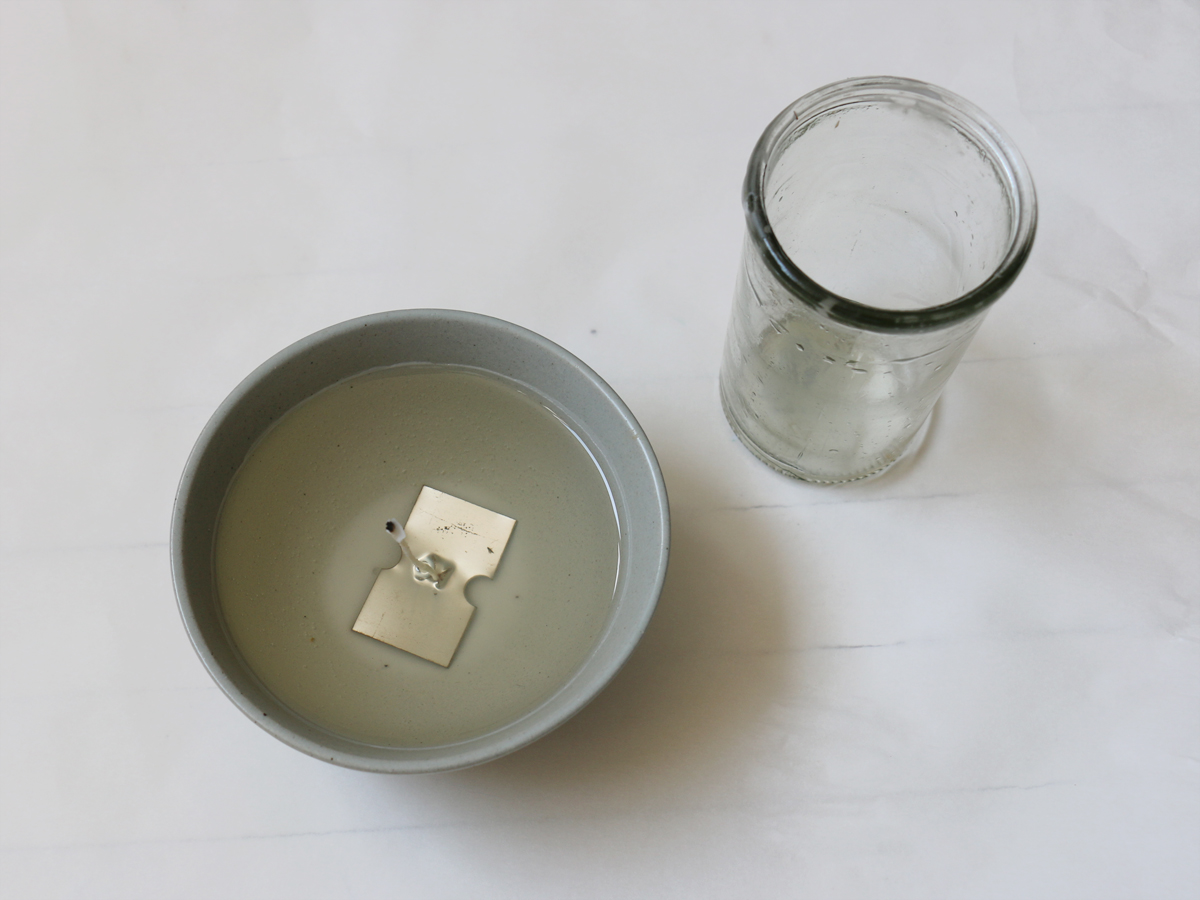
Step 3
Once the wick is centered, put on the oven mitt and pour the melted wax into the bowl.
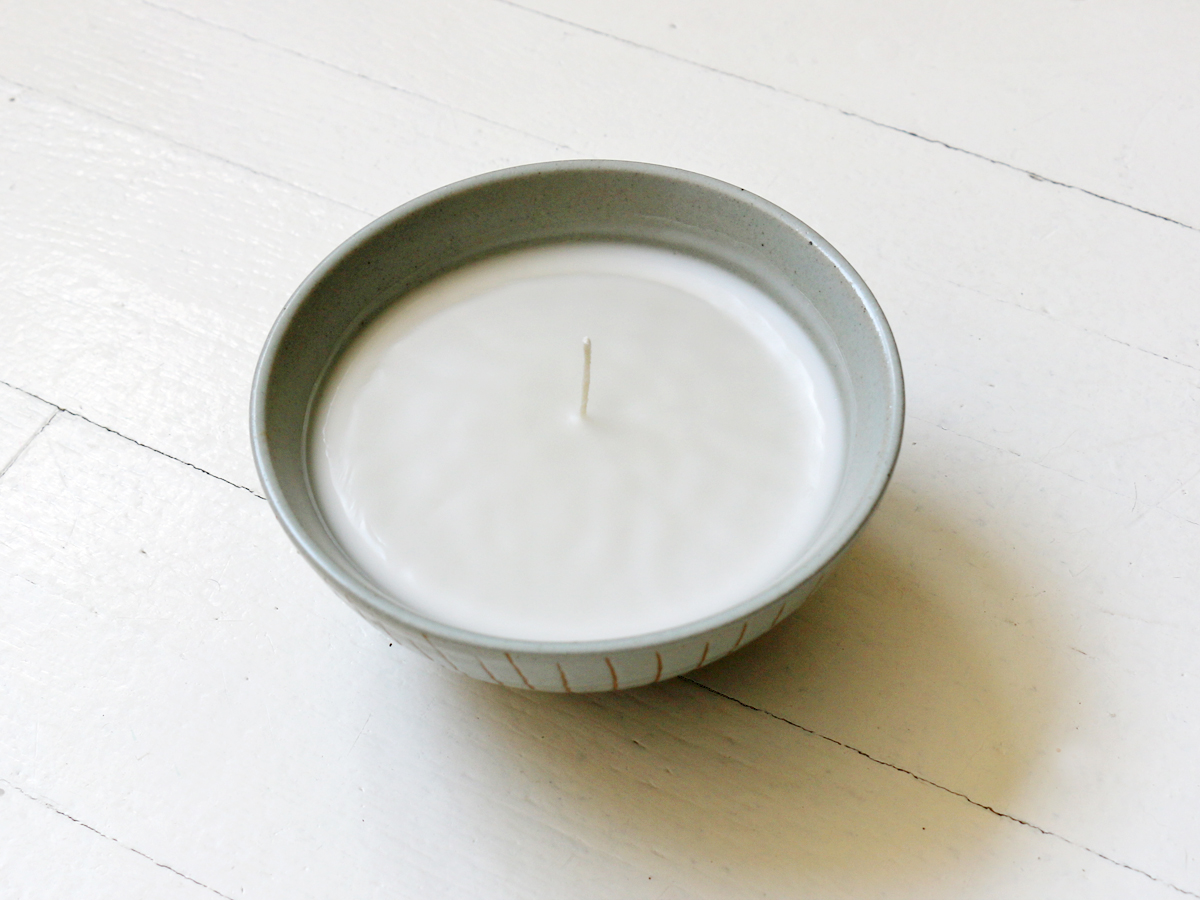
Step 4
Place the bowl in the refrigerator to cool and set the candle. Once the wax is solid and firm to the touch, trim off the old end of the wick. This candle also makes a great gift!