Weekend Project: DIY Wall Art
Need to spruce up a room with a stunning work of art that doesn’t break the bank? Try your hand at decoupage and make a statement piece perfect for a living space or bedroom with items that are already in your home.
 What you will need:
- Imagination!
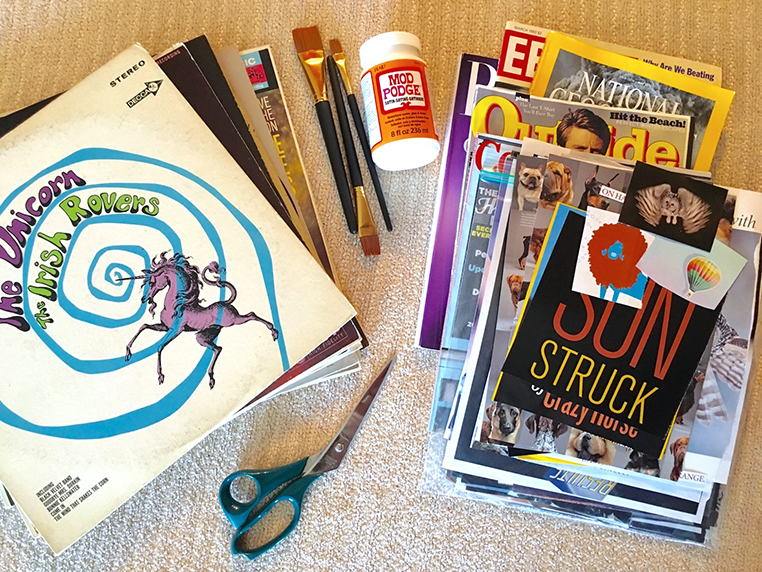
- Album covers
- Magazines
- Scissors
- Satin Mod Podge (or decoupage glue)
- Paint brushes

Step 1
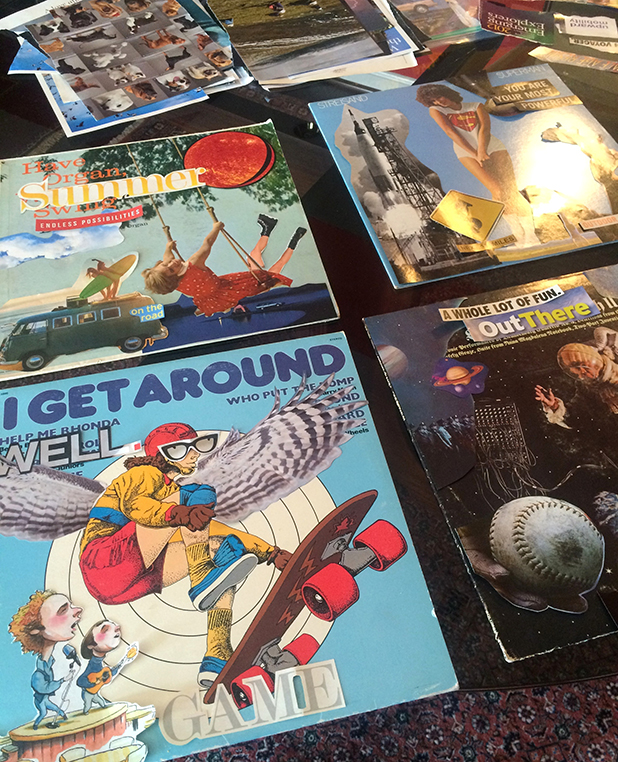
Gather a stack of albums with visually interesting covers (think similar hues or themes), keeping in mind how you plan to tie their existing imagery together with additional cutout images from magazines and the like.
Step 2
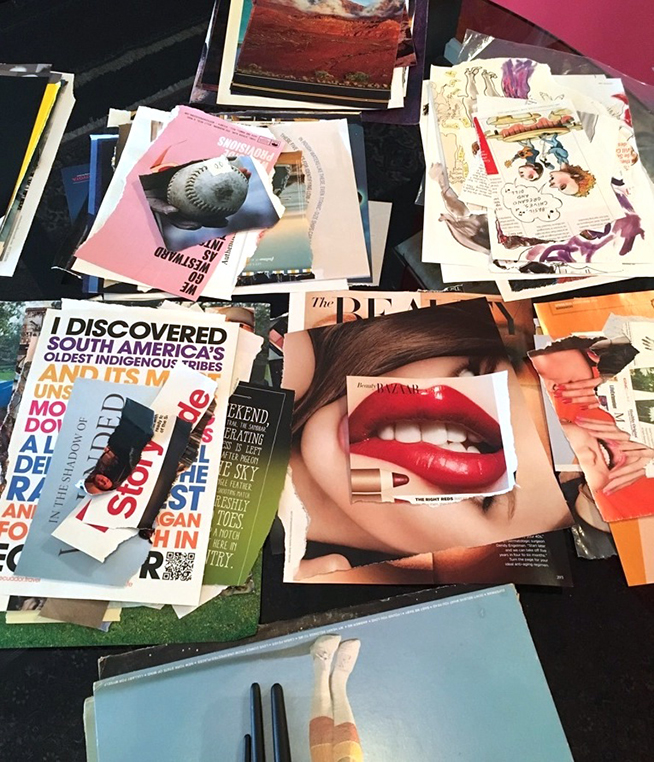
As you look through magazines, tear out pictures and phrases that speak to you. Make piles of like-colored images and words so they’re easy to pull when you begin designing. Garage sales and thrift stores are always stocked with albums and magazines, should you find that you need more inspiration.
Step 3
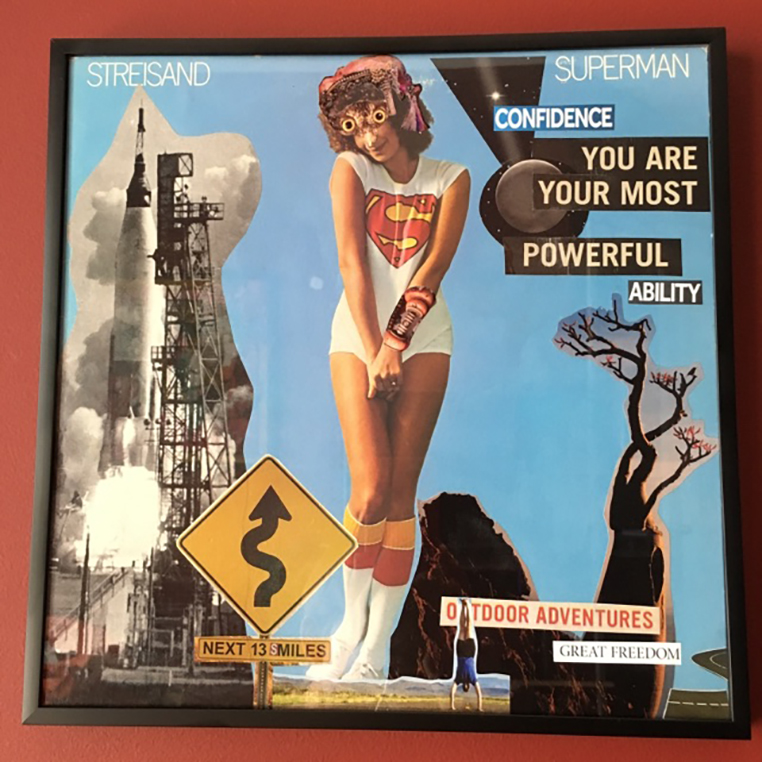
Trim around your favorite images to cut them out and begin placing them on the album covers. Have fun with your arrangement. There’s no glue (yet), so move everything around until you feel good about your layout. (Above, we added owl’s wings to a skateboarder.)
Step 4
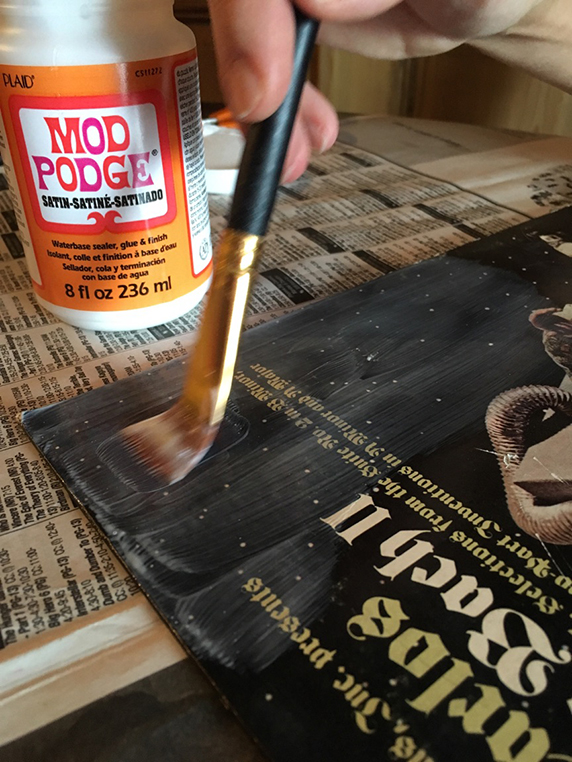
Once you’re ready to set everything in place, use a flat wide brush to paint glue on the album cover, directly underneath the specific spot your picture will be placed.
Tip: Placing glue on underside of a magazine cutout will ripple the paper when you’re ready to flatten it. Work in small areas to prevent rippling.
Step 5
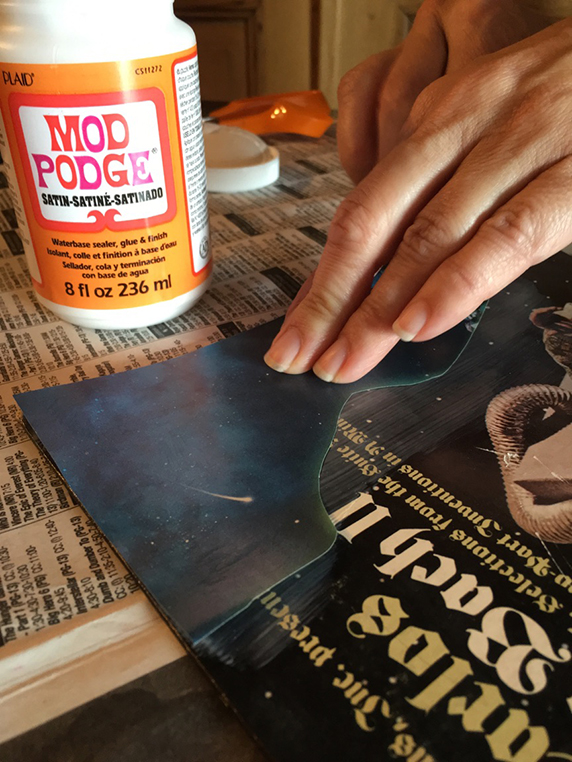
Once you’ve brushed glue onto the album, place your desired image, starting at one corner and using your fingers to stick your picture to the album as you work toward flattening the other corner. Take your time here, as you want to eliminate any bubbles between your picture and the album. If you get a bubble, don’t worry; simply dip your brush in glue, and brush from the center of your image toward the edge.
Step 6
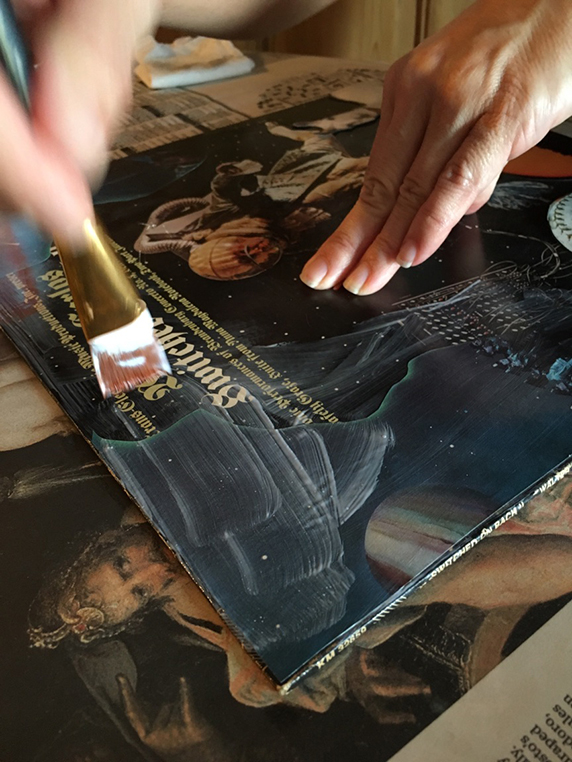
To secure images to the album cover, add a topcoat of Mod Podge over everything you’ve just placed. Have fun layering until you’re happy with your work. Place a final layer of Mod Podge over the entire surface, and allow to dry for several hours.
Step 7
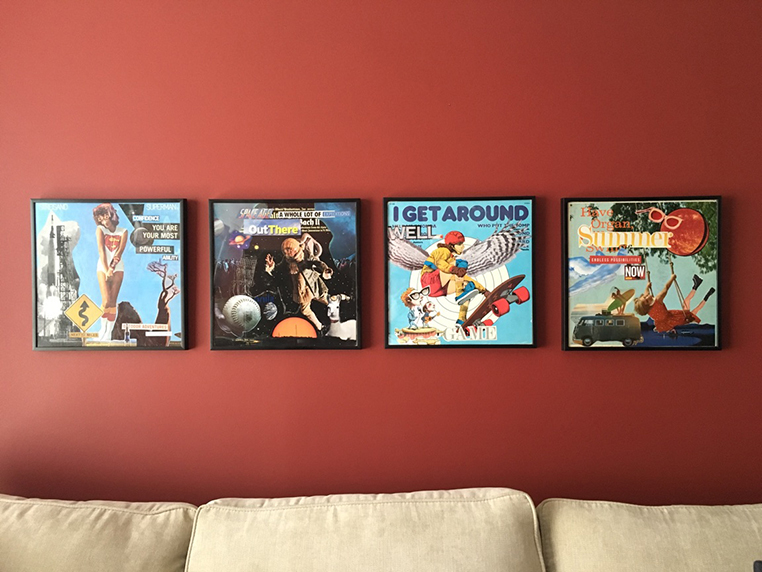
To give your work a finishing touch, frame each album in an inexpensive album frame. Group your work together to make a striking statement, and play with arranging the frames in different ways until you decide what looks best in your space. (Here, we chose a horizontal line to sit above the sofa.) Once your artwork is hung, sit back and revel in your creativity.