Redecorate Your Bedroom: DIY Jewelry Holder
Your bedroom is your sanctuary, but it’s often the room that gets decorated last. If you never got around to it, or if you’re ready for a refresh, this is the series for you. We show you how to redecorate your bedroom, one affordable project at a time.
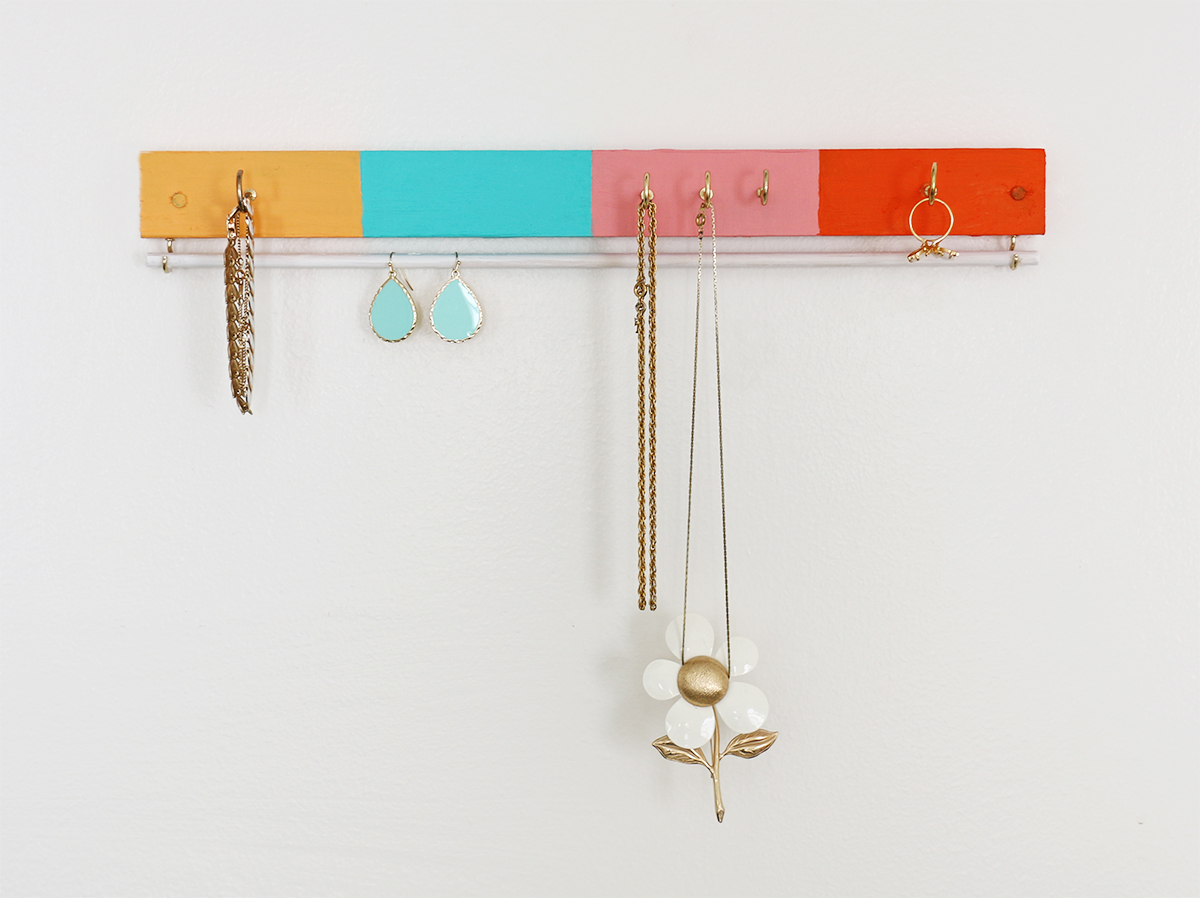
Next up: a jewelry holder that hangs on your wall. Organization never looked so pretty! Colorful and color coordinated (this one complements our yarn art and custom headboard), the rack may look simplistic, but it holds all your favorite baubles.
Never again will you have to dig through an unorganized jewelry box or drawer. Your rings, bracelets, necklaces, and earrings can all be displayed on this fun bedroom piece.
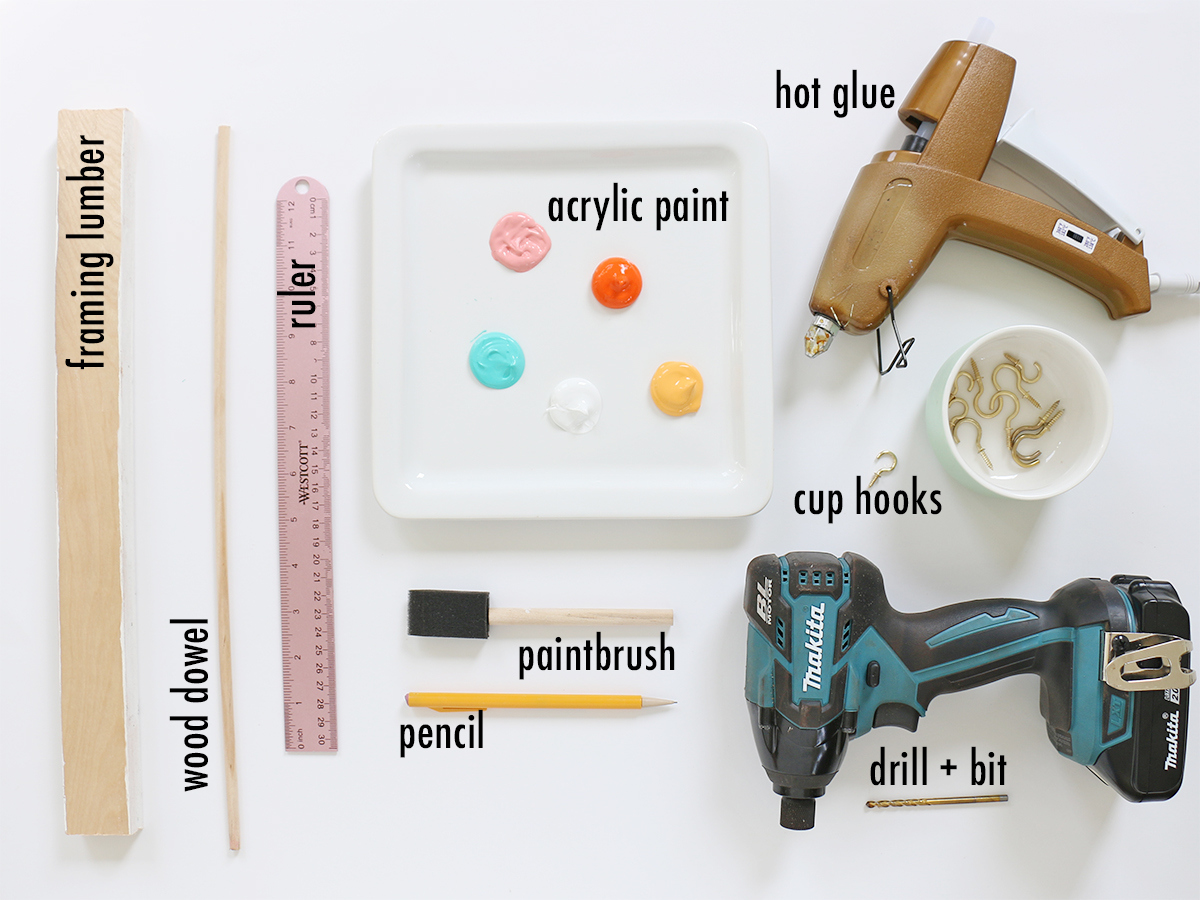
Materials Needed:
- 16-inch-long piece of framing lumber
- 16-x-1/4-inch wood dowel
- Pencil and ruler
- Acrylic paint assortment
- Paint brushes
- Cup hooks (5/8-, 7/8-, and 1 1/4-inch sizes)
- Hot glue gun
- Drill and 1/16-inch drill bit
- Optional: 2 screws or nails, level (not pictured)
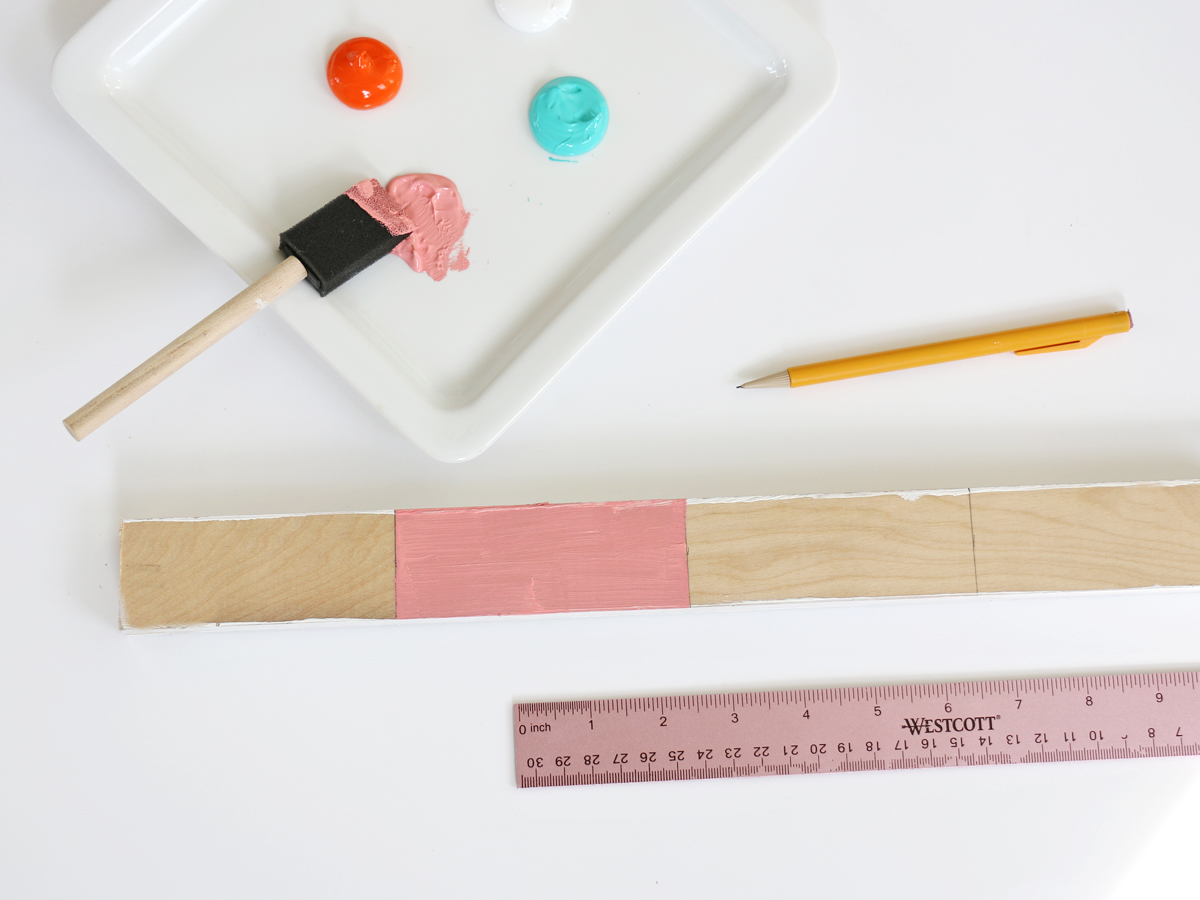
Step 1
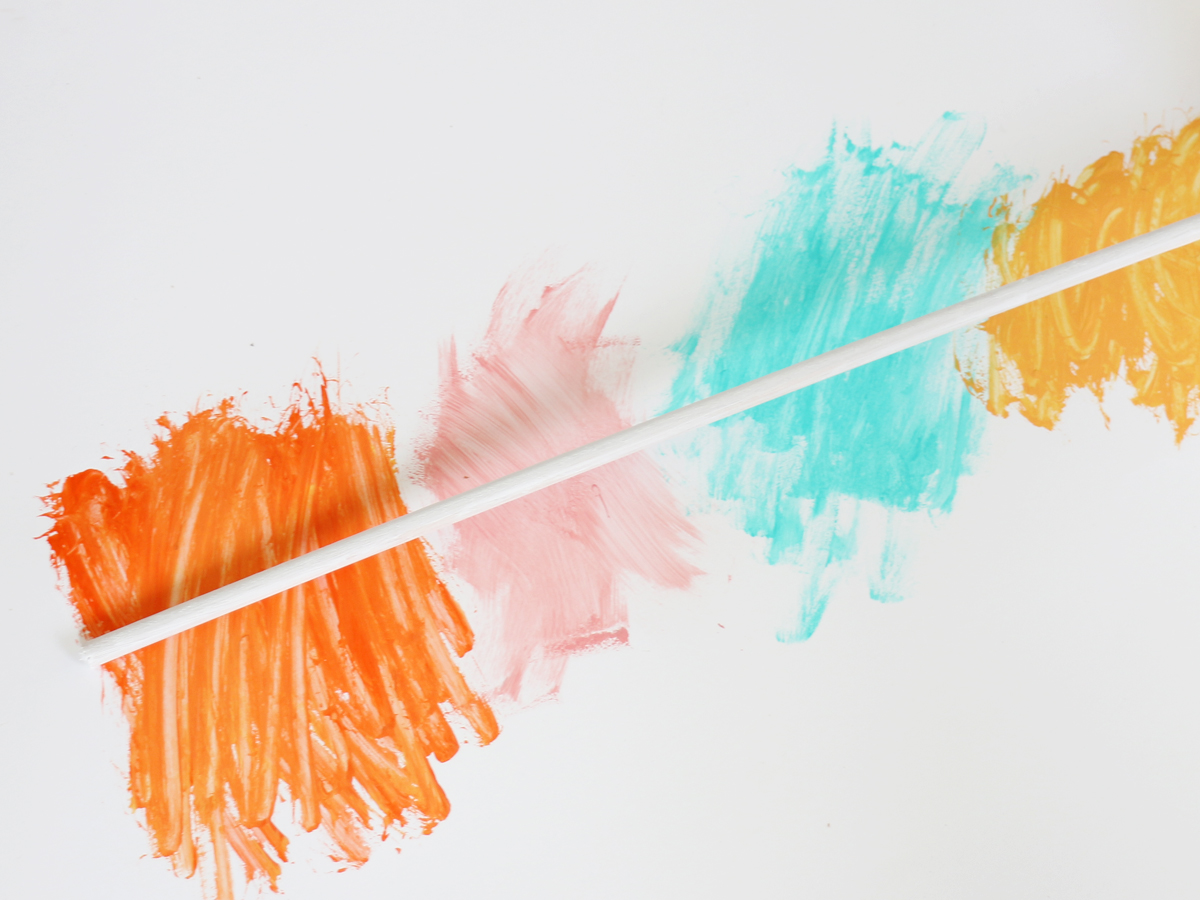
Using a pencil, mark every 4 inches on your 16-inch-long piece of wood (3 lines per side, 4 sections total). On the front side, paint each of the sections a different color.
Once dry, paint the top and bottom of the wood, continuing with the same color pattern. Set aside to dry.
Step 2
While your first piece is drying, paint your wood dowel white (or the color of your choice). Set aside to dry.
Step 3
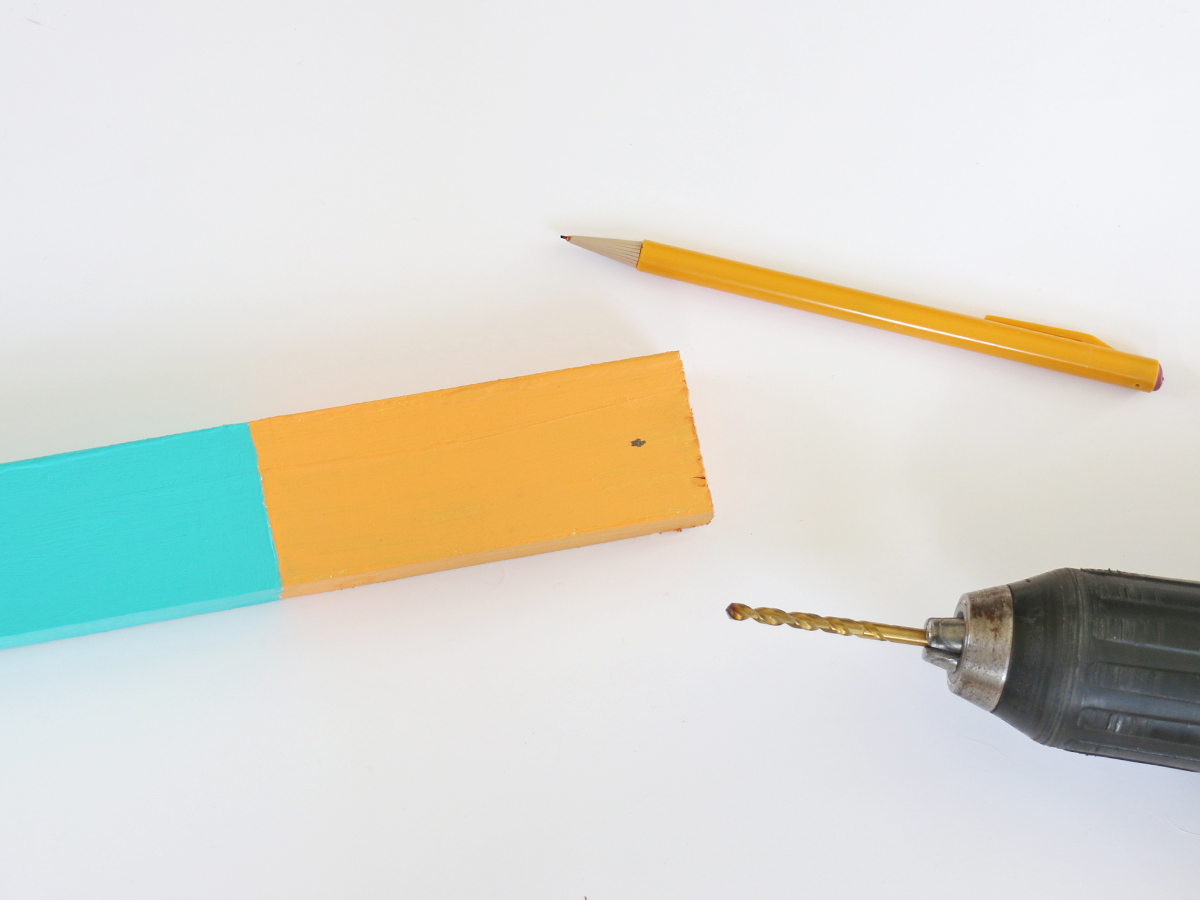
Once your wood piece is dry, measure 1/2 inch in from each side, at the center of the front side. Mark each point with a pencil.
Using a drill with a 1/16-inch drill bit, drill a hole where you’ve marked. This will be used to secure the organizer to the wall later.
Step 4
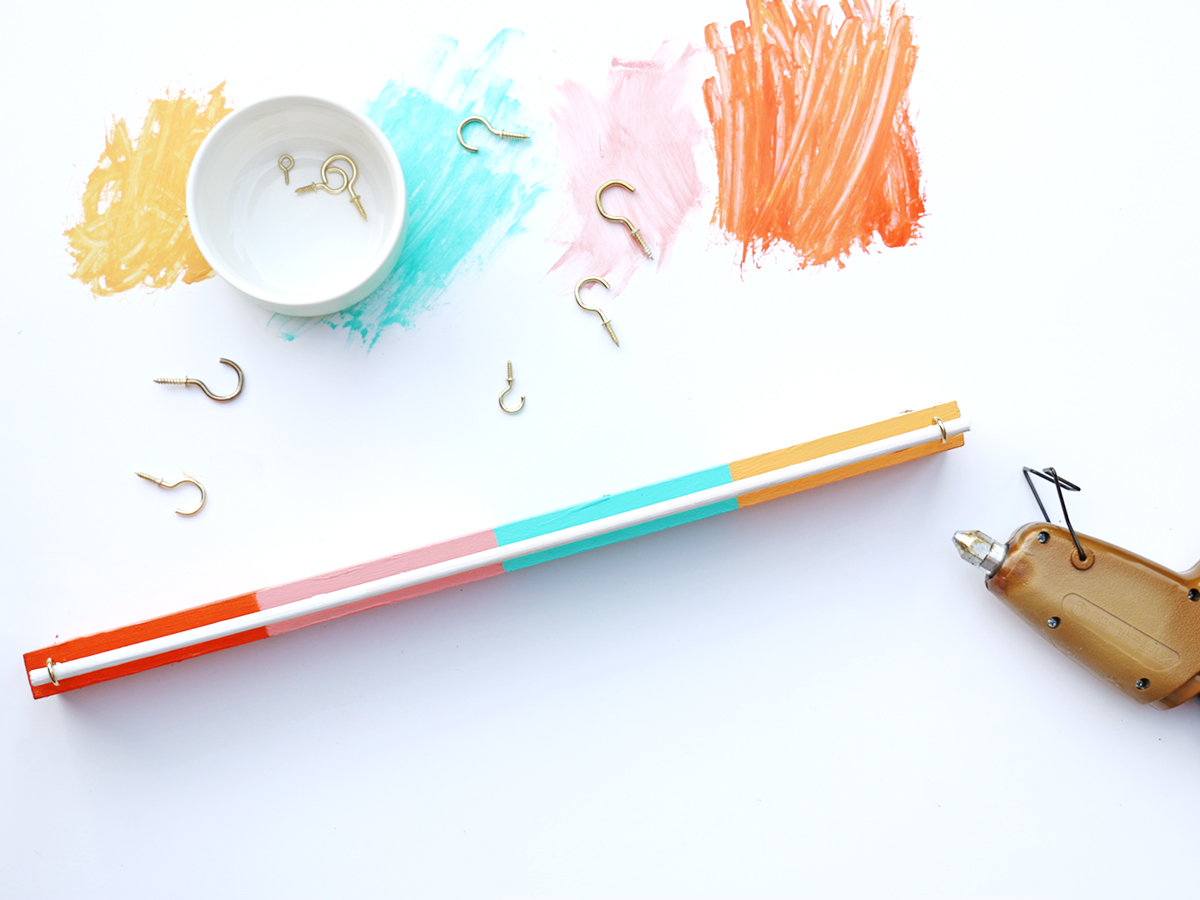
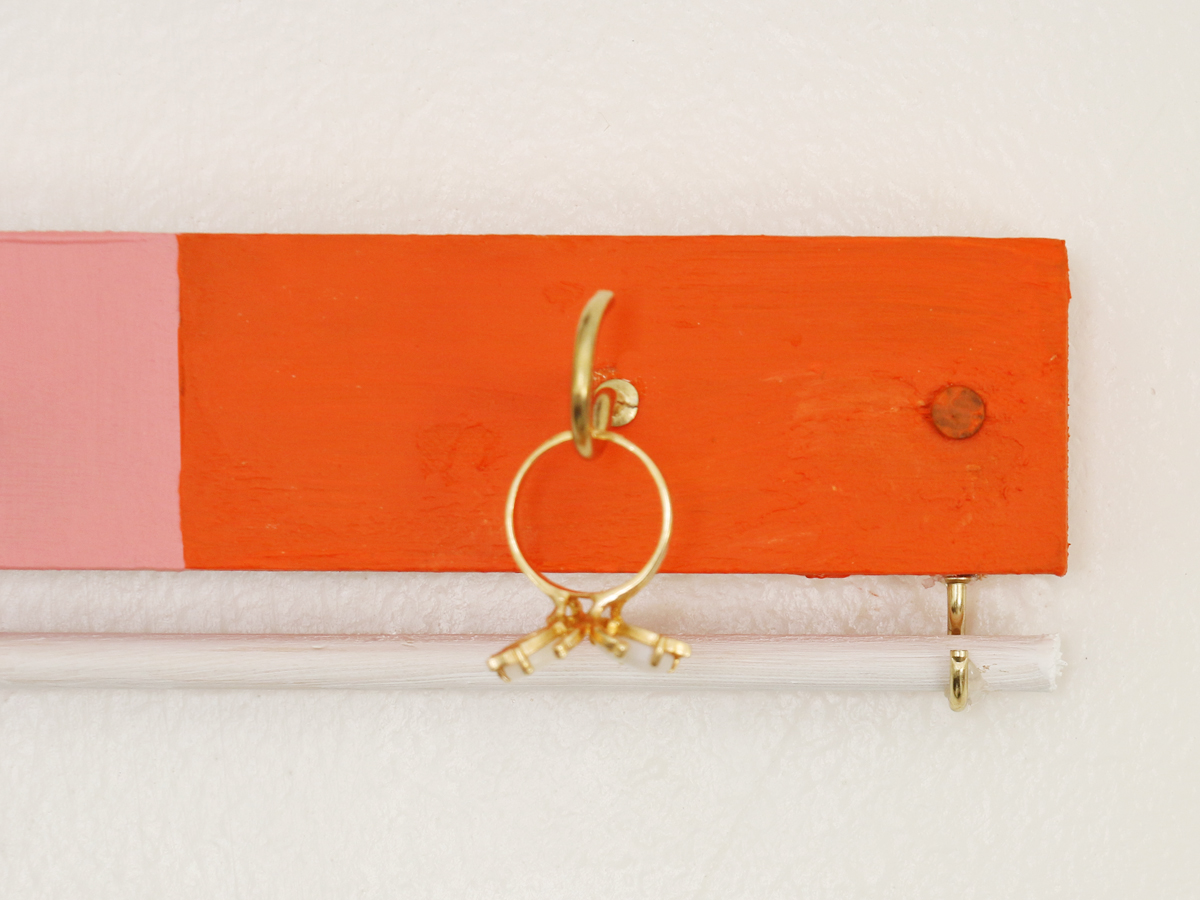
On the bottom of the wood piece, screw in 2 small (5/8-inch) cup hooks, each 1/2 inch from the end. Slide the dowel through the hooks.
Once the dowel is centered, add a dab of hot glue at each hook to keep the dowel in place. The dowel will be used to hang earrings.
Step 5
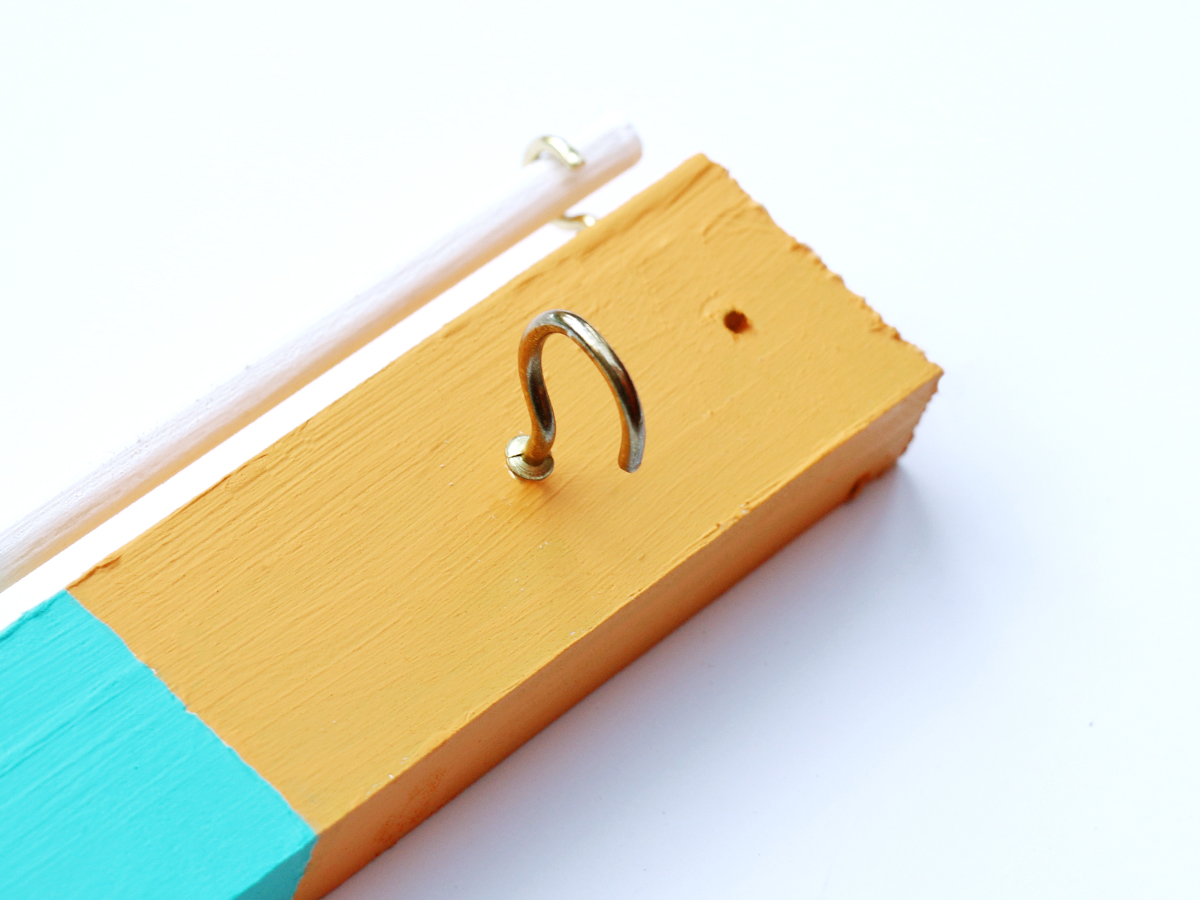
Screw in an assortment of cup hooks on the front side of your wood piece. The medium-sized (7/8-inch) cup hooks work great for necklaces. The larger (1 1/4-inch) hooks work best for bracelets.
If you’re having issues screwing the cup hooks directly into the wood, use the drill with the 1/16-inch bit to create starter holes.
Step 6
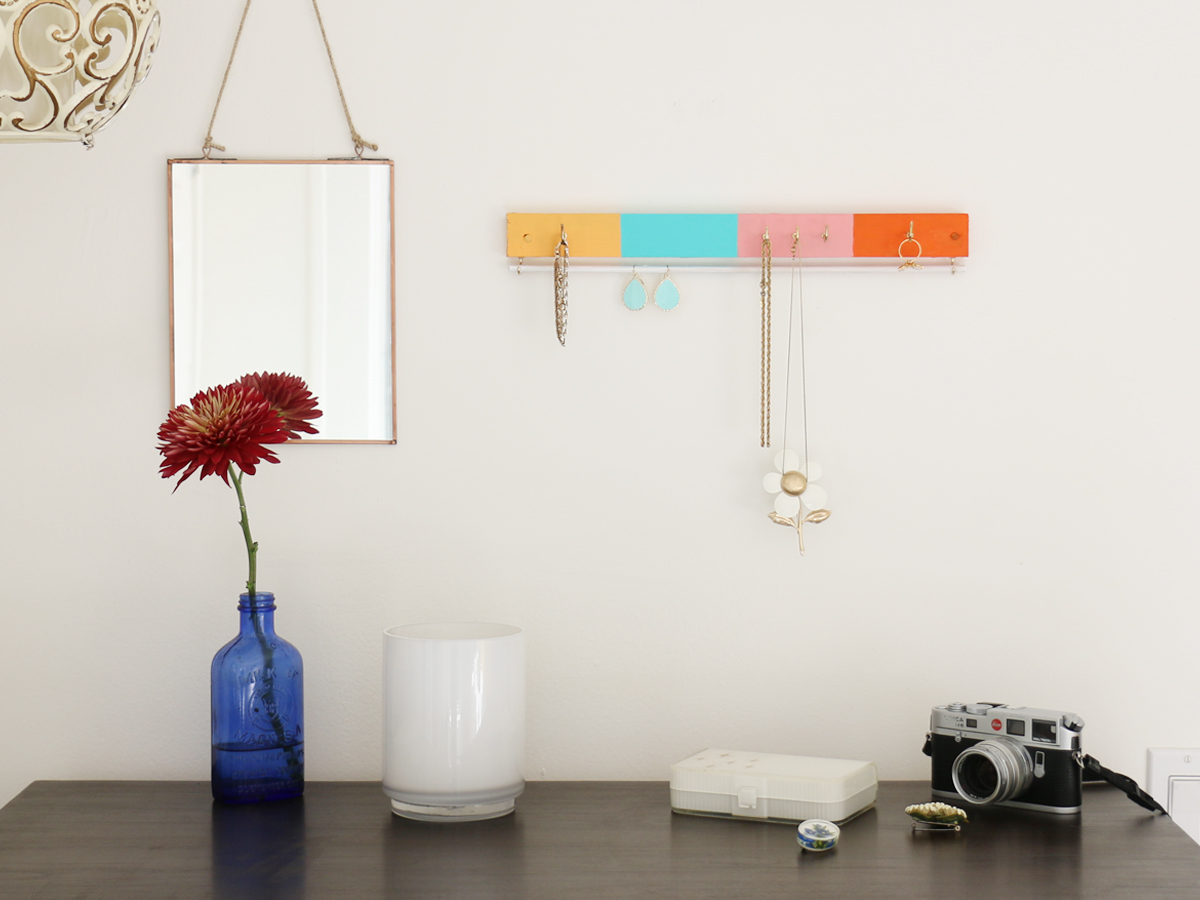
After you’ve added the cup hooks, it’s time to hang the jewelry organizer on the wall. If necessary, use a level to ensure the rack is straight.
Depending on the type of wall, secure the jewelry holder using screws or nails in the holes you made in step 3. You can add a little paint to cover the screws/nails at each end. Once the organizer is secure on the wall, you’re ready to hang your jewelry.